

Why You’ll Love This Cheddar Bbq Bacon Bombs
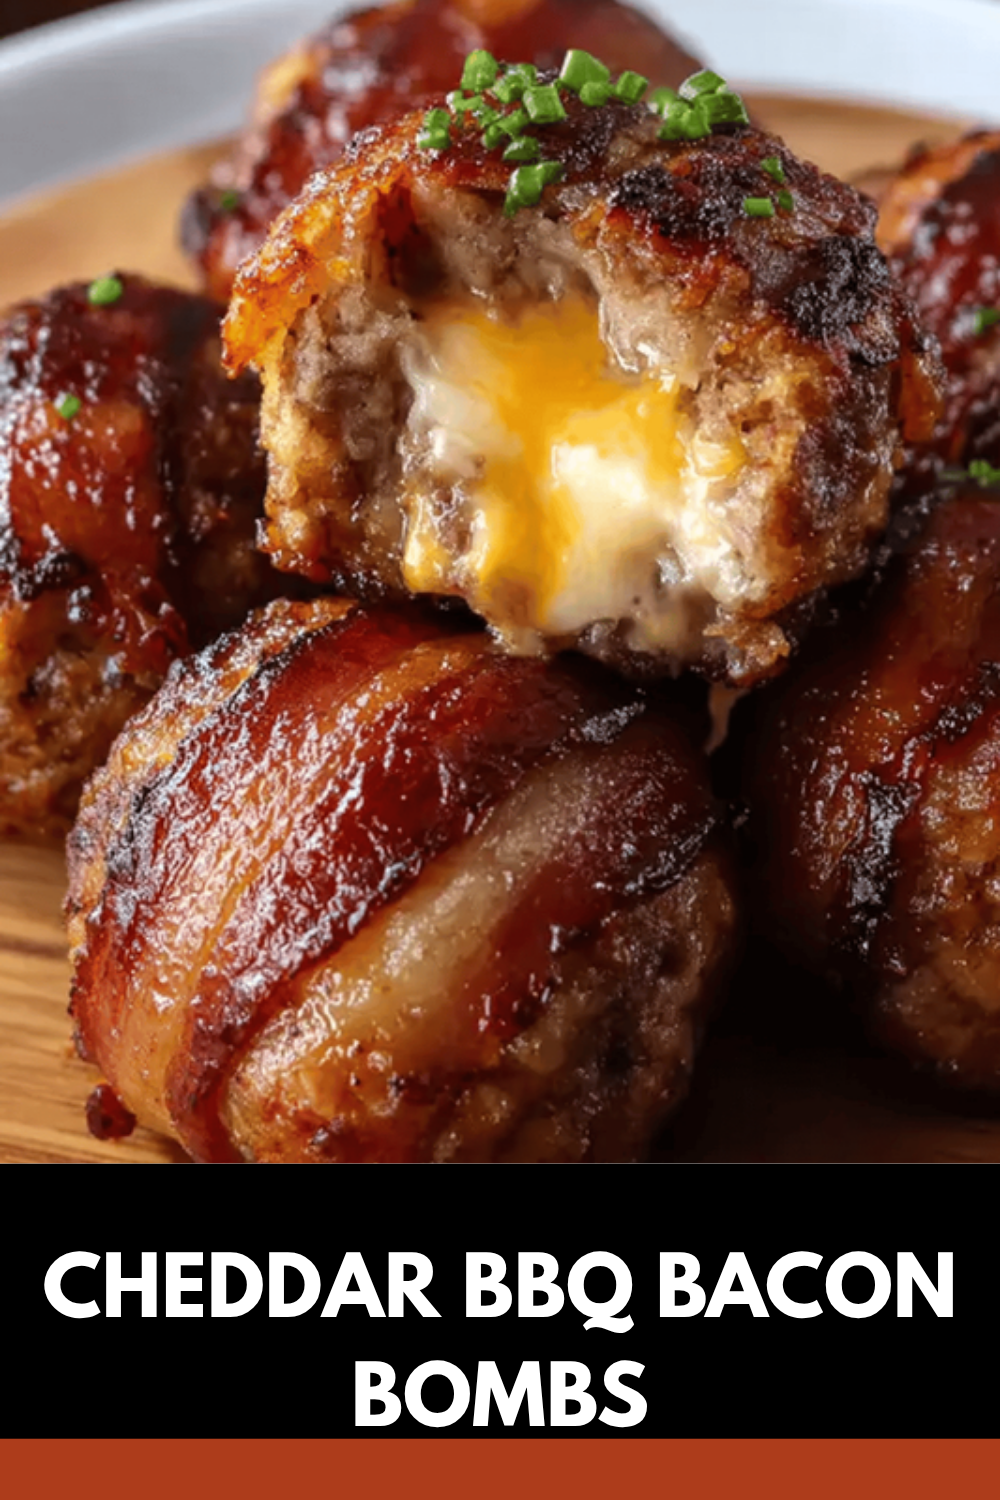
Imagine biting into a juicy ball of flavor that combines the smokiness of bacon with the tang of BBQ sauce and the gooey melt of cheddar cheese. This Cheddar Bbq Bacon Bombs recipe stands out because it’s quick to whip up, even on your busiest days. Not only does it deliver a burst of taste that feels like a party in your mouth, but it also offers ways to tweak it for different needs.
One big plus is how easy it is to prepare, with minimal steps that fit into a hectic schedule, making it ideal for busy parents or working professionals. These bombs pack in protein from the beef, along with essential nutrients, helping you feel satisfied without overdoing it. Plus, you can mix things up for various diets, like making it gluten-free or vegan, so everyone at your table can join in on the fun.
What really sets this recipe apart is that bold mix of sharp cheddar, smoky BBQ, and crispy bacon, turning a simple meal into something special. Whether you’re cooking for family dinners or game day gatherings, these bombs bring people together with their irresistible taste. For more dessert ideas to pair with savory dishes, check out our cheesecake lemon bars recipe for a sweet finish.
Key Benefits at a Glance
- Quick prep time under 30 minutes for busy lifestyles.
- Nutrient-rich with protein to keep you energized.
- Easy swaps for gluten-free, low-calorie, or vegan options.
- A fun twist on BBQ favorites that excites your taste buds.
Jump to:
- Why You’ll Love This Cheddar Bbq Bacon Bombs
- Key Benefits at a Glance
- Essential Ingredients for Cheddar Bbq Bacon Bombs
- How to Prepare the Perfect Cheddar Bbq Bacon Bombs: Step-by-Step Guide
- Tips for Smooth Cooking
- Dietary Substitutions to Customize Your Cheddar Bbq Bacon Bombs
- Mastering Cheddar Bbq Bacon Bombs: Advanced Tips and Variations
- Creative Ideas to Try
- How to Store Cheddar Bbq Bacon Bombs: Best Practices
- Meal Prep Pointers
- FAQs: Frequently Asked Questions About Cheddar Bbq Bacon Bombs
- Can I prepare cheddar BBQ bacon bombs in advance?
- What type of meat works best for cheddar BBQ bacon bombs?
- How can I avoid flare-ups when grilling bacon bombs?
- Which BBQ sauce pairs best with cheddar bacon bombs?
- What are good side dishes to serve with cheddar BBQ bacon bombs?
- Cheddar Bbq Bacon Bombs
- Ingredients
- Instructions
- Last Step:
- Notes
- Nutrition
- Did you make this recipe?
Essential Ingredients for Cheddar Bbq Bacon Bombs
Gathering the right ingredients is the first step to creating these mouthwatering Cheddar Bbq Bacon Bombs. Each one plays a key role in building layers of flavor and texture. We’ll break it down into a clear list so you can shop and prepare with ease.
Here’s the full list of ingredients you need, based on the recipe details. Make sure to measure them out accurately for the best results:
- 1 pound ground beef (80/20 blend for juiciness)
- 1/2 cup BBQ sauce
- 1/2 cup sharp cheddar cheese, shredded
- 1 teaspoon garlic powder
- 1 teaspoon onion powder
- 1/2 teaspoon salt
- 1/4 teaspoon black pepper
- 12 slices thick-cut bacon
- 12 toothpicks (to be soaked in water if grilling)
- Optional for serving: additional BBQ sauce (quantity as desired), sliced green onions (quantity as desired), pickled jalapeño slices (quantity as desired)
These items form the base of your bombs, and you can adjust for special diets as needed. For example, swap in plant-based options if you’re going vegan. This setup ensures your recipe turns out juicy and full of flavor every time.
How to Prepare the Perfect Cheddar Bbq Bacon Bombs: Step-by-Step Guide
Getting these Cheddar Bbq Bacon Bombs just right is all about following a simple flow that anyone can handle. Start by setting up your kitchen so everything goes smoothly from the first mix to the final bite. This guide keeps things straightforward for home cooks of all levels.
First, heat your oven to 375°F (190°C) and line a baking sheet with parchment paper to avoid any mess. In a bowl, mix the ground beef with onion powder, garlic powder, salt, and pepper until it’s well combined. Roll the mixture into balls, flatten them, add a piece of shredded sharp cheddar cheese in the center, and wrap the beef around it to seal.
Next, wrap each ball with 1-2 slices of thick-cut bacon and use toothpicks to hold it in place if needed. Brush them generously with BBQ sauce for that extra tang. Pop them in the oven and bake for 25-30 minutes until the beef is cooked through and the bacon gets nice and crispy.
Tips for Smooth Cooking
- Check the internal temperature with a thermometer to hit 160°F for safety.
- If grilling, soak toothpicks in water first to prevent burning.
- Adapt for diets by using ground turkey or vegan substitutes as mentioned.
Once done, let them rest for a few minutes before serving. This step-by-step approach makes the process fun and ensures your Cheddar Bbq Bacon Bombs come out perfect, whether it’s for a quick dinner or a party appetizer.

Dietary Substitutions to Customize Your Cheddar Bbq Bacon Bombs
Making these Cheddar Bbq Bacon Bombs work for your needs is easy with a few smart swaps. Whether you’re watching calories or following a specific diet, you can tweak the recipe without losing that great taste. Let’s look at some simple changes to keep things flexible.
For the main protein, swap ground beef with plant-based mince for a vegan twist or use ground turkey for something leaner. When it comes to veggies and sauces, try adding diced bell peppers for extra crunch or switch to a sugar-free BBQ sauce if you’re cutting back on sweets.
| Original Ingredient | Substitution Option | Why It Works |
|---|---|---|
| Ground beef | Plant-based mince | Keeps the texture juicy for vegan diets |
| BBQ sauce | Gluten-free BBQ sauce | Ensures the recipe fits gluten-free needs |
| Sharp cheddar cheese | Reduced-fat cheese | Lowers calories while maintaining flavor |
These adjustments make the recipe inclusive, so seniors or diet-conscious folks can enjoy it too. Experimenting with spices like smoked paprika can add new flavors while keeping the bombs delicious.
Mastering Cheddar Bbq Bacon Bombs: Advanced Tips and Variations
Once you’re comfortable with the basics, take your Cheddar Bbq Bacon Bombs to the next level with some pro techniques. Grilling instead of baking can add a deeper smoky taste that makes them even more irresistible. Use a meat thermometer to check for the perfect internal temp, around 160°F, so everything cooks just right.
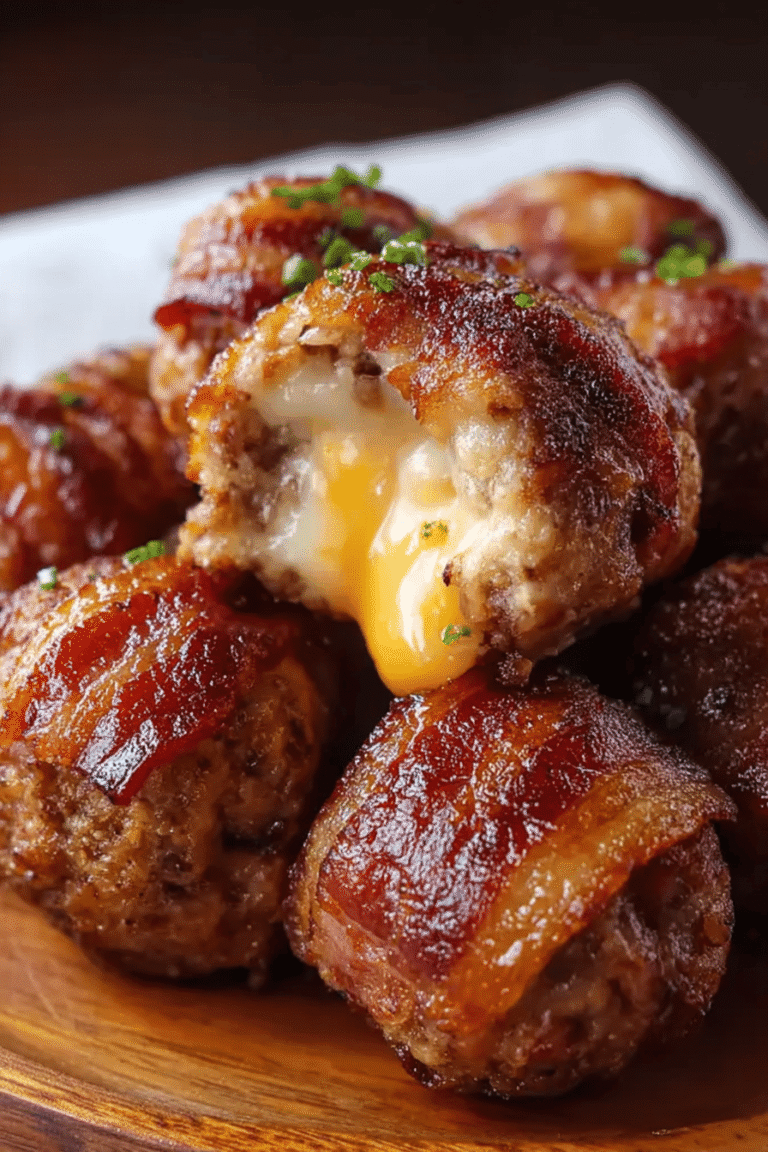
Play around with flavors by swapping sharp cheddar for pepper jack or adding cumin for a spicy kick. To make them look amazing on the plate, cut them in half to show off that cheesy center and top with fresh herbs. If you’re prepping ahead, form the bombs and chill them in the fridge for up to a day before cooking.
Creative Ideas to Try
- Grill for extra smoke or bake for ease.
- Mix in different cheeses like gouda for variety.
- Freeze uncooked bombs for quick meals later.
When you experiment with these tips, you’ll find that Cheddar Bbq Bacon Bombs can become a go-to favorite for food enthusiasts looking to impress at gatherings.
For more recipe ideas that build on this one, check out our strawberry shortcake trifles for a sweet contrast.
How to Store Cheddar Bbq Bacon Bombs: Best Practices
Keeping your Cheddar Bbq Bacon Bombs fresh means they stay tasty for leftovers or meal prep. Store them properly to lock in that flavor and texture for days to come. Let’s cover the best ways to handle storage so you can enjoy them anytime.
Put cooled bombs in an airtight container and keep them in the fridge for up to 3 days. For longer storage, freeze them uncooked on a tray first, then bag them up for up to 3 months. When you’re ready to eat, reheat in the oven at 350°F for 10-15 minutes to keep that crispy bacon intact.
Meal Prep Pointers
- Batch cook on weekends for easy weeknight dinners.
- Label freezer bags with dates to track freshness.
- Avoid microwaving to prevent sogginess.
These methods help busy parents and working pros make the most of their time while keeping the bombs delicious and safe.
FAQs: Frequently Asked Questions About Cheddar Bbq Bacon Bombs
Can I prepare cheddar BBQ bacon bombs in advance?
What type of meat works best for cheddar BBQ bacon bombs?
How can I avoid flare-ups when grilling bacon bombs?
Which BBQ sauce pairs best with cheddar bacon bombs?
What are good side dishes to serve with cheddar BBQ bacon bombs?
Cheddar Bbq Bacon Bombs
🧀 Cheddar-Stuffed BBQ Bacon Bombs pack juicy ground beef and sharp cheddar into flavorful, smoky bacon wraps for an irresistible bite.
🔥 These bombs are perfect for BBQ lovers looking for a savory, cheesy treat that’s loaded with bold ingredients and easy to make.
- Total Time: 35 minutes
- Yield: 12 bombs
Ingredients
– 1 pound ground beef (80/20 blend for juiciness)
– 1/2 cup BBQ sauce
– 1/2 cup sharp cheddar cheese, shredded
– 1 teaspoon garlic powder
– 1 teaspoon onion powder
– 1/2 teaspoon salt
– 1/4 teaspoon black pepper
– 12 slices thick-cut bacon
Instructions
1-First: heat your oven to 375°F (190°C) and line a baking sheet with parchment paper to avoid any mess. In a bowl, mix the ground beef with onion powder, garlic powder, salt, and pepper until it’s well combined. Roll the mixture into balls, flatten them, add a piece of shredded sharp cheddar cheese in the center, and wrap the beef around it to seal.
2-Next: wrap each ball with 1-2 slices of thick-cut bacon and use toothpicks to hold it in place if needed. Brush them generously with BBQ sauce for that extra tang. Pop them in the oven and bake for 25-30 minutes until the beef is cooked through and the bacon gets nice and crispy.
3-Once done, let them rest for a few minutes before serving. This step-by-step approach makes the process fun and ensures your Cheddar Bbq Bacon Bombs come out perfect, whether it’s for a quick dinner or a party appetizer.
Last Step:
Please leave a rating and comment letting us know how you liked this recipe! This helps our business to thrive and continue providing free, high-quality recipes for you.Notes
🥓 Soak toothpicks in water before grilling to prevent burning.
🧀 Use 80/20 ground beef blend for optimal juiciness and flavor.
🔥 Turn bombs regularly while cooking to ensure even bacon crispiness.
- Prep Time: 10 minutes
- Cook Time: 25 minutes
- Category: Appetizer
- Method: Grilling or Baking
- Cuisine: American
Nutrition
- Serving Size: 1 bomb





