Ingredients
– 2 cups unsweetened almond milk for the base of your ice cream providing a creamy, nutty foundation
– 1 frozen banana for adding natural sweetness and creating a smooth, creamy texture
– 1/4 cup natural nut butter (cashew, almond, or peanut) for enhancing creaminess and adding healthy fats
– 2 tablespoons pure maple syrup for providing sweetness and depth of flavor
– 1 teaspoon pure vanilla extract for adding classic vanilla flavor that complements the almond milk
– 1/4 cup full-fat coconut cream for making the texture even more luxurious
– 1/8 teaspoon sea salt for enhancing overall flavor and balancing sweetness
Instructions
1-First Step: Preparation and Mise en Place Start by gathering all your ingredients and equipment. For this easy vegan ice cream recipe, you’ll need a high-speed blender, an ice cube tray or freezer-safe container, and parchment paper or plastic wrap. It’s essential that your banana is thoroughly frozen beforehand this is crucial for achieving the right consistency. Measure all ingredients before beginning to ensure the process goes smoothly. If you’re adding any mix-ins like chocolate chips or chopped nuts, prepare them now and set aside.
2-Second Step: Blending the Base Add the almond milk, frozen banana, nut butter, maple syrup, vanilla extract, and coconut cream (if using) to your blender. Blend on high speed for 60-90 seconds, stopping once to scrape down the sides and ensure everything incorporates evenly. The mixture should be completely smooth with no visible chunks of banana remaining. The color will be a creamy off-white or light beige depending on which nut butter you selected. This step creates the foundation for your homemade almond milk ice cream, so take time to blend thoroughly.
3-Third Step: Initial Freezing Pour the blended mixture into an ice cube tray, filling each compartment about 3/4 full. Alternatively, you can pour it into a shallow freezer-safe container, spreading it evenly to about 1-inch thickness. Place in the freezer for at least 4 hours, though overnight is ideal. This initial freezing step allows the mixture to firm up enough to be processed again for that perfectly creamy texture. Cover with plastic wrap or a lid to prevent freezer burn and absorption of other odors.
4-Fourth Step: Re-blending for Creaminess Once the mixture is frozen solid, remove the cubes from the tray and place them back in your blender. If you froze it in a container, break it into chunks first. Blend on medium-low speed initially, gradually increasing to high as the frozen pieces break down. You may need to add 1-2 tablespoons of additional almond milk to help the blades move, but add as little as possible to maintain thickness. Continue blending until the mixture becomes smooth and resembles soft-serve ice cream. This second blending process breaks up ice crystals and incorporates air, creating that characteristic creamy texture of premium ice cream.
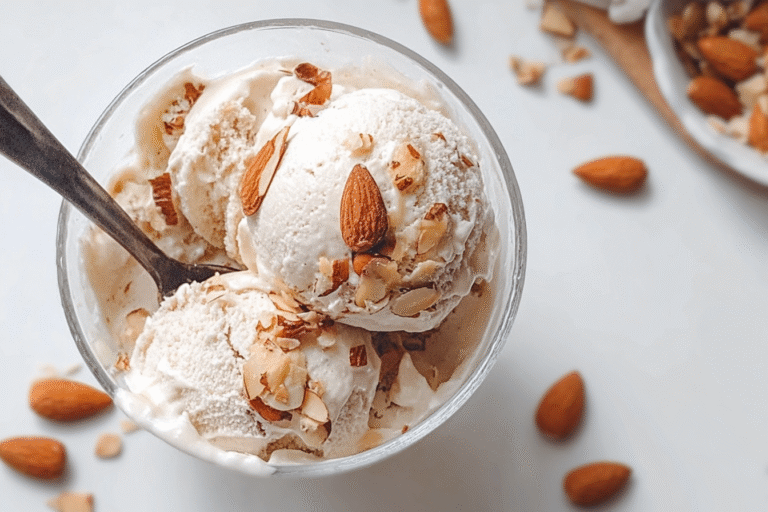
5-Fifth Step: Final Freeze and Serving Transfer the re-blended mixture to a freezer-safe container, smoothing the top with a spatula. For best results, use a loaf pan or square container rather than a deep bowl this helps the mixture freeze more evenly. Cover with parchment paper directly touching the surface, then seal with a lid. Freeze for 2-3 more hours to reach scoopable consistency. When serving, let the container sit at room temperature for 5-10 minutes to soften slightly for easier scooping. For a special presentation, serve in chilled bowls and top with fresh berries, a drizzle of homemade nut butter, or a sprinkle of toasted coconut flakes.
Last Step:
Please leave a rating and comment letting us know how you liked this recipe! This helps our business to thrive and continue providing free, high-quality recipes for you.Notes
🍨 High-speed blender essential—cashews create the magic cream base.
❄️ No-churn stirring key to avoiding ice crystals for soft serve texture.
🥄 Add 1 tbsp vodka to base prevents rock-hard freezing.
- Prep Time: 15 minutes
- Freeze Time: 6 hours
- Category: Dessert
- Method: Freezing
- Cuisine: American
- Diet: Vegan
Nutrition
- Serving Size: 1/2 cup
- Calories: 220 kcal
- Sugar: 18g
- Sodium: 60mg
- Fat: 14g
- Saturated Fat: 2g
- Unsaturated Fat: 11g
- Trans Fat: 0g
- Carbohydrates: 22g
- Fiber: 2g
- Protein: 5g
- Cholesterol: 0mg