

Why You’ll Love This Chocolate Pie
Imagine pulling a rich, velvety chocolate pie out of the fridge after a long day it’s the kind of treat that makes everyone smile, no matter the occasion. This chocolate pie recipe is super simple, perfect for beginners, and delivers that deep, decadent flavor we all crave. Whether you’re whipping it up for a family dinner or a spontaneous get-together, it’s guaranteed to be a hit.
As a home cook who’s tried all sorts of desserts, I can tell you this one stands out because it’s not fussy but still feels special. My kids beg for seconds every time, and I love how it comes together with ingredients you probably have on hand. Plus, it’s adaptable, so you can tweak it for different tastes or diets without losing that wow factor.
One reason you’ll adore this chocolate pie is its ease of preparation. This recipe is designed for simplicity, allowing even beginners to create a delicious dessert quickly. With minimal ingredients and straightforward steps, you can have a rich chocolate pie ready in under an hour, perfect for last-minute cravings or unexpected guests. If you’re like me, always juggling busy schedules, this is a lifesaver that still feels homemade.
Health benefits are another plus here. This recipe uses wholesome ingredients that provide nutritional perks, like the antioxidants in bittersweet chocolate. You can even reduce sugar if you’re watching your intake, making it a smarter choice for guilt-free indulging. I once shared a version of this with my neighbor who’s health-conscious, and she couldn’t believe how tasty it was without being overly sweet.
Versatility is key too. This chocolate pie adapts to various needs, whether you’re going vegan, gluten-free, or cutting calories with simple swaps. It maintains that distinctive chocolatey goodness no matter what. And let’s not forget the flavor it’s intensely decadent from high-quality chocolate and balanced ingredients, creating a creamy texture that’s hard to resist. Trust me, once you try it, you’ll want to make it for every gathering.
Jump to:
- Why You’ll Love This Chocolate Pie
- Essential Ingredients for Chocolate Pie
- How to Prepare the Perfect Chocolate Pie: Step-by-Step Guide
- Dietary Substitutions to Customize Your Chocolate Pie
- Mastering Chocolate Pie: Advanced Tips and Variations
- Experimenting with Toppings
- How to Store Chocolate Pie: Best Practices
- FAQs: Frequently Asked Questions About Chocolate Pie
- What ingredients do I need to make chocolate pie filling?
- Can I use a store-bought pie crust for chocolate pie?
- How do I know if my chocolate pie filling is thick enough?
- How long can I store chocolate pie in the refrigerator?
- Can I freeze chocolate pie and how should I do it?
- Chocolate Pie
- Ingredients
- Instructions
- Last Step:
- Notes
- Nutrition
- Did you make this recipe?
Essential Ingredients for Chocolate Pie
Getting the ingredients right is half the fun of making chocolate pie, and I’ve got the exact list to make sure your version turns out perfectly creamy and irresistible. Based on my go-to recipe, we’ll use simple items that build layers of flavor without overwhelming your kitchen. Remember, fresh ingredients make all the difference, so let’s dive into what you need.
To keep things organized, here’s a structured list of all the essential ingredients with their precise measurements. This ensures you don’t miss a thing and helps measure everything out ahead for smooth sailing.
- 1 1/2 cups sugar
- 1/4 cup cornstarch
- 1/4 teaspoon salt
- 3 cups whole milk
- 4 egg yolks
- 6 1/2 ounces finely chopped bittersweet chocolate
- 2 teaspoons vanilla extract
- 2 tablespoons butter
- 1 baked and cooled pie crust (either traditional, Oreo, or graham cracker crust)
I always recommend using whole milk for that ultra-creamy texture it really makes the filling shine. If you’re experimenting, like I did once with an Oreo crust for a fun twist, it adds a playful crunch that my family loves. This list covers everything needed for the recipe, so double-check before you start.
How to Prepare the Perfect Chocolate Pie: Step-by-Step Guide
Ready to dive into making your own chocolate pie? It’s easier than you think, and I’ll walk you through it like we’re chatting in the kitchen. This step-by-step guide uses the ingredients we just listed, turning them into a dreamy dessert. I promise, even if you’re new to baking, you’ll feel like a pro by the end.
First, gather your tools a medium saucepan, whisk, and your pie crust ready to go. Start by combining the sugar, cornstarch, and salt in the saucepan; then add the milk and egg yolks, whisking everything together until smooth. Think of it as giving your ingredients a good mix to build that silky base.
Cook the mixture over medium heat, stirring constantly until it boils and thickens, which takes about 6 to 8 minutes. Once it’s bubbly and thick like pudding, remove it from the heat and stir in the finely chopped bittersweet chocolate, vanilla extract, and butter until everything melts into a glossy filling. For an internal link, if you’re looking for more easy no-bake ideas, check out our no-bake energy bites recipe for a quick snack option that pairs well with desserts.
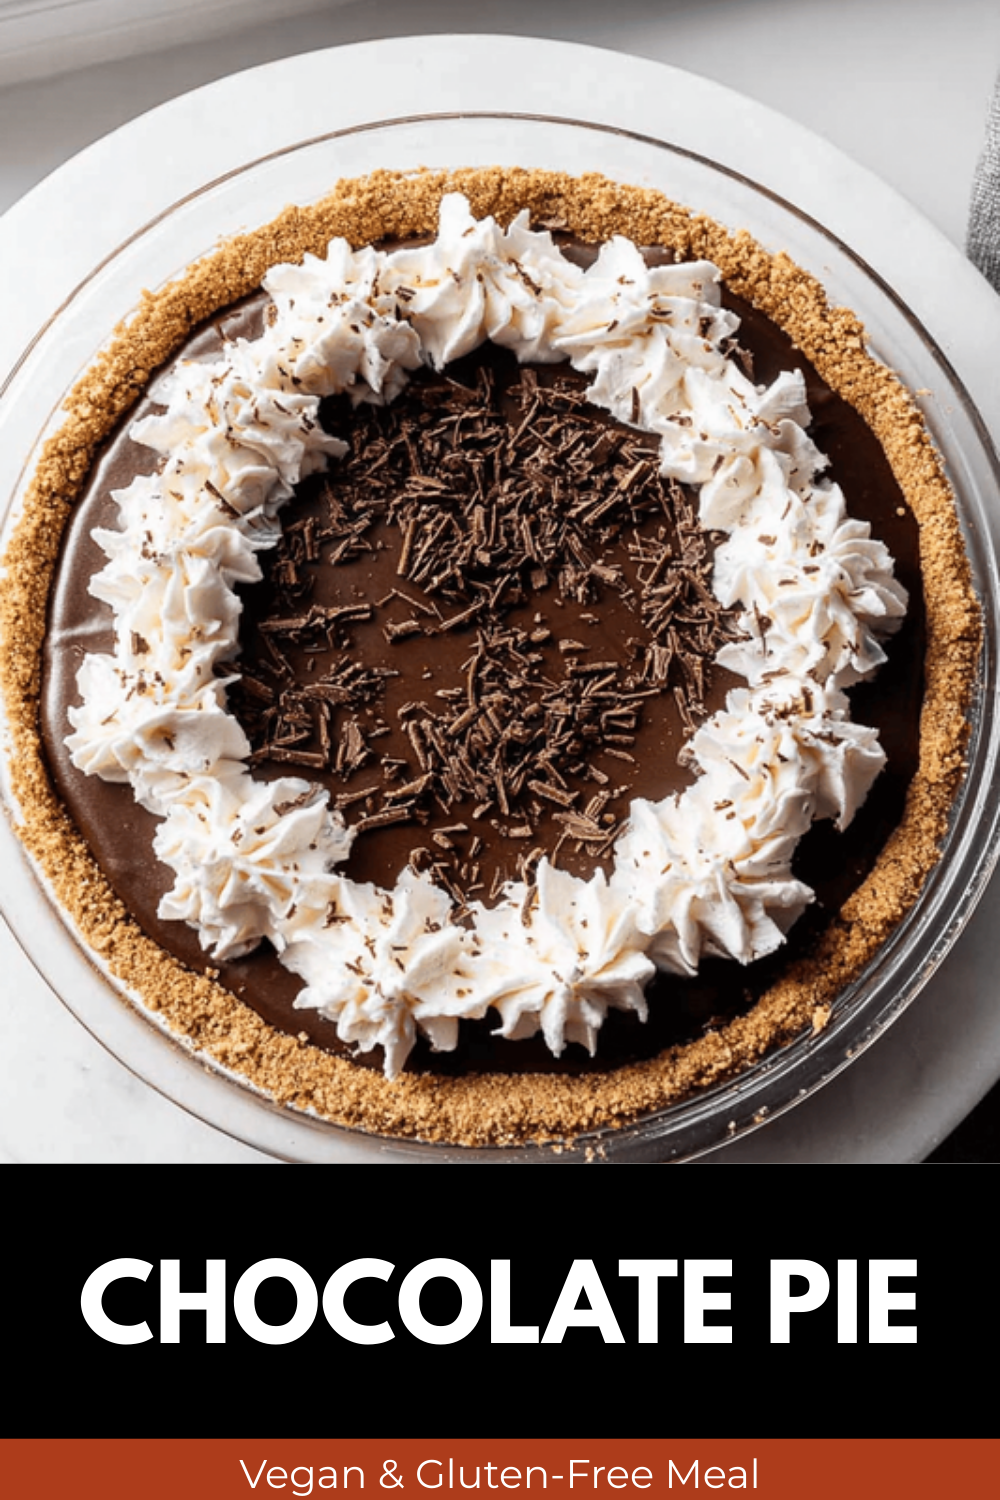
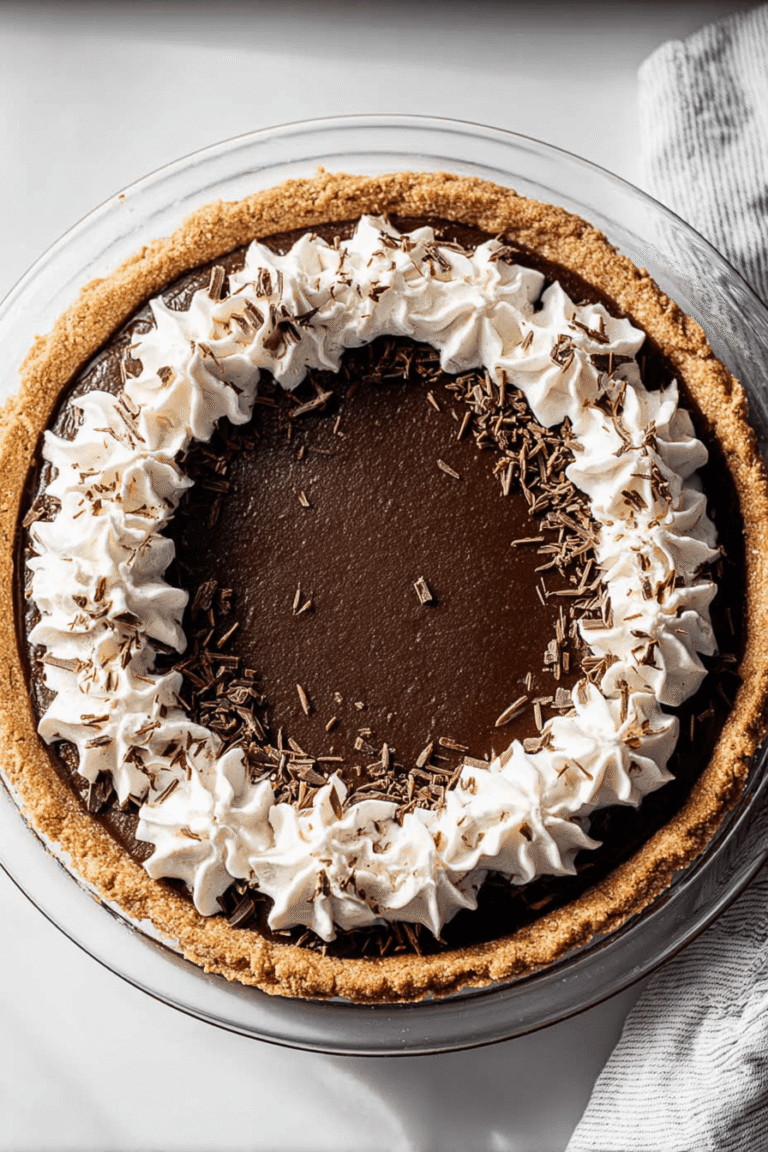
Pour the smooth filling into your baked and cooled pie crust, then pop it in the fridge for at least 4 hours to set. When it’s time to serve, top with whipped cream and maybe some fruit or nuts for extra flair. I like to slice it with a warm knife for clean cuts, just like the pros do it’s a little trick that makes serving a breeze.
First Step: Preheat your oven if needed, but since we’re focusing on the stovetop for this part, just get your crust prepped. In my house, we often use a traditional crust, but trying an Oreo one adds a fun surprise that keeps things exciting.
Second Step: Melt and mix as described, ensuring no lumps for that perfect texture. If the filling seems too thin, give it another stir patience pays off!
Third Step: After pouring, refrigerate and let it chill. Serve chilled, and remember, leftover filling can be stored as pudding for a tasty mid-week treat. This whole process is straightforward, and I’ve made it so many times that it’s become a family favorite.

Dietary Substitutions to Customize Your Chocolate Pie
One of the best parts about this chocolate pie is how flexible it is tailor it to your needs without losing that delicious taste. Whether you’re cooking for someone with dietary preferences or just mixing things up, these swaps are simple and effective. Let’s explore how to make it your own.
For instance, if you’re going dairy-free, swap the whole milk for a plant-based alternative, though it might not be as creamy. Here’s a quick table to compare options:
| Original Ingredient | Substitution | Why It Works |
|---|---|---|
| Whole milk | Almond or coconut milk | Maintains creaminess with a lighter touch |
| Egg yolks | Flaxseed gel | Keeps structure for vegan versions |
| Butter | Vegan butter | Adds the same richness without dairy |
Protein and Main Component Alternatives: Replace eggs with flaxseed or chia seed gel for a vegan-friendly option. Use tofu silken for added protein and creamy consistency. Substitute heavy cream with coconut cream or almond milk for dairy-free versions. These changes let you enjoy the pie while fitting your lifestyle, just like I do when hosting diverse groups.
Vegetable, Sauce, and Seasoning Modifications: Add a pinch of cayenne pepper to enhance chocolate depth. Infuse the filling with orange zest or espresso for flavor twists. Use gluten-free crust options like almond flour to accommodate sensitivities. Top with berry sauces or caramel for seasonal flair it’s all about making it fun and personal.
Mastering Chocolate Pie: Advanced Tips and Variations
Once you’ve nailed the basics, let’s amp up your chocolate pie game with some pro tips and creative twists. I’ve learned these through trial and error, and they’re game-changers for impressing your guests. For example, tempering the chocolate gives it a shiny finish that’s worth the extra step.
Pro cooking techniques: Temper your chocolate to ensure a glossy finish and a firm bite. Use a water bath during baking to prevent cracking and maintain a silky texture. These methods make your pie look as good as it tastes, and I’ve used them to wow friends at potlucks.
Flavor variations: Experiment with adding sea salt flakes for contrast or folding in chopped nuts for crunch. Incorporate spices like cinnamon for a warm twist it’s like giving your pie a new personality each time. If you’re into more dessert ideas, an internal link to our mini muffin pancake bites can inspire fun breakfast treats that complement sweet pies.
Presentation tips: Serve with whipped cream swirls or fresh mint for elegance. Make-ahead options: Prepare up to 48 hours ahead and freeze slices for convenience. These variations keep things exciting and adaptable for every occasion.
Experimenting with Toppings
Don’t stop at basics try adding fruit or nuts as suggested in the recipe for extra texture and flavor. It’s a simple way to customize and make each pie unique.
How to Store Chocolate Pie: Best Practices
Storing your chocolate pie properly keeps it tasting fresh, and I’ve got tips to make sure it lasts. After all, leftovers are a bonus, like having a little dessert waiting in the fridge. This pie keeps for up to 3 days refrigerated or 2 months frozen, so let’s cover the details.
Refrigeration: Store your chocolate pie covered loosely in the refrigerator for up to 4 days to keep the filling smooth. Freezing: Wrap securely and freeze for up to 1 month, thawing overnight for the best texture. Reheating: Let it sit at room temperature for about 30 minutes before serving to avoid any separation.
Meal prep considerations: Make batches for the week, using airtight containers to lock in flavor. These practices ensure your pie stays delicious, just like when it was first made.
FAQs: Frequently Asked Questions About Chocolate Pie
What ingredients do I need to make chocolate pie filling?
Can I use a store-bought pie crust for chocolate pie?
How do I know if my chocolate pie filling is thick enough?
How long can I store chocolate pie in the refrigerator?
Can I freeze chocolate pie and how should I do it?
Chocolate Pie
🍫 Indulge in rich, creamy chocolate pie that’s perfect for any special occasion or everyday treat.
❄️ This easy-to-make pie offers a smooth texture and classic flavor that pairs wonderfully with various crusts and toppings.
- Total Time: 4 hours 18 minutes
- Yield: 8 servings 1x
Ingredients
1 1/2 cups sugar
1/4 cup cornstarch
1/4 teaspoon salt
3 cups whole milk
4 egg yolks
6 1/2 ounces finely chopped bittersweet chocolate
2 teaspoons vanilla extract
2 tablespoons butter
1 baked and cooled pie crust (either traditional, Oreo, or graham cracker crust)
Instructions
1-First, gather your tools a medium saucepan, whisk, and your pie crust ready to go. Start by combining the sugar, cornstarch, and salt in the saucepan; then add the milk and egg yolks, whisking everything together until smooth. Think of it as giving your ingredients a good mix to build that silky base.
2-Cook the mixture over medium heat, stirring constantly until it boils and thickens, which takes about 6 to 8 minutes. Once it’s bubbly and thick like pudding, remove it from the heat and stir in the finely chopped bittersweet chocolate, vanilla extract, and butter until everything melts into a glossy filling. For an internal link, if you’re looking for more easy no-bake ideas, check out our no-bake energy bites recipe for a quick snack option that pairs well with desserts.
3-Pour the smooth filling into your baked and cooled pie crust, then pop it in the fridge for at least 4 hours to set. When it’s time to serve, top with whipped cream and maybe some fruit or nuts for extra flair. I like to slice it with a warm knife for clean cuts, just like the pros do it’s a little trick that makes serving a breeze.
4-First Step: Preheat your oven if needed, but since we’re focusing on the stovetop for this part, just get your crust prepped. In my house, we often use a traditional crust, but trying an Oreo one adds a fun surprise that keeps things exciting.
5-Second Step: Melt and mix as described, ensuring no lumps for that perfect texture. If the filling seems too thin, give it another stir patience pays off!
6-Third Step: After pouring, refrigerate and let it chill. Serve chilled, and remember, leftover filling can be stored as pudding for a tasty mid-week treat. This whole process is straightforward, and I’ve made it so many times that it’s become a family favorite.
Last Step:
Please leave a rating and comment letting us know how you liked this recipe! This helps our business to thrive and continue providing free, high-quality recipes for you.Notes
🥛 Use whole milk for a creamy and rich pie filling.
🔪 Slice the pie with a warm knife for clean, neat pieces.
🍮 Leftover filling can be stored and enjoyed as delicious chocolate pudding.
- Prep Time: 10 minutes
- Chilling time: 4 hours
- Cook Time: 8 minutes
- Category: Dessert
- Method: Cooking, chilling
- Cuisine: American
- Diet: Vegetarian
Nutrition
- Serving Size: 1 slice
- Calories: 350
- Sugar: 45g
- Sodium: 150mg
- Fat: 18g
- Saturated Fat: 11g
- Trans Fat: 0g
- Carbohydrates: 45g
- Fiber: 3g
- Protein: 4g
- Cholesterol: 110mg





