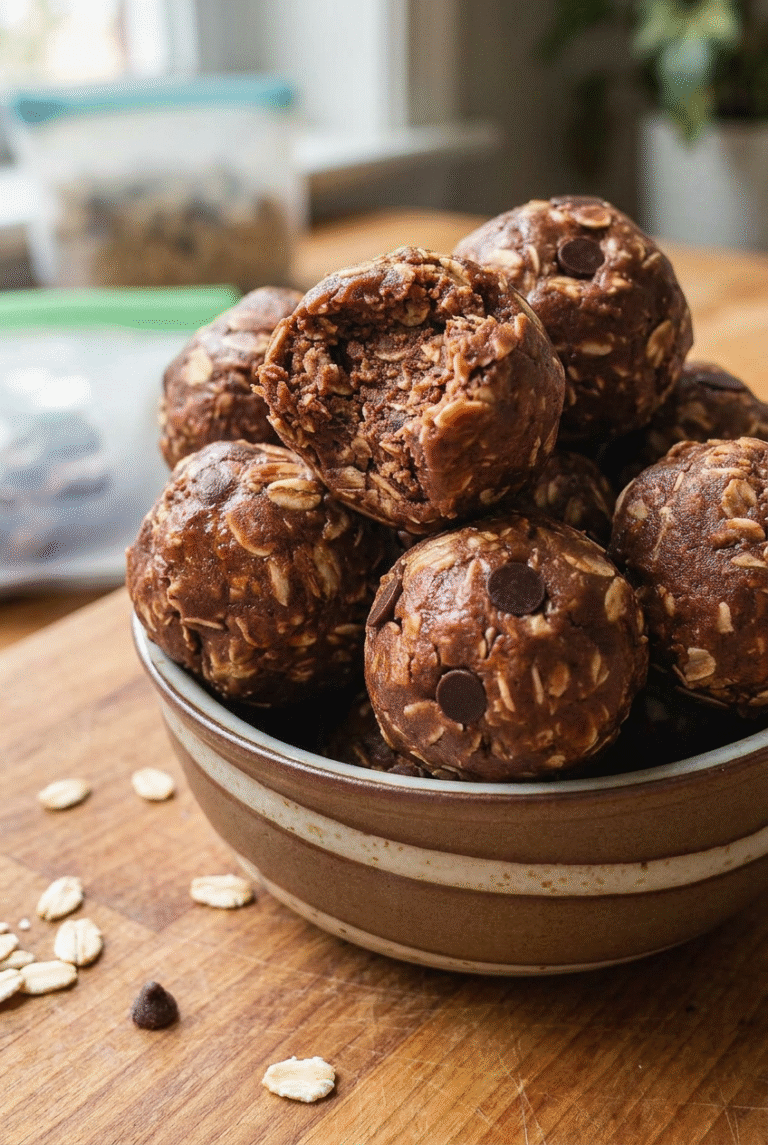
Ingredients
– 1 cup old-fashioned rolled oats
– 1/4 cup mini chocolate chips
– 1/3 cup chocolate protein powder
– 1/2 cup peanut butter
– 3 tablespoons honey
– 3 teaspoons water
Instructions
1-First Step: Gather and measure everything Before you begin, measure out the oats, mini chocolate chips, chocolate protein powder, peanut butter, honey, and water. This recipe moves quickly, so having everything ready makes the process smooth and mess-free. A medium-sized mixing bowl works best, along with a spoon or spatula for stirring.
2-Second Step: Mix the base Add all of the ingredients to the bowl and mix them together until fully combined. At first, it may look a little crumbly, but keep stirring. The peanut butter and honey will help bring the easy no bake protein balls together into a thick dough. If the mixture seems too dry, add an extra teaspoon or two of water. This is one of the most important little tricks for a successful protein balls recipe. Some protein powders absorb more liquid than others, so a small adjustment can make all the difference.
3-Third Step: Check the texture The dough should be thick, sticky, and easy to press together with your hands. If it falls apart when squeezed, add another teaspoon of water and mix again. If it feels too wet, add a spoonful of oats to help firm it up. You want a texture that rolls easily without sticking all over your hands. Think of the mixture like play dough for snacks. If it crumbles, it needs a tiny bit more moisture. If it feels sloppy, give it a little more dry ingredient.
4-Fourth Step: Roll into balls Scoop out small portions of dough and roll them into 1 to 1 1/2-inch balls. That size makes them easy to pop into a lunchbox, store for meal prep, or grab after a workout. For best results, press the mixture together firmly before rolling so the balls stay compact. If you like slightly larger bites, you can make them bigger, but keep in mind the recipe yields about 16 balls at the standard size. Smaller balls are great for kids, while bigger ones feel more like a dessert-style snack.
5-Fifth Step: Chill to set Place the rolled balls on a baking sheet or plate lined with wax paper. This keeps them from sticking while they chill. Put them in the refrigerator for 20 minutes so they firm up and hold their shape. This chilling time matters because it helps the oats soften a little and lets the peanut butter firm up. That gives the chocolate protein balls a better bite and a more satisfying texture. If you are in a hurry, a quick freezer chill works too, but 20 minutes in the fridge is usually perfect.
6-Final Step: Store and serve Once the balls are set, transfer them to an airtight container. Store them in the fridge for an easy snack during the week, or keep them in the freezer for longer storage. They taste great cold, slightly softened, or packed into lunch containers for a midday boost. These chocolate peanut butter protein balls are ideal for meal prep because they are fast, portable, and satisfying. They make a smart snack for travel days, school lunches, post-workout recovery, or that afternoon moment when you need something sweet but filling.
Last Step:
Please leave a rating and comment letting us know how you liked this recipe! This helps our business to thrive and continue providing free, high-quality recipes for you.Notes
💧 Add water one teaspoon at a time if the dough feels too dry and crumbly.
🌱 For vegan version, swap honey with maple syrup or agave and use vegan protein powder.
❄️ Keep in fridge for 9-10 days or freezer for 2-3 months for grab-and-go snacks.
- Prep Time: 5 minutes
- Chill Time: 20 minutes
- Category: Snacks
- Method: No Bake
- Cuisine: American
- Diet: High Protein, Vegetarian
Nutrition
- Serving Size: 1 ball
- Calories: 100 calories
- Sugar: 6g
- Sodium: 49mg
- Fat: 5g
- Saturated Fat: 1g
- Unsaturated Fat: 4g
- Trans Fat: 0g
- Carbohydrates: 11g
- Fiber: 1g
- Protein: 4g
- Cholesterol: 3mg