Ingredients
– 14 ounces sweetened condensed milk
– 1 tablespoon unsweetened cocoa powder
– 3 cups milk chocolate chips
– 2 teaspoons vanilla extract
– 1 cup marshmallow bits
Instructions
1-Step One: Prepare Your Pan Start by lining a 9 by 9 inch pan with aluminum foil. This step is crucial because it allows you to easily remove the fudge after it sets. Press the foil into the corners and smooth out any wrinkles for the best results. The foil creates a barrier that prevents sticking and makes cleanup a breeze.
2-Step Two: Combine Base Ingredients In a small saucepan over medium low heat, whisk together the sweetened condensed milk and unsweetened cocoa powder. Keep the heat moderate and whisk continuously to prevent scorching. The mixture should become smooth and uniform in color within about two minutes. This step creates the chocolatey foundation that gives this hot cocoa fudge its distinctive taste.
3-Step Three: Melt the Chocolate Lower the heat, stir in the milk chocolate chips, and continue stirring until just melted. This is the most critical step in achieving smooth fudge. Be careful not to overheat the mixture, as high temperatures can cause the chocolate to seize and become grainy. Gentle, consistent stirring ensures the chocolate melts evenly and maintains its silky texture.
4-Step Four: Add Vanilla Extract Add vanilla extract and mix thoroughly. The vanilla enhances the chocolate flavor and adds that warm, comforting note we associate with hot cocoa. Stir for about 30 seconds to fully incorporate the vanilla throughout the mixture.
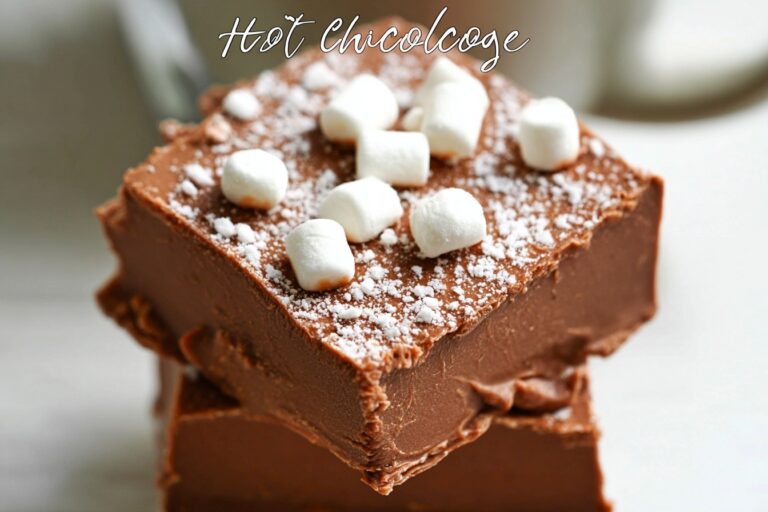
5-Step Five: Pour and Add Marshmallows Pour the mixture into your prepared pan and gently press marshmallow bits into the fudge. Distribute them evenly across the surface so every piece gets a fair share of marshmallows. Press them down slightly so they stick to the fudge rather than just sitting on top.
6-Step Six: Refrigerate to Set Refrigerate covered for at least four hours. The fudge needs this time to firm up properly and develop its full flavor. Resist the urge to check on it frequently, as this can slow the setting process.
7-Step Seven: Cut and Serve Remove the fudge by lifting the foil and peel it off before cutting into pieces. A sharp knife works best for clean cuts. For neat squares, wipe the knife between cuts. Store your finished hot cocoa fudge properly to maintain freshness.
8-Step Eight: Storage Store in an airtight container at room temperature for up to two weeks or freeze for longer storage. Proper storage keeps your fudge tasting fresh and prevents it from drying out.
Last Step:
Please leave a rating and comment letting us know how you liked this recipe! This helps our business to thrive and continue providing free, high-quality recipes for you.Notes
🔥 Keep the heat low when melting chocolate to prevent a grainy texture.
🍫 Use unsweetened baking cocoa powder instead of hot cocoa mix for best flavor.
❄️ Freeze fudge in a single layer first, then transfer to an airtight container for up to three months.
- Prep Time: 10 minutes
- Chill: 4 hours
- Category: Dessert
- Method: No Bake
- Cuisine: American
- Diet: Vegetarian
Nutrition
- Serving Size: 1 piece
- Calories: 118 kcal
- Sugar: 16 g
- Sodium: 16 mg
- Fat: 5 g
- Saturated Fat: 3 g
- Unsaturated Fat: 0.3 g
- Trans Fat: 0 g
- Carbohydrates: 17 g
- Fiber: 0.1 g
- Protein: 1 g
- Cholesterol: 4 mg