

Why You’ll Love This Mongolian Beef Recipe
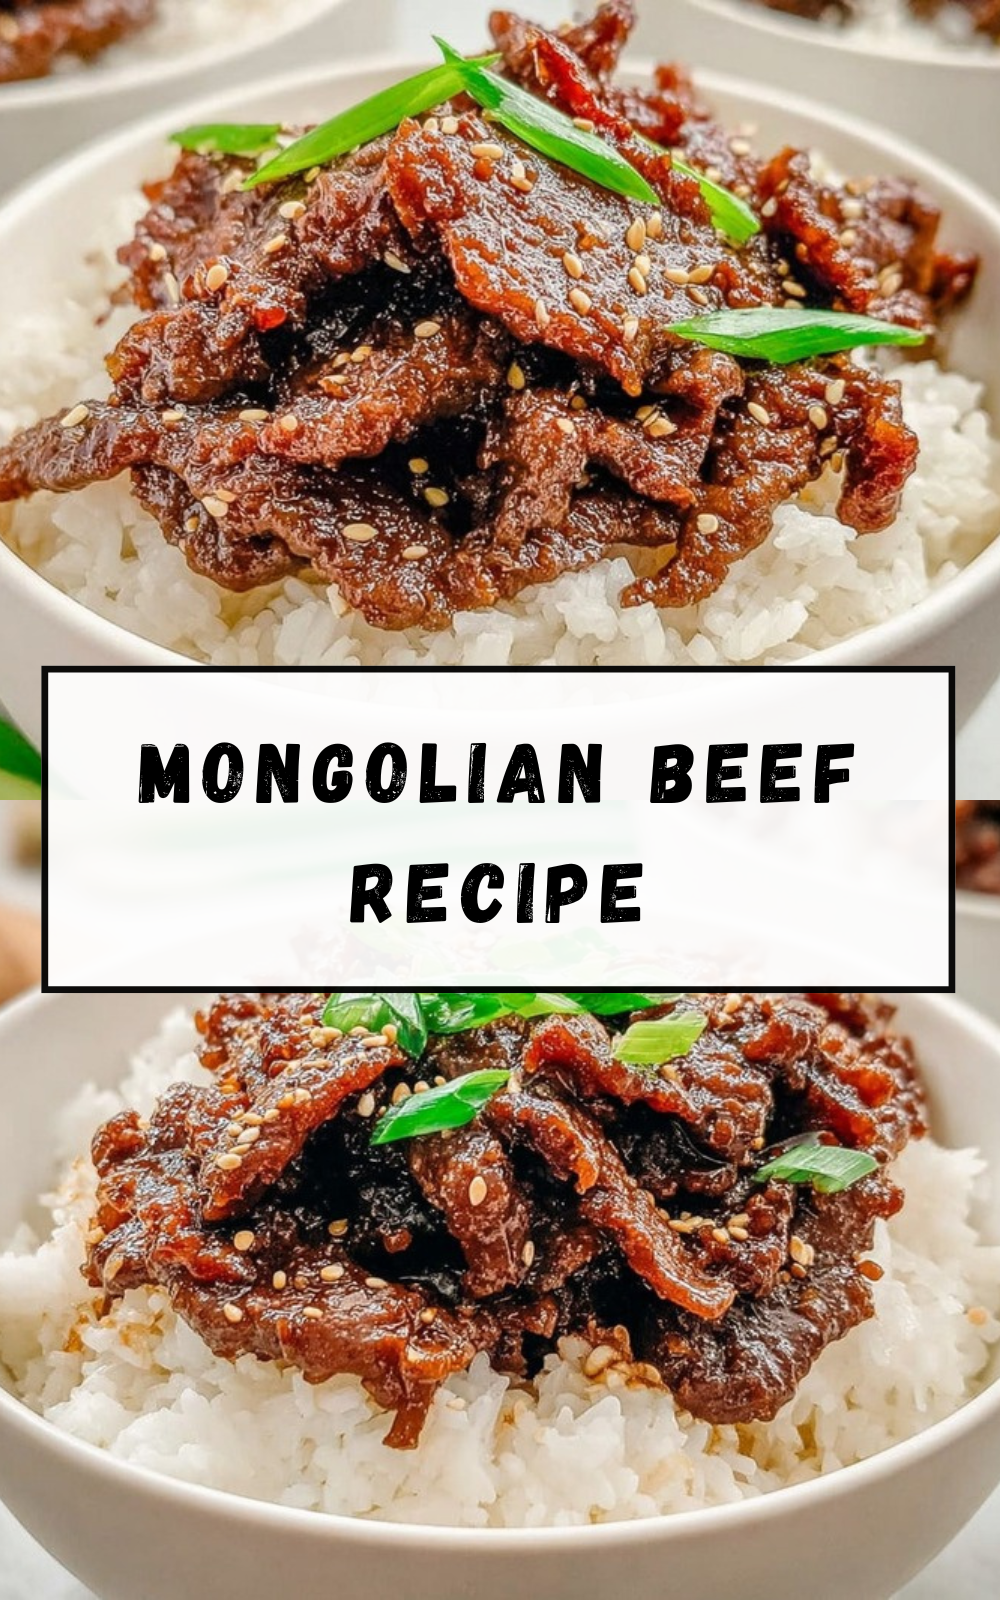
If you are craving a sweet-salty, glossy stir-fry that tastes like takeout, this Mongolian Beef Recipe fits the bill. It is quick, flavorful, and made with simple pantry staples, so you can go from slicing to dinner without stress.
- Ease of preparation: The quick Mongolian beef stir-fry comes together in about 40 minutes total (20 minutes prep, 20 minutes cook). You slice thin, coat with cornstarch, and let the sauce simmer while the beef browns.
- Health benefits: You get 28g protein per serving and only 8g fat, making this a filling option for busy weeknights. Plus, using less-sodium soy sauce helps keep sodium in check compared to many classic recipes.
- Versatility: This is a flexible quick Mongolian beef recipe that works with rice, noodles, or cauliflower rice. You can also swap in different vegetable sides based on what you have at home.
- Distinctive flavor: The sauce is built from soy sauce, brown sugar, garlic, and ginger, then thickens into a sticky glaze that clings to each beef slice. That sweet-savory balance is what makes Mongolian beef so memorable.
Tip from a home cook perspective: If your sauce looks thin at first, keep simmering. It thickens quickly and turns shiny when it is ready.
Jump to:
- Why You’ll Love This Mongolian Beef Recipe
- Essential Ingredients for Mongolian Beef Recipe
- How to Prepare the Perfect Mongolian Beef Recipe: Step-by-Step Guide
- Step 1: Slice and coat the beef
- Step 2: Build the ginger-garlic base
- Step 3: Simmer the sauce until it thickens
- Step 4: Sear the beef in small batches
- Step 5: Combine beef and sauce
- Step 6: Finish with green onions and serve
- Dietary Substitutions to Customize Your Mongolian Beef Recipe
- Protein and Main Component Alternatives
- Vegetable, Sauce, and Seasoning Modifications
- Mastering Mongolian Beef Recipe: Advanced Tips and Variations
- Pro cooking techniques
- Flavor variations you can try
- Presentation and make-ahead options
- How to Store Mongolian Beef Recipe: Best Practices
- Refrigeration
- Freezing
- Reheating
- FAQs: Frequently Asked Questions About Mongolian Beef Recipe
- What is Mongolian beef?
- How do you make Mongolian beef recipe?
- What is the best cut of beef for Mongolian beef?
- How do you cut beef for tender Mongolian beef?
- What can I serve with Mongolian beef and how to store leftovers?
- Mongolian Beef Recipe
- Ingredients
- Instructions
- Last Step:
- Notes
- Nutrition
- Did you make this recipe?
Essential Ingredients for Mongolian Beef Recipe
Below is everything you need for this Mongolian Beef Recipe, including exact measurements. The key is the sauce base plus cornstarch coating, which tenderizes the beef and helps create that signature glaze.
- 2 teaspoons vegetable oil plus 2 tablespoons, divided – For browning the beef and cooking the garlic-ginger.
- ½ teaspoon minced fresh ginger – Adds bright, warm flavor to the sauce.
- 4 cloves garlic, finely minced – Brings a savory aroma and depth.
- ½ cup less-sodium soy sauce – Provides the salty backbone for the Mongolian beef sauce.
- ¼ cup water – Helps the sauce simmer and blend smoothly.
- ½ cup packed brown sugar – Creates the sweet, glossy glaze effect.
- 1 pound flank steak or preferred cut of beef, thinly sliced – The main protein for your Mongolian beef.
- ⅓ cup cornstarch – Coats the beef for tenderness and thickens the sauce.
- 2 green onions, sliced – Adds fresh color and mild oniony bite for serving.
| Ingredient | Role in the Recipe |
|---|---|
| Flank steak (thinly sliced) | Quick-cooking, tender stir-fry bites |
| Cornstarch | Velvets the beef and helps thicken the glaze |
| Less-sodium soy sauce | Salty flavor without going overboard on sodium |
| Brown sugar | Sweet-salty caramelization |
| Garlic and ginger | Aromatic backbone for the sauce |
Quick note for dietary needs: This recipe is naturally great for many home cooks, but you can adjust it for gluten-free soy sauce if needed. For a ginger-focused health angle, you can also read about ginger benefits at Johns Hopkins ginger benefits.
How to Prepare the Perfect Mongolian Beef Recipe: Step-by-Step Guide
This section walks you through the exact process for a Mongolian Beef Recipe that tastes restaurant-style. Keep the heat steady, cook the beef in batches, and you will get a tender bite with a thick, sticky sauce.
Step 1: Slice and coat the beef
First Step: Slice flank steak into thin ¼-inch pieces. Toss the slices with ⅓ cup cornstarch, shake off excess, and set aside.
Why this matters: The cornstarch coat helps tenderize and also thickens the sauce later. It is one of the main reasons this quick Mongolian beef recipe delivers that glossy finish.
Step 2: Build the ginger-garlic base
Second Step: Heat 2 teaspoons vegetable oil over medium-low heat in a skillet. Stir in ½ teaspoon minced fresh ginger and 4 cloves garlic, finely minced, cooking for about 1 minute until fragrant.
Adaptation idea: If you prefer a milder flavor, reduce ginger slightly or use jarred minced garlic. If you love spice, consider adding red pepper flakes during the simmer step (about ¼ teaspoon works well, per taste).
Step 3: Simmer the sauce until it thickens
Third Step: Add ½ cup less-sodium soy sauce, ¼ cup water, and ½ cup packed brown sugar to the skillet. Bring to a boil, then simmer for 3 to 5 minutes until slightly thickened. Transfer sauce to a bowl.
Quick Mongolian beef recipe timing tip: While the sauce simmers, you can start heating your wok for the beef so everything moves smoothly.
Step 4: Sear the beef in small batches
Fourth Step: Heat 1 tablespoon oil in a wok or skillet over medium-high heat. Cook the beef in small batches for about 2 minutes until browned but not fully cooked.
Why batches matter: Overcrowding steams the beef instead of browning it. Batches help you get that quick sear that keeps slices tender.
Step 5: Combine beef and sauce
Fifth Step: Return beef and sauce to the skillet. Heat over medium until hot and bubbly.
Diet-friendly flexibility: Want a lower-carb plate? Serve over cauliflower rice instead of white rice. The sauce still tastes great because it is concentrated and thick.
Step 6: Finish with green onions and serve
Final Step: Remove from heat and stir in green onions. Serve over rice so you can scoop up every bit of Mongolian beef sauce.
Serving idea: Add steamed broccoli or bell peppers on the side for color and crunch. The sweet glaze pairs especially well with crisp-tender veggies.

Dietary Substitutions to Customize Your Mongolian Beef Recipe
One reason Mongolian beef is popular in homes and busy schedules is that it is easy to customize. Below are practical swaps for protein, sauce, and seasoning while keeping the flavor profile close to the classic Mongolian beef style.
Protein and Main Component Alternatives
- Chicken option: Use thin-sliced chicken breast or thigh and cut cooking time slightly to avoid drying.
- Pork option: Pork tenderloin works well when sliced thin; sear quickly and do not overcook.
- Seafood twist: Use shrimp for a fast version, but reduce simmer time since shrimp cooks quickly.
- Vegetarian alternative: For a similar sweet-salty glaze, try thick tofu or seitan, then cook until browned.
Vegetable, Sauce, and Seasoning Modifications
- Vegetables: Add broccoli florets, bell peppers, or snap peas. Cook them separately for best texture, then toss into the finished dish.
- Soy sauce swap: Use gluten-free soy sauce if needed to make your Mongolian beef recipe gluten-free.
- Sweetness control: Reduce brown sugar slightly for less sweetness or increase for a stickier glaze.
- Heat boost: Stir in ¼ teaspoon red pepper flakes to add gentle heat without overpowering.
If you are building a full meal plan, you might also enjoy pairing this with an extra side. For example, check out banana oat chocolate chip cookies if you are serving dessert for family night.
Mastering Mongolian Beef Recipe: Advanced Tips and Variations
Once you nail the basics, a few upgrades can make your quick Mongolian Beef Recipe even better. These tips focus on texture, flavor depth, and prep efficiency for weeknights.
Pro cooking techniques
- Velveting effect: Coat beef in cornstarch to tenderize and help thicken the sauce.
- Slice thin against the grain: Use quick-cooking cuts like flank steak or sirloin, sliced thinly against the grain.
- Freeze for easier slicing: Freeze beef for 20 minutes before slicing for more precise pieces.
- Sear properly: Cook in batches to keep browning even and avoid steaming.
Flavor variations you can try
- Spicy sweet: Add ¼ teaspoon red pepper flakes to the sauce.
- More garlic-ginger punch: Increase garlic or ginger slightly if you love bold aromatics.
- Veggie-forward plates: Pair with broccoli, bell peppers, or rice depending on your family’s preferences.
Presentation and make-ahead options
- Garnish: Add extra green onions on top just before serving.
- Meal prep: Cook the beef and sauce fully, cool, then refrigerate for easy reheating later.
- Serve: Spoon over rice so guests get sauce with every bite.
Make-ahead trick: Mix and slice first, then measure sauce ingredients. When the pan heats up, everything goes faster.
How to Store Mongolian Beef Recipe: Best Practices
Storing your Mongolian beef properly helps keep the texture and flavor close to fresh. Follow these guidelines for refrigeration, freezing, and reheating, especially if you meal prep for the week.
Refrigeration
Refrigerate leftovers up to 4 days in an airtight container. Let the dish cool completely first to prevent condensation and sogginess.
Freezing
Freeze up to 4 months. If you plan to reheat from frozen, it is best to thaw in the refrigerator when possible, then reheat gently.
Reheating
Reheat in a skillet over medium heat. Add a small splash of water to loosen the sauce and heat until hot and bubbly. This method helps preserve that saucy, tender feel.
Note: If you are concerned about reheat safety or nutrition considerations, you can also read general beef nutrition context at Healthline beef nutrition.
FAQs: Frequently Asked Questions About Mongolian Beef Recipe
What is Mongolian beef?
How do you make Mongolian beef recipe?
What is the best cut of beef for Mongolian beef?
How do you cut beef for tender Mongolian beef?
What can I serve with Mongolian beef and how to store leftovers?
Mongolian Beef Recipe
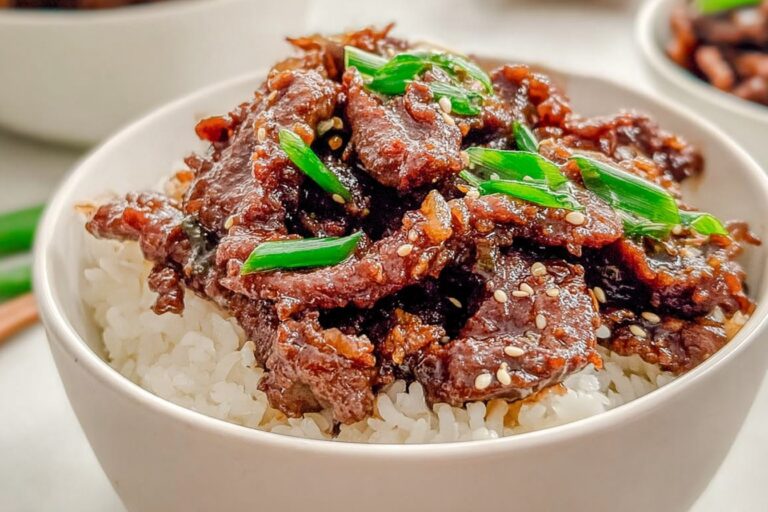
🥩🍲 Whip up Mongolian Beef Quick Recipe in under 40 minutes – tender, cornstarch-coated flank steak glazed in sweet-savory soy-brown sugar sauce for restaurant-quality takeout at home!
🔥 One-pan stir-fry magic, customizable spice, bursting with ginger-garlic flavor over rice for effortless family dinners any night.
- Total Time: 40 minutes
- Yield: 4 servings
Ingredients
– 2 teaspoons vegetable oil plus 2 tablespoons, divided for browning the beef and cooking the garlic-ginger.
– ½ teaspoon minced fresh ginger for adding bright, warm flavor to the sauce.
– 4 cloves garlic, finely minced for bringing a savory aroma and depth.
– ½ cup less-sodium soy sauce for providing the salty backbone for the Mongolian beef sauce.
– ¼ cup water for helping the sauce simmer and blend smoothly.
– ½ cup packed brown sugar for creating the sweet, glossy glaze effect.
– 1 pound flank steak or preferred cut of beef, thinly sliced for the main protein for your Mongolian beef.
– ⅓ cup cornstarch for coating the beef for tenderness and thickening the sauce.
– 2 green onions, sliced for adding fresh color and mild oniony bite for serving.
Instructions
1-Step 1: Slice and coat the beef First Step: Slice flank steak into thin ¼-inch pieces. Toss the slices with ⅓ cup cornstarch, shake off excess, and set aside.
2-Step 2: Build the ginger-garlic base Second Step: Heat 2 teaspoons vegetable oil over medium-low heat in a skillet. Stir in ½ teaspoon minced fresh ginger and 4 cloves garlic, finely minced, cooking for about 1 minute until fragrant.
3-Step 3: Simmer the sauce until it thickens Third Step: Add ½ cup less-sodium soy sauce, ¼ cup water, and ½ cup packed brown sugar to the skillet. Bring to a boil, then simmer for 3 to 5 minutes until slightly thickened. Transfer sauce to a bowl.
4-Step 4: Sear the beef in small batches Fourth Step: Heat 1 tablespoon oil in a wok or skillet over medium-high heat. Cook the beef in small batches for about 2 minutes until browned but not fully cooked.
5-Step 5: Combine beef and sauce Fifth Step: Return beef and sauce to the skillet. Heat over medium until hot and bubbly.
6-Step 6: Finish with green onions and serve Final Step: Remove from heat and stir in green onions. Serve over rice so you can scoop up every bit of Mongolian beef sauce.
Last Step:
Please leave a rating and comment letting us know how you liked this recipe! This helps our business to thrive and continue providing free, high-quality recipes for you.Notes
❄️ Freeze beef for 20 minutes before slicing for ultra-thin, easy cuts against the grain.
🥄 Coat beef generously in cornstarch – it tenderizes and creates glossy sauce.
🔥 Cook beef in batches to sear properly without steaming for best texture.
- Prep Time: 20 minutes
- Cook Time: 20 minutes
- Category: Main Dishes
- Method: Stir-Fry
- Cuisine: Chinese
Nutrition
- Serving Size: 1/4 recipe
- Calories: 342
- Sugar: 27g
- Sodium: 1691mg
- Fat: 8g
- Saturated Fat: 3g
- Unsaturated Fat: 5g
- Trans Fat: 0g
- Carbohydrates: 40g
- Fiber: 1g
- Protein: 28g
- Cholesterol: 68mg





