

Why You’ll Love This Ninja Creami Key Lime Pie
- Ease of preparation: You mix everything, freeze, then process in your Ninja Creami. Total active time is about 10 minutes, with hands-off freezing doing most of the work.
- Health benefits: With 26 g protein per serving, this Key lime pie protein ice cream recipe supports your day without feeling like dessert guilt.
- Versatility: You can swap the milk (whole milk or full-fat oat milk), choose gluten-free graham cracker crumbs, and even make it dairy-free with simple yogurt and cream swaps.
- Distinctive flavor: The tangy lime flavor gives you that classic key lime pie vibe, while the yogurt keeps the texture creamy and scoopable.
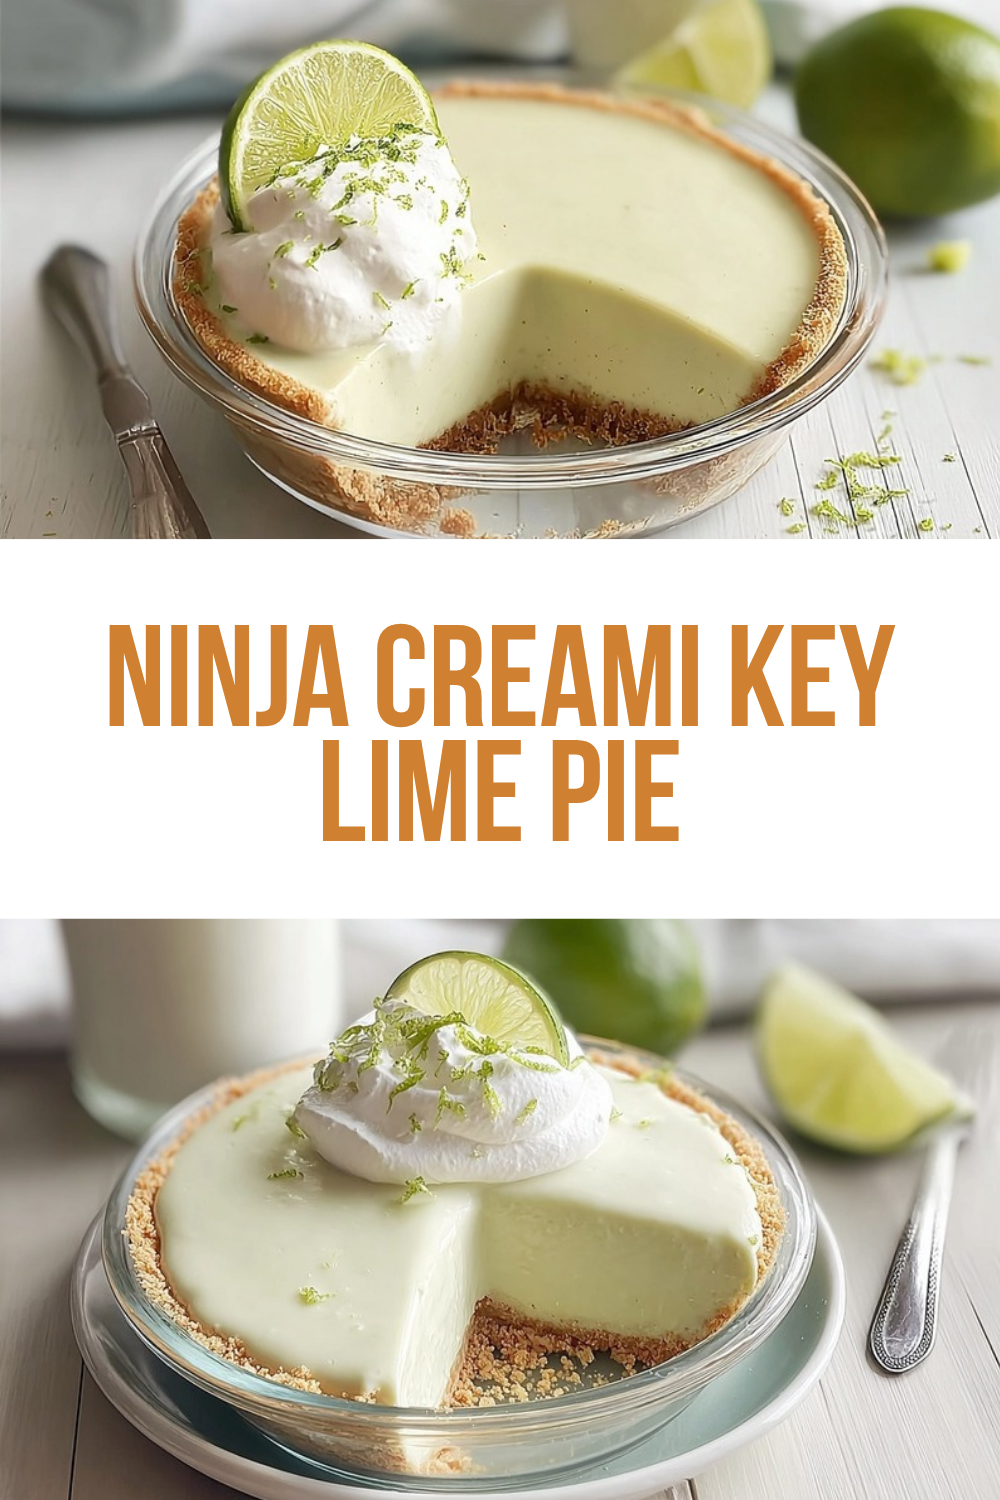
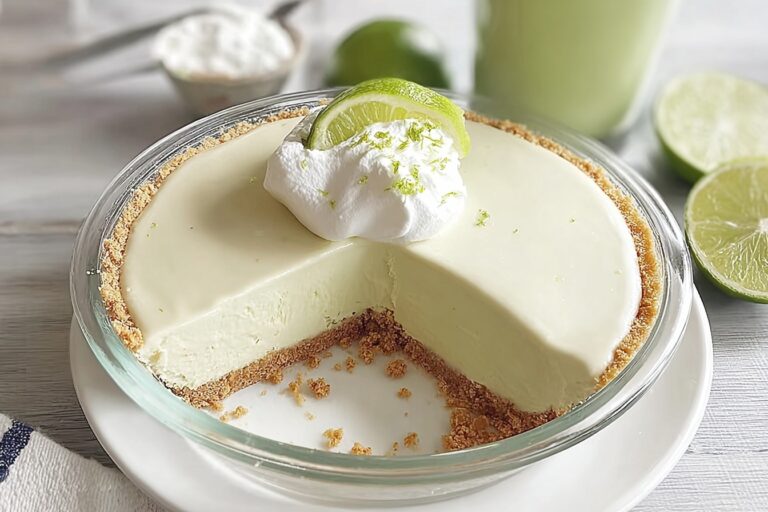
If you love the sweet tart taste of key lime pie but want something lighter and higher protein, this Ninja Creami Key Lime Pie is the perfect mashup.
For more easy protein-friendly ideas, you might also enjoy no-bake energy bites when you want a quick snack pairing.
Jump to:
- Why You’ll Love This Ninja Creami Key Lime Pie
- Essential Ingredients for Ninja Creami Key Lime Pie
- Special Dietary Options
- How to Prepare the Perfect Ninja Creami Key Lime Pie: Step-by-Step Guide
- Prep + Freeze + Process Timeline
- Step-by-Step Instructions
- Dietary Substitutions to Customize Your Ninja Creami Key Lime Pie
- Protein and Main Component Alternatives
- Vegetable, Sauce, and Seasoning Modifications
- Mastering Ninja Creami Key Lime Pie: Advanced Tips and Variations
- Pro Cooking Techniques
- Flavor Variations
- Presentation Tips
- Make-Ahead Options
- How to Store Ninja Creami Key Lime Pie: Best Practices
- Refrigeration (Short-Term)
- Freezing (Long-Term)
- Reheating or Re-Processing
- Meal Prep Considerations
- FAQs: Frequently Asked Questions About Ninja Creami Key Lime Pie
- How do you make Key Lime Pie in a Ninja Creami?
- Can you make Ninja Creami Key Lime Pie dairy-free?
- Can I use a different yogurt for Ninja Creami Key Lime Pie?
- How do you store leftover Ninja Creami Key Lime Pie?
- Why is my Ninja Creami Key Lime Pie powdery and how do I fix it?
- Ninja Creami Key Lime Pie
- Ingredients
- Instructions
- Last Step:
- Notes
- Nutrition
- Did you make this recipe?
Essential Ingredients for Ninja Creami Key Lime Pie
Below are the exact ingredients for this Key Lime Pie Protein Ice Cream Recipe, including the measurements you need for one pint-style batch.
- 2 cartons (5.3 ounces each) key lime pie Greek yogurt – Provides the tangy “key lime pie” base and creamy body
- ½ cup whole milk (whole milk preferred for best texture; full-fat oat milk can be an alternative) – Adds smoothness so the ice cream stays creamy
- 1 scoop vanilla protein powder (gluten-free with simple ingredients suggested; scoops weigh about 35 grams) – Boosts protein while keeping flavor balanced
- 2 teaspoons lime juice (can be bottled key lime juice, fresh key limes, or regular lime juice) – Brightens the tang and intensifies the lime flavor
Optional toppings (for serving): whipped cream, gluten-free graham cracker crumbs, white chocolate chips, or frozen cream cheese chunks for a cheesecake flavor.
Special Dietary Options
- Gluten-free: Use gluten-free graham crackers if you add crumbs, and confirm your protein powder is gluten-free.
- Dairy-friendly swaps: Whole milk gives the creamiest texture, but you can use full-fat oat milk if needed.
- Low-calorie approach: Choose a lower-sugar protein powder and use unsweetened yogurt, then taste and adjust lime juice to keep that classic tang.
| Category | What You Use | Why It Matters |
|---|---|---|
| Base | Key lime pie Greek yogurt | Sets the tangy flavor and creamy texture |
| Liquid | Whole milk (or full-fat oat milk) | Helps the Ninja Creami spin smoothly |
| Protein | Vanilla protein powder (about 35 g per scoop) | Boosts protein to 26 g per serving |
| Flavor booster | Lime juice | Brings the key lime pie punch |
And if you enjoy using your Ninja Creami for more breakfast or snack-style treats, check out mini muffin pancake bites for a fun, family-friendly companion.
How to Prepare the Perfect Ninja Creami Key Lime Pie: Step-by-Step Guide
This recipe is built for busy schedules. You mix once, freeze overnight (or at least 8 to 10 hours), then process. That’s it. The hardest part is waiting for the freezer clock to finish.
Prep + Freeze + Process Timeline
- Prep time: 10 minutes
- Freezing time: at least 8 to 10 hours (overnight is best)
- Total time: about 10 hours and 10 minutes
To stay creamy, you’ll also follow a simple trick: briefly room-temperature the pint before processing to reduce crumbliness.
Step-by-Step Instructions
- First Step: Combine the key lime pie Greek yogurt, whole milk, vanilla protein powder, and lime juice in an ice cream maker pint container. Mix until smooth and frothy using a whisk, immersion blender, or frother.
- Second Step: Optionally add vanilla extract or vanilla bean paste for extra flavor, then stir again until the base looks fully blended.
- Third Step: Seal the container with a lid and freeze for at least 8 to 10 hours, preferably overnight. Keep the pint level while freezing for best texture.
- Fourth Step: Remove the container from the freezer 5 to 10 minutes before processing to reduce crumbliness. This small step helps a lot if your base is thicker.
- Fifth Step: Place the pint container into the outer bowl, secure the lid with blade assembly, and twist until it clicks. Use the lite ice cream setting to process.
- Sixth Step: If the ice cream looks crumbly, add a splash of milk or key lime pie yogurt and re-spin.
- Final Step: Optional but fun: create an indent in the ice cream, add mix-ins like graham cracker pieces, frozen cream cheese chunks, or white chocolate chips, then process on the mix-ins setting. Serve as is or topped with whipped cream and graham cracker crumbs.
Quick troubleshooting tip:
- If it’s powdery after processing, you usually just need a re-spin with a small splash of milk, then add mix-ins after the first spin for better texture.
Want a deep dive on Ninja Creami technique and similar flavors? You may find inspiration from this Ninja Creami key lime pie guide.

Dietary Substitutions to Customize Your Ninja Creami Key Lime Pie
One of the best parts of Ninja Creami desserts is that you can make them match your routine and preferences. Keep the flavor profile similar (tangy lime + vanilla + creamy base) and you’ll stay on track.
Protein and Main Component Alternatives
- Different yogurt: Swap yogurt flavors to vary your Ninja Creami Key Lime Pie. Vanilla yogurt works, but you may want to balance sweetness by adjusting condensed ingredients if you add them later.
- Dairy-free option: Use coconut or almond-based Greek-style yogurt instead of regular Greek yogurt. Replace the dairy cream component with full-fat coconut cream, and use coconut condensed milk or a mix of full-fat coconut milk with maple syrup. Keep key lime juice and vanilla the same for the best “pie” vibe.
- Whole milk vs oat milk: Whole milk produces the creamiest texture, but full-fat oat milk is a solid alternative.
- Gluten-free protein: Choose vanilla protein powder that’s gluten-free with simple ingredients so you can keep toppings like graham cracker crumbs safe.
Vegetable, Sauce, and Seasoning Modifications
This recipe is mostly fruit-forward and dairy-forward, so the “seasoning” is really all about citrus and vanilla.
- Lime juice choices: Use bottled key lime juice, fresh key limes, or regular lime juice. If your lime juice tastes mild, add a tiny bit more to punch up the tang.
- Vanilla boost: Stir in vanilla extract or vanilla bean paste for extra flavor if desired. It rounds out the sourness so it tastes more like pie.
- Mix-in flavor add-ons: For cheesecake flavor, add frozen cream cheese chunks. For crunch, mix in gluten-free graham cracker crumbs.
- Sweet balance: If your protein powder is sweeter than expected, consider using slightly less topping sweetness (like fewer white chocolate chips).
Tip for the best texture: avoid low-fat yogurt when possible. The base needs enough richness to spin smoothly into creamy “ice cream.”
Mastering Ninja Creami Key Lime Pie: Advanced Tips and Variations
Once you nail the base, you can make it feel brand new every time. Here are advanced tricks and easy variations that still taste like key lime pie.
Pro Cooking Techniques
- Blend smoothly: Using an immersion blender often produces the smoothest mixture, but a whisk or frother works too.
- Room-temp window: Remove the pint from the freezer 5 to 10 minutes before processing. This reduces the chance you’ll need multiple re-spins due to crumbliness.
- Don’t overfill: Make sure the mixture sits within the pint container guidelines to prevent messy pressure buildup.
- Re-spin smart: If texture is crumbly or powdery, add a splash of milk or key lime pie yogurt, then re-spin. Keep additions small so it stays rich.
Flavor Variations
- White chocolate lime: Mix in white chocolate chips for a sweeter, creamier finish.
- Cheesecake vibe: Add frozen cream cheese chunks and process on the mix-ins setting.
- Classic crunch: Add graham cracker pieces or gluten-free graham cracker crumbs for that “pie crust” feel.
Presentation Tips
- Scoop into bowls and top with whipped cream.
- Add graham cracker crumbs on top for a visible crust look.
- Serve chilled for the best scoopability.
Make-Ahead Options
This dessert is perfect for meal prep. Since it needs freezing anyway, you can mix one day, freeze overnight, and serve the next.
- Plan ahead for parties: Make it the day before guests arrive.
- Batch-friendly: Store in the freezer and respin when needed for a smoother serving texture.
- Leftovers: Smooth the top, seal with the lid, freeze again, then re-process as needed.
You can also review another helpful reference at the end of your research journey: this related resource.
How to Store Ninja Creami Key Lime Pie: Best Practices
Proper storage keeps your Ninja Creami Key Lime Pie tasting like freshly processed ice cream instead of a stiff frozen dessert.
Refrigeration (Short-Term)
- After processing, keep it covered and refrigerate only briefly if you plan to serve soon.
- For best results, serve directly from the freezer.
Freezing (Long-Term)
- Seal the pint tightly with the lid and return it to the freezer upright.
- To prevent ice crystals, smooth the top flat after processing with a spoon.
- When stored well, leftover ice cream can last up to 2 weeks.
Reheating or Re-Processing
- When ready to eat, let the pint sit 5 to 10 minutes at room temperature.
- Re-process on the Re-spin cycle. No added liquid is needed for best results in many cases.
- If it still needs help, add a small splash of milk and spin again.
Meal Prep Considerations
- For portions, scoop into airtight containers, but pints typically respin smoother.
- Avoid letting it fully soften and refreeze completely since creaminess can drop.
- Label containers with dates so you can track freshness.
FAQs: Frequently Asked Questions About Ninja Creami Key Lime Pie
How do you make Key Lime Pie in a Ninja Creami?
Can you make Ninja Creami Key Lime Pie dairy-free?
Can I use a different yogurt for Ninja Creami Key Lime Pie?
How do you store leftover Ninja Creami Key Lime Pie?
Why is my Ninja Creami Key Lime Pie powdery and how do I fix it?
Ninja Creami Key Lime Pie
🍨 Tangy key lime pie bliss in creamy, protein-packed ice cream – 26g protein per serving for guilt-free indulgence!
🍋 No-churn magic with Greek yogurt base, ready after overnight freeze for healthy dessert cravings anytime!
- Total Time: 10 hours 10 minutes
- Yield: 2 servings
Ingredients
– 2 cartons (5.3 ounces each) key lime pie Greek yogurt for setting the tangy flavor and creamy texture
– ½ cup whole milk for helping the Ninja Creami spin smoothly
– 1 scoop vanilla protein powder (about 35 grams) for boosting protein to 26 g per serving
– 2 teaspoons lime juice for bringing the key lime pie punch
Instructions
1-First Step: Combine the key lime pie Greek yogurt, whole milk, vanilla protein powder, and lime juice in an ice cream maker pint container. Mix until smooth and frothy using a whisk, immersion blender, or frother.
2-Second Step: Optionally add vanilla extract or vanilla bean paste for extra flavor, then stir again until the base looks fully blended.
3-Third Step: Seal the container with a lid and freeze for at least 8 to 10 hours, preferably overnight. Keep the pint level while freezing for best texture.
4-Fourth Step: Remove the container from the freezer 5 to 10 minutes before processing to reduce crumbliness. This small step helps a lot if your base is thicker.
5-Fifth Step: Place the pint container into the outer bowl, secure the lid with blade assembly, and twist until it clicks. Use the lite ice cream setting to process.
6-Sixth Step: If the ice cream looks crumbly, add a splash of milk or key lime pie yogurt and re-spin.
7-Final Step: Optional but fun: create an indent in the ice cream, add mix-ins like graham cracker pieces, frozen cream cheese chunks, or white chocolate chips, then process on the mix-ins setting. Serve as is or topped with whipped cream and graham cracker crumbs.
Last Step:
Please leave a rating and comment letting us know how you liked this recipe! This helps our business to thrive and continue providing free, high-quality recipes for you.Notes
🥛 Whole milk yields creamiest texture; oat milk works for dairy-free.
⏰ Soften pint 5-10 min pre-process to avoid crumbly re-spins.
🌀 Immersion blender smooths batter best for pro-level creaminess.
- Prep Time: 10 minutes
- Freezing: 8-10 hours
- Category: Desserts
- Method: No-Churn
- Cuisine: American
- Diet: High-Protein
Nutrition
- Serving Size: 1/2 pint
- Calories: 373 kcal
- Sugar: 21g
- Sodium: 282mg
- Fat: 10g
- Saturated Fat: 4g
- Unsaturated Fat: 6g
- Trans Fat: 0g
- Carbohydrates: 48g
- Fiber: 4g
- Protein: 26g
- Cholesterol: 12mg





