Ingredients
– 1 1/4 cups Rolled oats Adds texture, body, and gentle fiber
– 1/2 cup Protein powder Raises the protein content and helps the snack feel more filling
– 3/4 cup Peanut butter Gives flavor and helps bind the mixture
– 1/4 cup Maple syrup Adds sweetness and moisture
Instructions
1-First Step: Mix the dry ingredients In a mixing bowl, add 1 1/4 cups rolled oats and 1/2 cup protein powder. Stir them together until the mixture looks even and the powder is spread through the oats. This quick step helps keep the texture smooth later, so you do not end up with little clumps of powder in one bite.
2-Second Step: Warm the wet ingredients In a microwave-safe bowl, add 3/4 cup peanut butter and 1/4 cup maple syrup. Microwave the mixture until the peanut butter melts and the two ingredients blend together smoothly. You only need enough heat to make the mixture easy to stir, not so much that it gets too hot. If you prefer, you can also warm the mixture on the stove over very low heat, but the microwave is the fastest route for this Peanut Butter Protein Balls Easy No Bake Recipe.
3-Third Step: Combine everything Pour the warm peanut butter mixture into the bowl with the dry ingredients. Stir well until the oats are coated and the mixture starts to come together. At first, it may look a little crumbly, but keep mixing. The warmth from the peanut butter helps the oats and protein powder absorb moisture and bind into a dough. Mix with a sturdy spoon first, then finish with clean hands if needed. That makes it easier to feel the texture and tell if the dough needs a little more liquid or dry ingredients.
4-Fourth Step: Check the texture This is where you can make tiny adjustments. If the mixture feels too sticky or wet, add a spoonful more protein powder or a bit of ground flax seeds. If it feels too dry or crumbly, add a splash of water or milk. If you are using casein protein powder, add 1 to 2 tablespoons of water to avoid dryness, since casein tends to absorb more moisture than whey. The goal is a dough that holds together when squeezed in your hand. It should be soft, but not runny. If you press a little bit between your fingers and it stays together, you are ready to roll.
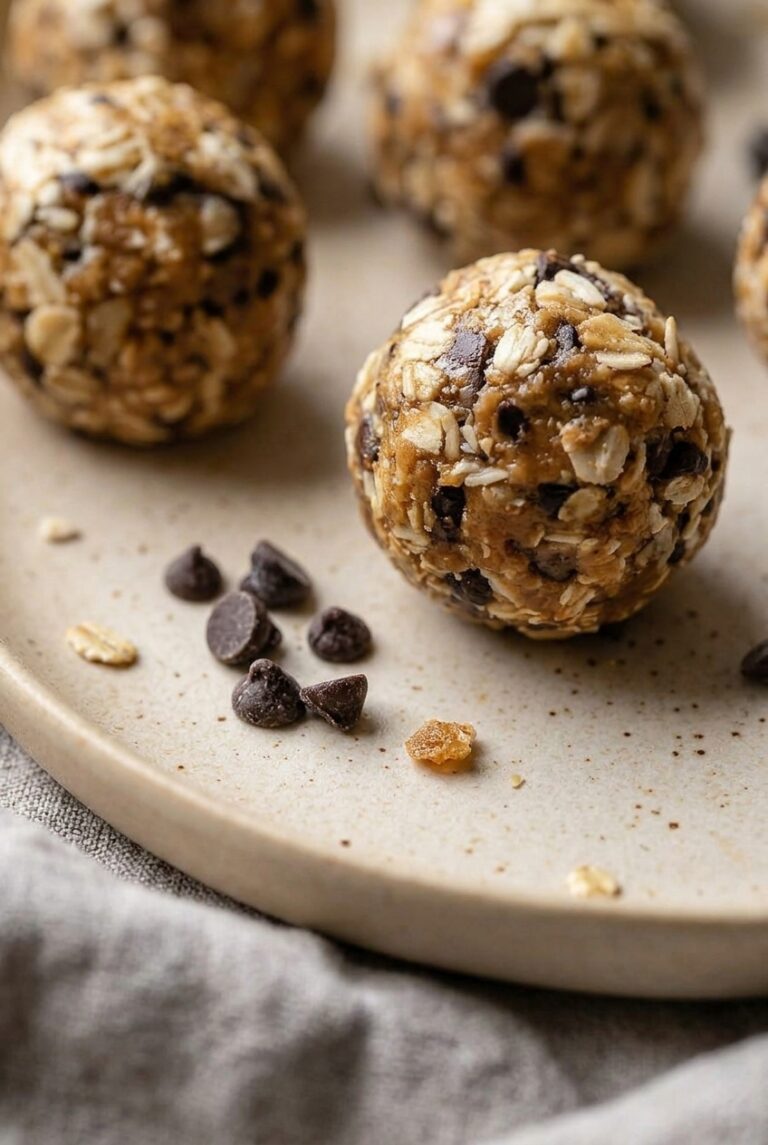
5-Fifth Step: Shape the balls Using your hands, form small balls from the batter and place them on a lined plate. You can make them as small or as large as you like, but bite-sized portions are usually the easiest for snacking and meal prep. A small cookie scoop can help make the sizes more even, but your hands work just fine. If you are making these for kids or for lunchboxes, smaller balls are often the easiest option. If you want a more filling snack, make them slightly larger and pair them with fruit or yogurt.
6-Final Step: Chill until firm Once all the balls are shaped, place the lined plate in the refrigerator for at least an hour to firm up. This chilling time helps the protein balls hold together better and improves the texture. After chilling, they are ready to eat right away. The finished snack has a simple, satisfying taste that works well any time of day. You can enjoy them after a workout, as a mid-afternoon bite, or packed in a lunch container for later.
Last Step:
Please leave a rating and comment letting us know how you liked this recipe! This helps our business to thrive and continue providing free, high-quality recipes for you.Notes
🛠️ Adjust consistency by adding more protein powder or flax seeds if too wet, or a splash of milk if too dry.
🔄 Swap peanut butter with almond or cashew butter for variety.
➕ Mix in chocolate chips, chia seeds, or raisins for extra flavor and texture.
- Prep Time: 5 minutes
- Chill Time: 1 hour
- Category: Snacks
- Method: No Bake
- Cuisine: American
- Diet: High Protein, Vegetarian
Nutrition
- Serving Size: 1 ball
- Calories: 142 calories
- Sugar: 5g
- Sodium: 82mg
- Fat: 9g
- Saturated Fat: 2g
- Unsaturated Fat: 7g
- Trans Fat: 0g
- Carbohydrates: 12g
- Fiber: 2g
- Protein: 10g
- Cholesterol: 0mg