

Why You’ll Love This Protein Balls High Protein Low Carb Recipe
If you want a snack that tastes like dessert but still fits your busy day, these Protein Balls High Protein Low Carb treats are a smart choice. They come together fast, need no oven, and give you a grab-and-go bite that feels satisfying without loading you up with extra carbs. I love recipes like this because they work for so many people, from students rushing between classes to parents trying to keep hungry kids happy.
- Fast and easy: This is a true no bake snack. You only need about 15 minutes total, one bowl, and a quick chill time before the balls are ready. That makes these protein balls a great choice for busy mornings or late afternoon cravings.
- High protein and low carb: Each 2 ball serving gives you 12.1 grams of protein and only 3.8 grams of net carbs. That balance helps support fullness, steady energy, and low carb eating goals.
- Flexible for many diets: You can make these with whey isolate, plant-based protein, collagen, or egg white protein. You can also swap peanut butter for almond butter and choose the sweetener that fits your lifestyle.
- Rich peanut butter flavor: These protein balls taste creamy, nutty, and just sweet enough. If you add chocolate chips, they feel even more like a treat while still staying in the high protein snack zone.
These are the kind of protein balls high protein low carb snack I like to keep in the fridge when I need something quick, filling, and easy to love.
If you enjoy easy snack ideas, you may also like my no bake energy bites recipe for another quick option. For a balanced breakfast idea, check out these mini muffin pancake bites.
Jump to:
- Why You’ll Love This Protein Balls High Protein Low Carb Recipe
- Essential Ingredients for Protein Balls High Protein Low Carb
- Special Dietary Options
- How to Prepare the Perfect Protein Balls High Protein Low Carb: Step-by-Step Guide
- First Step: Gather and measure everything
- Second Step: Melt the peanut butter and butter
- Third Step: Add the dry ingredients
- Fourth Step: Fold in the chocolate chips
- Fifth Step: Roll into balls
- Final Step: Chill until firm
- Dietary Substitutions to Customize Your Protein Balls High Protein Low Carb
- Protein and Main Component Alternatives
- Vegetable, Sauce, and Seasoning Modifications
- Mastering Protein Balls High Protein Low Carb: Advanced Tips and Variations
- Pro cooking techniques
- Flavor variations
- Presentation tips
- Make-ahead options
- How to Store Protein Balls High Protein Low Carb: Best Practices
- Refrigeration
- Freezing
- Meal prep considerations
- Nutrition Details for Protein Balls High Protein Low Carb
- FAQs: Frequently Asked Questions About Protein Balls High Protein Low Carb
- What are the benefits of high protein low carb protein balls?
- How many carbs and protein are in protein balls?
- How do you store high protein low carb protein balls?
- How do you make high protein low carb protein balls at home?
- Are high protein low carb protein balls keto friendly and good for weight loss?
- Protein Balls High Protein Low Carb
- Ingredients
- Instructions
- Last Step:
- Notes
- Nutrition
- Did you make this recipe?
Essential Ingredients for Protein Balls High Protein Low Carb
This recipe uses simple pantry ingredients that mix into a soft dough with great flavor and a satisfying texture. The ingredient list is short, but each item plays a role in helping these protein balls hold together and taste good.
- 2/3 cup peanut butter: Gives the dough its creamy base, rich flavor, and chewy texture. Natural creamy peanut butter works best.
- 2 tablespoons butter or oil, such as avocado oil or coconut oil: Helps the peanut butter melt smoothly and makes the dough easier to mix.
- 3/4 cup protein powder, unflavored or vanilla: Adds the high protein boost that makes this snack so filling. Whey isolate, vanilla egg white, plant-based, or collagen protein all work.
- 1/3 cup sweetener: Adds sweetness without making the recipe heavy. Powdered sweeteners are a better choice because they help prevent a gritty texture.
- 1/4 cup almond flour: Helps the dough firm up and gives it a soft, cookie dough-like feel.
- 2 tablespoons hemp seeds, optional: Add a little crunch, extra protein, and a boost of healthy fats.
- 1/8 teaspoon salt, if peanut butter is unsalted: Balances the sweetness and brings out the peanut butter flavor.
- 1 teaspoon vanilla extract, less if using vanilla protein: Deepens the flavor and makes the balls taste more like a sweet treat.
- 1/4 cup chocolate chips, optional: Adds fun little bites of chocolate throughout the dough.
Special Dietary Options
- Vegan: Use plant-based protein powder and choose coconut oil instead of butter.
- Gluten-free: This recipe is naturally gluten-free when you use certified gluten-free protein powder and sweetener.
- Low-calorie: Use a zero-calorie powdered sweetener and skip the chocolate chips if you want a lighter version.
| Ingredient | Purpose | Easy Swap |
|---|---|---|
| Peanut butter | Base and flavor | Almond butter |
| Protein powder | Protein boost | Whey, egg white, plant-based, collagen |
| Almond flour | Structure | Adjust slightly if dough is too wet or dry |
| Chocolate chips | Optional sweetness | Leave out for fewer carbs |
Tip: If your protein powder is very thick or absorbent, you may need a small splash of oil. If the dough feels too soft, add a little more almond flour.
How to Prepare the Perfect Protein Balls High Protein Low Carb: Step-by-Step Guide
Making these protein balls is simple, but the order matters if you want a dough that rolls well and holds its shape. The process starts with melting the peanut butter and butter together so everything blends smoothly, then you add the dry ingredients and mix until the dough comes together. Once the dough is ready, you shape it into balls and chill them until firm.
First Step: Gather and measure everything
Before you begin, measure out all the ingredients so the mixing process goes smoothly. This recipe moves fast, and having everything ready makes it much easier to keep the texture right. Set out the peanut butter, butter or oil, protein powder, sweetener, almond flour, hemp seeds if you are using them, salt if needed, vanilla extract, and chocolate chips.
Second Step: Melt the peanut butter and butter
Place the 2/3 cup peanut butter and 2 tablespoons butter or oil into a large microwave-safe bowl. Microwave in short bursts, just long enough for the mixture to become warm and easy to stir together. You do not want it bubbling, only smooth and loosened so the rest of the ingredients can blend evenly.
This step matters because warm peanut butter mixes better with the protein powder. If you are using coconut oil, the mixture may melt a little faster. If you are using avocado oil, it will help keep the texture soft without changing the flavor much.
Third Step: Add the dry ingredients
Stir in the 3/4 cup protein powder, 1/3 cup sweetener, 1/4 cup almond flour, 2 tablespoons hemp seeds if using, 1/8 teaspoon salt if your peanut butter is unsalted, and 1 teaspoon vanilla extract. Mix well until the dough starts looking thicker and more cohesive. At first it may seem crumbly, but keep stirring because the nut butter will help bring everything together.
If you are using vanilla protein powder, you can use a little less vanilla extract so the flavor does not get too strong. If the dough seems too dry, add a tiny bit more butter or oil. If it seems too wet or sticky, add a spoonful of almond flour.
Fourth Step: Fold in the chocolate chips
Once the dough has formed, stir in the 1/4 cup chocolate chips if you want them. Make sure they are spread evenly through the mixture so every bite gets a bit of chocolate. This is also the moment to taste the dough and check the sweetness level before rolling.
If you prefer a more classic peanut butter flavor, skip the chocolate chips. If you want more crunch, add the optional hemp seeds. Either way, the dough should feel soft but rollable.
Fifth Step: Roll into balls
Scoop the dough and roll it into 1-inch balls. You should end up with about 20 balls, depending on the exact size. A small cookie scoop can help keep them even, but a spoon works just fine too.
Try to press each ball gently between your palms so it holds together. If the dough sticks to your hands, chill it for a few minutes before finishing the rolling step. That little pause can make the process much easier.
Final Step: Chill until firm
Place the balls on a plate or tray and refrigerate them until firm. The chilling time helps the texture set, which makes them easier to store and easier to eat. Once firm, transfer them to a covered container and keep them in the fridge or freezer based on how soon you plan to eat them.
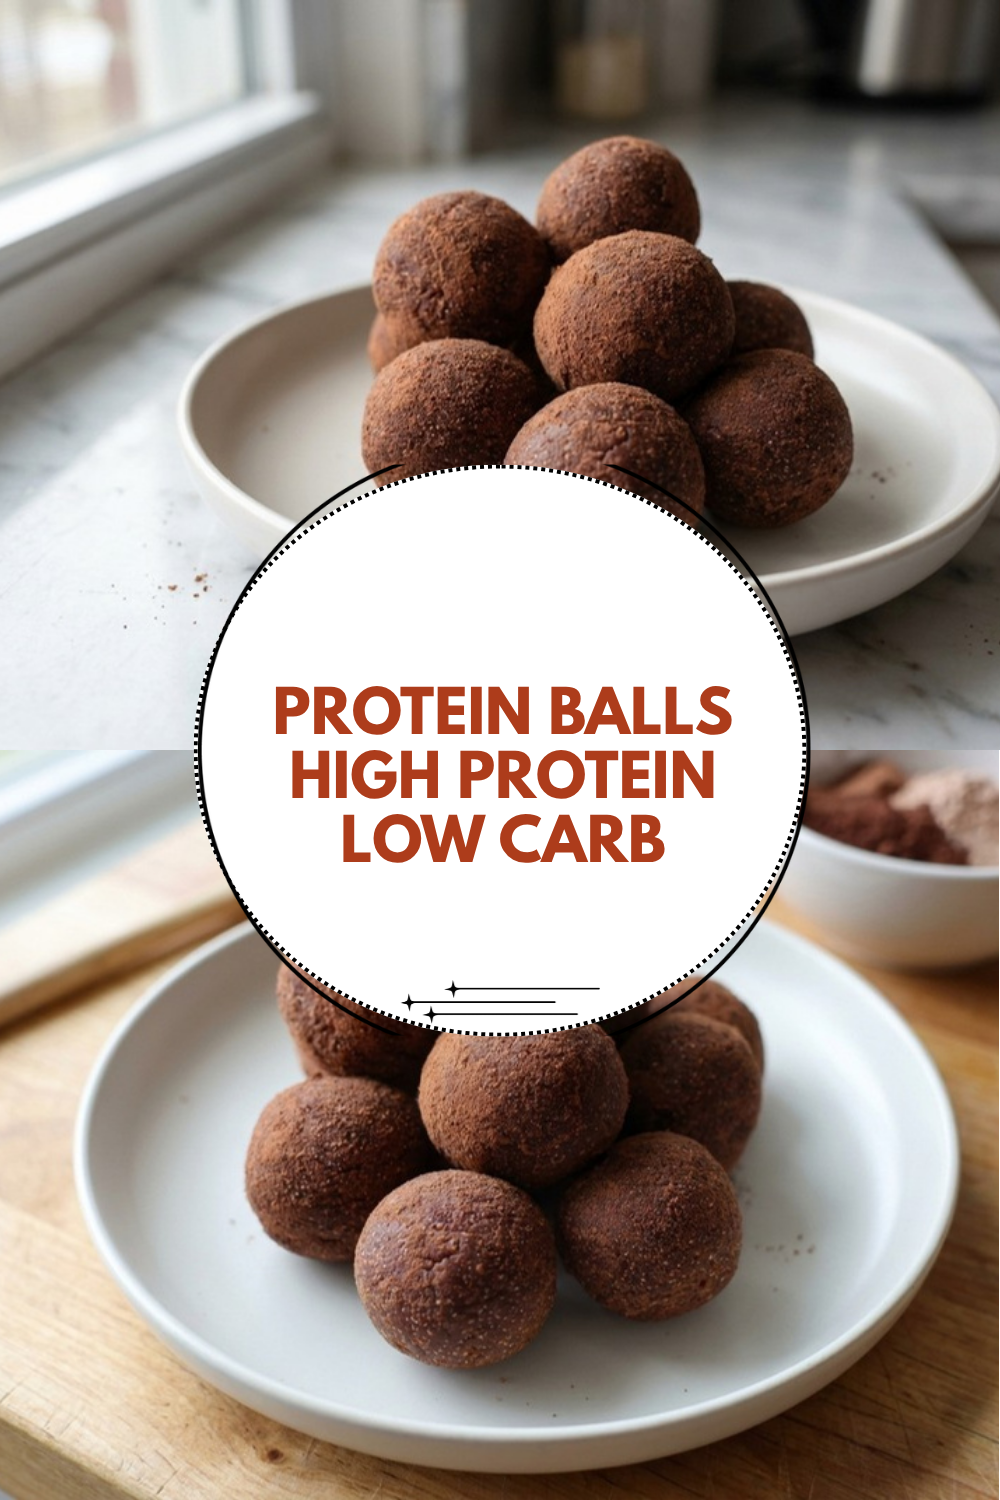
These high protein low carb protein balls are at their best after a short chill because the texture becomes denser, smoother, and easier to grab on the go.
For another easy snack idea that works well for meal prep, you might also like this mango peach strawberry smoothie for a quick protein-friendly pairing.

Dietary Substitutions to Customize Your Protein Balls High Protein Low Carb
Protein and Main Component Alternatives
If you do not have peanut butter, almond butter works very well and gives the balls a slightly milder flavor. You can also use other natural nut butters, as long as they are creamy enough to blend smoothly. For the protein powder, whey isolate is a strong option if you want a higher protein count, while plant-based powder is a good choice for dairy-free eaters. Collagen powder can also work, though you may need to adjust the flour a little because different powders absorb moisture in different ways.
If your dough turns out too stiff, add a little more oil to loosen it. If it is too soft, add more almond flour a spoonful at a time. These small changes make it easy to build protein balls high protein low carb to match your own taste and texture preferences.
Vegetable, Sauce, and Seasoning Modifications
Even though this recipe does not use vegetables or sauce, you can still play with the flavor profile through add-ins and seasoning changes. A pinch of cinnamon can add warmth, while a little cocoa powder gives a deeper chocolate taste. If you like a salty-sweet snack, keep the salt in the recipe even when using salted peanut butter, but reduce it slightly to avoid overdoing it.
For a softer texture, use coconut oil and refrigerate longer. For a richer taste, use vanilla protein powder and chocolate chips together. These small changes let you keep the recipe low carb while making it fit your pantry and your cravings.
Mastering Protein Balls High Protein Low Carb: Advanced Tips and Variations
Once you have made this recipe once, it is easy to start playing with flavors and textures. The base dough is forgiving, so you can change the protein, sweetener, and add-ins without losing the no bake convenience that makes it so handy. A few small tricks can help your protein balls turn out better every time.
Pro cooking techniques
Use powdered sweetener if you can, since granulated sweeteners can leave the dough gritty. Also, mix the wet and dry ingredients thoroughly before rolling, because dry pockets can make the balls crumble. If the mixture feels a little sticky, chill it for 10 minutes before shaping. That short rest can make rolling much easier and cleaner.
A kitchen scale can help if you want all the balls to be the same size, which is useful for meal prep and tracking macros. If you are making them for a post-workout snack, smaller balls are easy to portion. If you want a more filling treat, make 16 larger balls instead of 20 smaller ones.
Flavor variations
You can turn these into chocolate peanut butter protein balls by adding cocoa powder and using chocolate chips. For a trail mix style version, add chopped nuts or seeds. If you like a sweeter snack, use vanilla protein and a touch more powdered sweetener. You can also dip the finished balls in melted sugar-free chocolate for a more dessert-like finish.
For readers who like more snack ideas with a similar feel, my no bake energy bites are another easy choice for busy days.
Presentation tips
Serve the balls in mini paper cups or arrange them on a small tray for parties, lunchboxes, or snack boards. A light sprinkle of hemp seeds on top can make them look extra polished. If you are packing them for work or school, tuck two balls into a small container for a simple grab-and-go snack.
Make-ahead options
These are ideal for batch prep. Make a double batch on Sunday, chill them, and store them in portions for the week. They travel well in lunch bags and snack boxes, which makes them helpful for working professionals, travelers, and students alike.
How to Store Protein Balls High Protein Low Carb: Best Practices
Good storage keeps these protein balls tasting fresh and helps preserve their soft, chewy texture. Since they are made with nut butter and protein powder, they hold up well in the fridge or freezer. The main thing is keeping moisture out.
Refrigeration
Store the balls in a covered container in the refrigerator for up to 2 weeks. The cool temperature helps them stay firm and makes them easy to grab whenever you need a quick snack. If you are storing them in layers, place parchment paper between the layers so they do not stick together.
Freezing
For longer storage, freeze them for several months. Lay the balls on a tray first so they freeze individually, then move them into a freezer-safe bag or container. This keeps them from clumping together and makes it easy to take out just a few at a time.
When you are ready to eat them, let them thaw at room temperature for a few minutes. If you want them slightly softer, you can leave them on the counter a bit longer before serving.
Meal prep considerations
If you are making these for meal prep, portion them into small containers or snack bags so they are ready for the week. They make a great after-school bite, a desk snack, or a quick pre-workout option. A batch like this can save time and help you avoid less satisfying packaged snacks.
For the best texture, keep these high protein low carb protein balls sealed well so they stay fresh and do not dry out.
Nutrition Details for Protein Balls High Protein Low Carb
These snack bites offer a nice balance of protein, fat, and fiber. That makes them more filling than many sweets and helps them fit into low carb and keto-style eating plans.
| Serving Size | Calories | Total Carbs | Protein | Fat | Fiber | Net Carbs |
|---|---|---|---|---|---|---|
| 2 balls | 192 | 6.8 g | 12.1 g | 14.6 g | 3 g | 3.8 g |
That nutritional profile makes these protein balls a strong option when you want something quick that still supports your goals. They are satisfying enough to work as a snack between meals and portable enough to keep in the fridge for the week.
FAQs: Frequently Asked Questions About Protein Balls High Protein Low Carb
What are the benefits of high protein low carb protein balls?
How many carbs and protein are in protein balls?
How do you store high protein low carb protein balls?
How do you make high protein low carb protein balls at home?
Are high protein low carb protein balls keto friendly and good for weight loss?
Protein Balls High Protein Low Carb
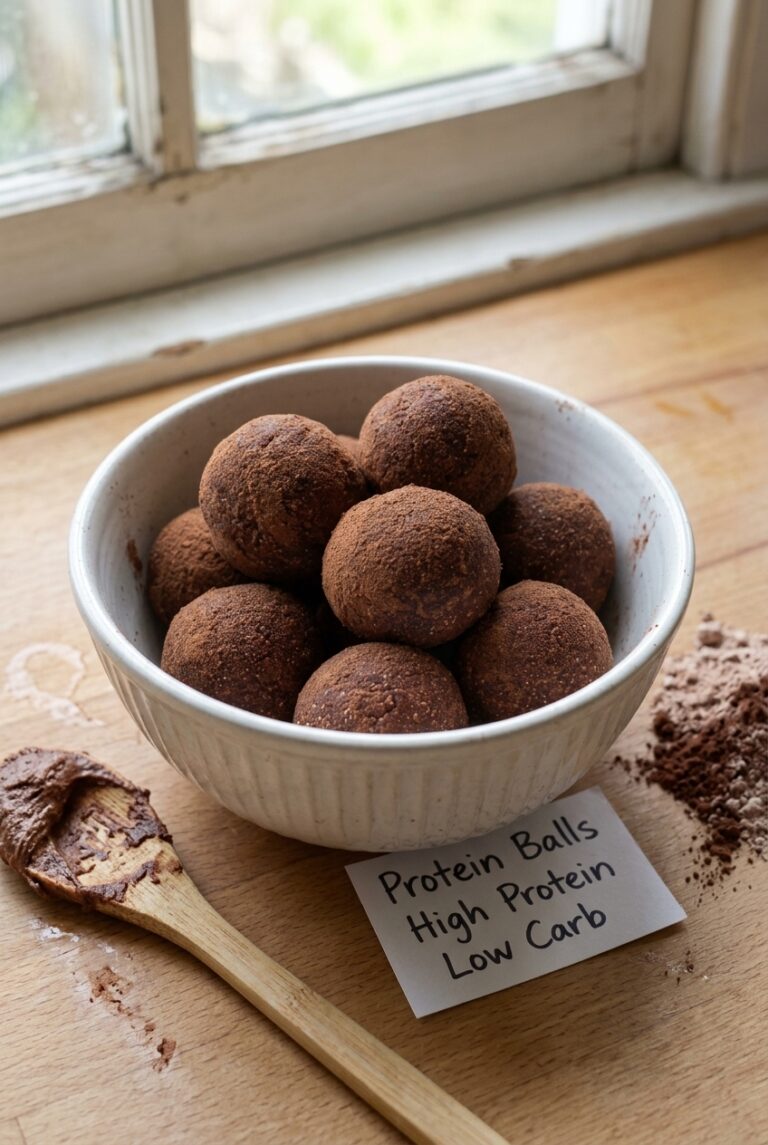
🥜 Savor rich peanut butter flavor in these no-bake protein balls, delivering high protein and healthy fats for sustained energy and satisfaction.
💪 Effortless to make, these low-carb treats are ideal for post-workout recovery or anytime healthy indulgence without baking.
- Total Time: 45 minutes
- Yield: 20 balls
Ingredients
– 2/3 cup peanut butter for creamy base, rich flavor, and chewy texture
– 2 tablespoons butter or oil, such as avocado oil or coconut oil for smooth melting and easier mixing
– 3/4 cup protein powder, unflavored or vanilla for high protein boost
– 1/3 cup sweetener for sweetness
– 1/4 cup almond flour for firming up dough and cookie dough-like feel
– 2 tablespoons hemp seeds, optional for crunch, extra protein, and healthy fats
– 1/8 teaspoon salt, if peanut butter is unsalted for balancing sweetness and bringing out peanut butter flavor
– 1 teaspoon vanilla extract, less if using vanilla protein for deepening flavor
– 1/4 cup chocolate chips, optional for chocolate bites
Instructions
1-First Step: Gather and measure everything Before you begin, measure out all the ingredients so the mixing process goes smoothly. This recipe moves fast, and having everything ready makes it much easier to keep the texture right. Set out the peanut butter, butter or oil, protein powder, sweetener, almond flour, hemp seeds if you are using them, salt if needed, vanilla extract, and chocolate chips.
2-Second Step: Melt the peanut butter and butter Place the 2/3 cup peanut butter and 2 tablespoons butter or oil into a large microwave-safe bowl. Microwave in short bursts, just long enough for the mixture to become warm and easy to stir together. You do not want it bubbling, only smooth and loosened so the rest of the ingredients can blend evenly.
3-Third Step: Add the dry ingredients Stir in the 3/4 cup protein powder, 1/3 cup sweetener, 1/4 cup almond flour, 2 tablespoons hemp seeds if using, 1/8 teaspoon salt if your peanut butter is unsalted, and 1 teaspoon vanilla extract. Mix well until the dough starts looking thicker and more cohesive. At first it may seem crumbly, but keep stirring because the nut butter will help bring everything together.
4-Fourth Step: Fold in the chocolate chips Once the dough has formed, stir in the 1/4 cup chocolate chips if you want them. Make sure they are spread evenly through the mixture so every bite gets a bit of chocolate. This is also the moment to taste the dough and check the sweetness level before rolling.
5-Fifth Step: Roll into balls Scoop the dough and roll it into 1-inch balls. You should end up with about 20 balls, depending on the exact size. A small cookie scoop can help keep them even, but a spoon works just fine too.
6-Final Step: Chill until firm Place the balls on a plate or tray and refrigerate them until firm. The chilling time helps the texture set, which makes them easier to store and easier to eat. Once firm, transfer them to a covered container and keep them in the fridge or freezer based on how soon you plan to eat them.
Last Step:
Please leave a rating and comment letting us know how you liked this recipe! This helps our business to thrive and continue providing free, high-quality recipes for you.Notes
🧈 Use natural creamy peanut butter or alternatives like almond butter for optimal texture.
🍬 Choose powdered sweeteners to avoid a gritty texture in the dough.
❄️ Store in a covered container in the fridge for up to 2 weeks or freeze for months.
- Prep Time: 15 minutes
- Chill Time: 30 minutes
- Category: Snacks
- Method: No Bake
- Cuisine: American
- Diet: High Protein, Low Carb, Gluten Free
Nutrition
- Serving Size: 2 balls
- Calories: 192 calories
- Sugar: 4g
- Sodium: 100mg
- Fat: 14.6g
- Saturated Fat: 4g
- Unsaturated Fat: 10.6g
- Trans Fat: 0g
- Carbohydrates: 6.8g
- Fiber: 3g
- Protein: 12.1g
- Cholesterol: 0mg





