Ingredients
– 5.1 ounces instant vanilla pudding mix for building the creamy pudding base
– 3 cups cold milk for helping the pudding set smoothly
– 3 large or 4 medium bananas for adding fresh flavor and soft layers
– 8 ounces whipped topping for making the dessert fluffy and light
– 1 box vanilla wafer cookies for creating the classic cookie layer
– Additional bananas for garnish if desired
Instructions
1-First Step: Gather and chill your ingredients Start by placing your 3 cups of cold milk in the refrigerator if it is not already cold. Cold milk matters because instant pudding thickens best when it is straight from the fridge. Slice your bananas right before layering so they stay fresh and bright. Also, let your whipped topping thaw if it is frozen, since it will fold into the pudding more smoothly when soft. Set out a large mixing bowl, a whisk, and a 9×13-inch dish or a trifle bowl. If you are feeding a smaller group, you can use individual dessert cups instead. This simple no bake banana pudding works well for casual family meals, church gatherings, potlucks, and even late night study breaks.
2-Second Step: Mix the pudding base In a large bowl, whisk together the 5.1 ounces of instant vanilla pudding mix and 3 cups of cold milk for about 2 minutes. Keep whisking until the mixture begins to thicken. The texture should look smooth and creamy, not watery. If you are using a stand mixer, keep the speed low so you do not splash the milk. For the best result, do not use warm milk. Warm milk can make the pudding less smooth and may keep it from setting the right way. If you want a lighter dessert, you can use 2% milk, though whole milk gives the richest flavor. This step is the heart of the simple no bake banana pudding, so take a minute to whisk until everything looks silky.
3-Third Step: Fold in the whipped topping Once the pudding has started to thicken, gently fold in the 8 ounces of whipped topping. Use a spatula and move slowly from the bottom of the bowl upward. The goal is to keep as much air in the mixture as possible so the pudding stays fluffy. This is what gives no bake banana pudding that soft, cloud-like texture people love. Do not stir too hard. If you overmix, the pudding can turn dense and lose that light finish. If you want to make the dessert a little richer, you can chill the pudding base for 5 to 10 minutes before layering. That short rest also helps the flavor settle.
4-Fourth Step: Build the first layer Spread a thin layer of the pudding mixture on the bottom of your dish. This helps the cookies stay in place. Then add a full layer of vanilla wafer cookies across the surface. Try to cover the dish as evenly as you can. If there are small gaps, break a few cookies to fit the empty spots. Next, arrange a layer of thinly sliced bananas over the cookies. Use about half of your banana slices for the first layer. The bananas should be fresh, evenly sliced, and spread from edge to edge so every spoonful gets some fruit. This is where the dessert starts looking like the classic no bake banana pudding most of us remember from family tables.
5-Fifth Step: Add more pudding and repeat the layers Spoon more pudding mixture over the banana layer and smooth it out gently. Add another layer of vanilla wafer cookies, followed by the remaining banana slices. Then top with the rest of the pudding mixture. You can make one thick layered dessert or repeat the pattern if your dish is deep enough. The more even the layers, the prettier the final dessert will look when you serve it. If you are making this for a party, a clear trifle bowl works beautifully because everyone can see the layers. If you are serving family style, a simple glass baking dish works just fine. Either way, the dessert will taste great.
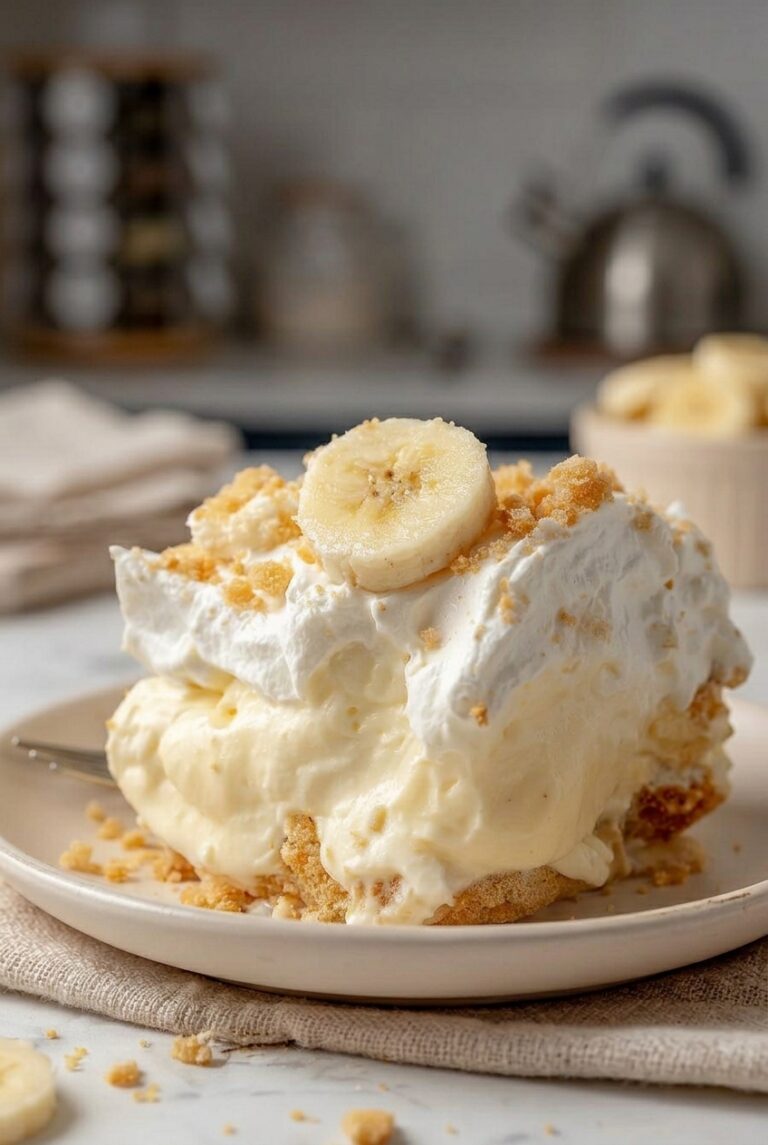
6-Sixth Step: Add the final toppings Spread the last bit of pudding mixture on top and smooth it with a spatula. Place extra whipped topping or a few banana slices on the surface if you like. Sprinkle crushed vanilla wafers over the top for a little crunch. The garnish is optional, but it gives the simple no bake banana pudding a polished look. For the freshest look, add the banana garnish just before serving so the slices stay bright.
7-Final Step: Chill before serving Cover the dish tightly and refrigerate for at least 2 hours. If you have more time, overnight chilling gives even better texture because the cookies soften and the flavors blend together. Before serving, check that the pudding is fully set and scoopable. The dessert should be creamy, cool, and easy to spoon into bowls. For the best texture, do not rush the chill time. This no bake banana pudding tastes best when it has rested long enough for the bananas, pudding, and cookies to work together. If you want a more classic dessert style, serve it cold straight from the refrigerator with a little extra wafer crunch on top. If you want to compare versions, you can also look at this trusted classic banana pudding recipe for another take on the same family favorite.
Last Step:
Please leave a rating and comment letting us know how you liked this recipe! This helps our business to thrive and continue providing free, high-quality recipes for you.Notes
🍌 Use ripe but firm bananas to avoid browning; slice just before assembly and pat dry if needed.
❄️ Chill for at least 4 hours or overnight for the perfect texture where wafers soften just right.
🔄 For a twist, add a layer of sliced strawberries or use chocolate wafers for variety.
- Prep Time: 15 minutes
- Chill: 4 hours
- Category: Dessert
- Method: No-Bake
- Cuisine: American
- Diet: Vegetarian
Nutrition
- Serving Size: 1/12 recipe
- Calories: 280 kcal
- Sugar: 30 g
- Sodium: 300 mg
- Fat: 10 g
- Saturated Fat: 6 g
- Unsaturated Fat: 3 g
- Trans Fat: 0 g
- Carbohydrates: 45 g
- Fiber: 1 g
- Protein: 4 g
- Cholesterol: 15 mg