Ingredients
– 200g high-quality dark chocolate Provides rich cocoa flavor and glossy finish
– 50g unsalted butter Adds creaminess and smooth texture
– 100ml heavy cream Enhances richness and helps with the tempering process
– 30g powdered sugar Sweetens while maintaining smooth consistency
– 1 tsp vanilla extract Adds aromatic depth and balances sweetness
– 16 ounces (454 grams) finely chopped baking chocolate Essential for the seeding method to ensure even melting and proper tempering
Instructions
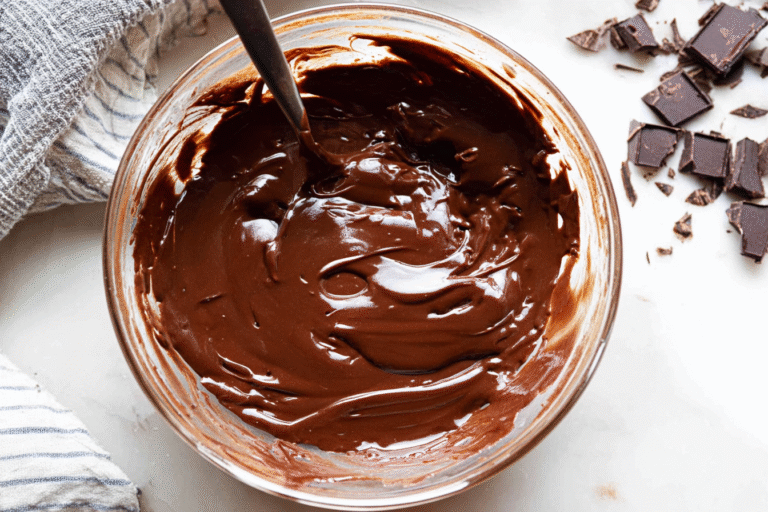
1-Tempering chocolate at home: Start by gathering all your ingredients and tools, like a double boiler or microwave-safe bowl, to make the process flow smoothly. The key is precise temperature control, which helps stabilize the cocoa butter crystals for a crisp texture that holds up well in recipes.
2-Seeding method: Begin with 16 ounces (454 grams) of finely chopped baking chocolate. First, melt two-thirds of the chocolate in a double boiler, stirring often until it reaches about 115°F but no more than 120°F for dark chocolate this drops to 110°F for milk or white chocolate to avoid overheating.
3-Removing and Adding Chocolate: Once it’s melted, remove it from the heat and gradually stir in the remaining chocolate vigorously. This step lowers the temperature to around 84°F, and it might take about 15 minutes, so be patient as you mix. It’s all about getting those crystals just right for that glossy result.
4-Reheating and Testing: Next, reheat the mixture briefly over the double boiler in 5 to 10-second intervals, stirring until it hits 89°F without going over 91°F. To check if it’s tempered, dip a piece of parchment paper into it; the chocolate should set smoothly and firmly at room temperature. If you’re using the microwave method, melt two-thirds of the chocolate in a microwave-safe bowl at 50% power in 1-minute intervals, stirring between each until it’s smooth and between 100 110°F.
5-Adding remaining chocolate and final steps: Then, add the remaining chocolate gradually while stirring until it thickens and becomes glossy, continuing until the temperature is between 84 91°F. Overall, preparation takes about 20 minutes, with just 5 minutes of actual cooking time, so it’s quick for busy schedules. Once done, your tempered chocolate will harden with a glossy finish at room temperature, offering a crisp texture that resists white bloom, and you can even speed up cooling with an ice bath if needed.
Last Step:
Please leave a rating and comment letting us know how you liked this recipe! This helps our business to thrive and continue providing free, high-quality recipes for you.Notes
🌡️ Use a chocolate thermometer for precise temperature control.
💧 Keep all tools and surfaces dry to prevent chocolate from seizing.
❄️ Use an ice bath to speed up setting if desired, but ensure not to chill in the fridge to avoid bloom.
- Prep Time: 20 minutes
- Cooking Time: 5 minutes
- Cook Time: 5 minutes
- Category: Technique
- Method: Tempering
- Cuisine: Universal
- Diet: Standard
Nutrition
- Serving Size: N/A
- Calories: N/A
- Sugar: N/A
- Sodium: N/A
- Fat: N/A
- Saturated Fat: N/A
- Unsaturated Fat: N/A
- Trans Fat: N/A
- Carbohydrates: N/A
- Fiber: N/A
- Protein: N/A
- Cholesterol: N/A