

Why You’ll Love This Yeast Rolls
Imagine pulling apart warm, fluffy rolls straight from the oven, perfect for any meal or gathering. This yeast rolls recipe is incredibly simple, requiring minimal ingredients and straightforward steps. The dough mixes quickly, and rising times are optimized to reduce wait, making it perfect for both novice and busy bakers.
These yeast rolls offer nutritional advantages such as providing essential B vitamins from the yeast and the option to use whole grain flours for added fiber. They can be tailored for wellness by incorporating nutritious ingredients like seeds or using healthier fats. From health benefits to ease of preparation, there’s something here for everyone, whether you’re a busy parent or a baking enthusiast.
The recipe adapts easily to different dietary needs, be it vegan or gluten-free, without losing that soft texture. Unlike ordinary bread rolls, these develop a rich, slightly tangy flavor thanks to the fermentation process. Adding extras like herbs or honey can make them even more unique for your table.
Jump to:
- Why You’ll Love This Yeast Rolls
- Essential Ingredients for Yeast Rolls
- How to Prepare the Perfect Yeast Rolls: Step-by-Step Guide
- Dietary Substitutions to Customize Your Yeast Rolls
- Mastering Yeast Rolls: Advanced Tips and Variations
- How to Store Yeast Rolls: Best Practices
- FAQs: Frequently Asked Questions About Yeast Rolls
- Why are my yeast rolls dense instead of fluffy?
- What is the ideal temperature and environment for yeast rolls to rise?
- Can I freeze homemade yeast rolls, and how should I thaw them?
- What steps help keep homemade yeast rolls soft after baking?
- How long do yeast rolls stay fresh, and what is the best way to store them?
- Yeast Rolls
- Ingredients
- Instructions
- Last Step:
- Notes
- Nutrition
- Did you make this recipe?
Essential Ingredients for Yeast Rolls
To make these delightful yeast rolls, you’ll need a simple set of ingredients that come together easily. For the best results, use fresh items and follow the measurements closely. This section lists everything you’ll need, based on a time-tested recipe that’s both reliable and delicious.
- 2 cups warm water (100-110℉)
- ¼ cup honey
- 4 teaspoons active dry yeast
- ½ cup salted butter, softened
- 2 eggs
- 2½ teaspoons salt
- 7 cups all-purpose flour
- 3-4 tablespoons melted butter for topping
These ingredients ensure a soft and fluffy texture, with honey adding a touch of sweetness that complements the yeast. For more on how honey enhances baked goods, check out this resource on the benefits of honey.
How to Prepare the Perfect Yeast Rolls: Step-by-Step Guide
Getting these yeast rolls just right starts with a few easy steps that anyone can follow at home. Begin by gathering your ingredients and tools like bowls and a mixer for smooth results. This guide takes you through the process to create rolls that are soft, fluffy, and full of flavor.
First, combine the warm water, honey, and active dry yeast in a bowl; let it sit for 5 minutes until the yeast becomes foamy. This step activates the yeast, which is key to a good rise. Next, in a large bowl, mix the softened butter, eggs, salt, and flour, using a scale for accuracy if possible to ensure consistent texture.
Add the yeast mixture to the flour mixture and knead the dough for 7-10 minutes by hand or 5-7 minutes with an electric mixer until it’s smooth and elastic. Then, place the dough in an oiled bowl, cover it, and let it rise for about 1 hour or until nearly doubled in size. For more ideas on pairing these rolls with soups, you might enjoy our creamy tortellini minestrone soup recipe, which makes a great side.
Divide the dough into 30 equal portions, each about 58-60 grams, and roll each into a smooth ball using a cupping motion with your hand. Arrange the rolls in a greased 11 x 18 inch baking pan in 6 rows of 5, then spray with baking spray, cover, and let them rise for another hour until doubled in size. Preheat the oven to 375℉ during the last 15-20 minutes of rising.
Bake the rolls at 375℉ for 15-16 minutes on the middle or bottom rack until the bottoms are browned. Finally, brush the tops with melted butter while still warm or rub with a softened butter stick for added softness and shine. The total preparation time includes prep at 30 minutes, rise time of about 2 hours, baking at 15 minutes, and a total of approximately 2 hours 45 minutes.
| Step | Description | Time Estimate |
|---|---|---|
| 1-2 | Mix and activate yeast | 10 minutes |
| 3-4 | Knead and first rise | 1 hour 10 minutes |
| 5-6 | Shape and second rise | 1 hour 15 minutes |
| 7 | Bake and finish | 20 minutes |

Dietary Substitutions to Customize Your Yeast Rolls
Making yeast rolls that fit your diet is easier than you might think, with simple swaps for common ingredients. Whether you’re avoiding dairy or cutting calories, these changes keep the rolls tasty and soft. Start by considering what your needs are, like vegan options or lower-sugar versions.
Protein and main component alternatives include using coconut oil or vegan margarine instead of butter for a plant-based twist. You can also replace regular milk with almond, soy, or oat milk if you’re dealing with lactose intolerance. For vegetable, sauce, and seasoning modifications, try adding finely chopped spinach or roasted garlic to boost flavor without extra calories.
Substitute sugar with natural sweeteners like maple syrup or agave nectar to change the taste profile. Experiment with herbs such as rosemary or thyme to add aroma and depth. These tweaks ensure your yeast rolls stay versatile for everyone at the table, from students to seniors looking for lighter meals.
Mastering Yeast Rolls: Advanced Tips and Variations
Once you’re comfortable with the basics, take your yeast rolls to the next level with some pro techniques. Using a stand mixer with dough hooks can make kneading faster and help with gluten development for even better texture. For flavor variations, mix in cheese, chopped olives, or sun-dried tomatoes to create savory options that pair well with meals.
Brush the rolls with an egg wash or plant-based milk for a glossy finish, and sprinkle seeds on top for a professional look. If you’re planning ahead, prepare the dough the night before and let it rise in the fridge this deepens the flavors and makes baking convenient the next day. Remember, weighing your flour ensures consistent results, as one tip suggests testing your scale with a stick of butter for accuracy Chuck the process by using both hands when rolling dough balls to speed things up.
To achieve the softest rolls, always use butter and eggs in the dough, knead well, and allow for two rises just like the experts recommend.
How to Store Yeast Rolls: Best Practices
Keeping your yeast rolls fresh means storing them the right way after baking. Start by letting them cool completely to avoid moisture buildup. For short-term storage, place them in an airtight container at room temperature, which helps maintain their softness for a few days.
If you need them to last longer, wrap the rolls individually and freeze them for up to 3 months. When reheating, use the oven at 350°F for 5-10 minutes to bring back that fresh-baked feel. For meal prep, portion out the rolls ahead of time so you can grab them easily for busy mornings or dinners.
Dough balls can also be frozen after the first rise; just thaw and let them rise for 4-5 hours before baking. To refresh hardened rolls, leave fresh bread slices inside the storage container overnight. Store them away from heat to keep that soft texture intact, making it simple for working professionals or travelers.
FAQs: Frequently Asked Questions About Yeast Rolls
Why are my yeast rolls dense instead of fluffy?
What is the ideal temperature and environment for yeast rolls to rise?
Can I freeze homemade yeast rolls, and how should I thaw them?
What steps help keep homemade yeast rolls soft after baking?
How long do yeast rolls stay fresh, and what is the best way to store them?
Yeast Rolls
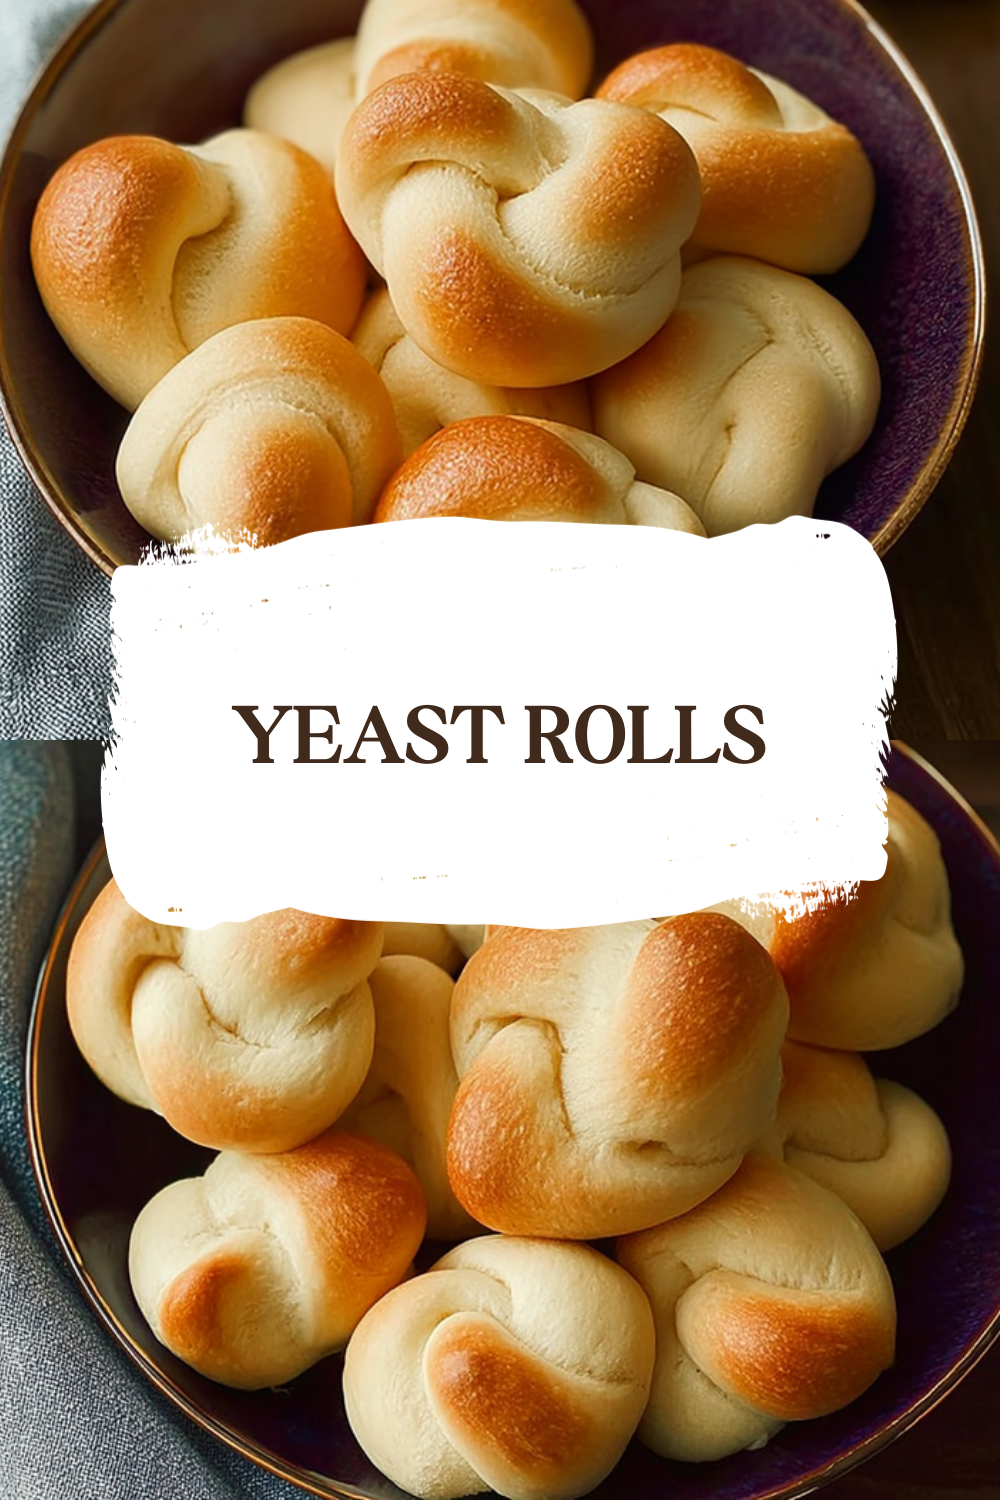
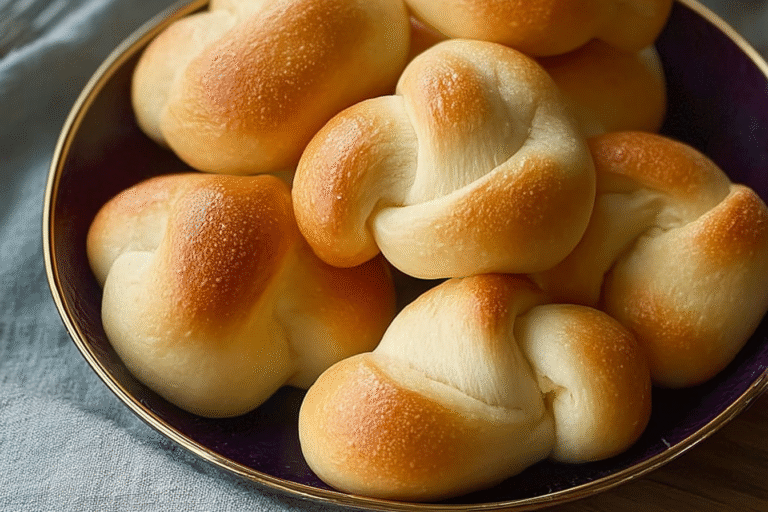
🍞 These Old Fashioned Yeast Rolls are soft and fluffy, perfect as a comforting side dish for any meal.
🥖 The recipe’s classic technique and two-rise process yield a tender texture and rich buttery flavor that everyone will love.
- Total Time: 2 hours 45 minutes
- Yield: 30 rolls 1x
Ingredients
2 cups warm water (100-110℉)
¼ cup honey
4 teaspoons active dry yeast
½ cup salted butter, softened
2 eggs
2½ teaspoons salt
7 cups all-purpose flour
3–4 tablespoons melted butter for topping
Instructions
1-First: combine the warm water, honey, and active dry yeast in a bowl; let it sit for 5 minutes until the yeast becomes foamy. This step activates the yeast, which is key to a good rise.
2-Next: in a large bowl, mix the softened butter, eggs, salt, and flour, using a scale for accuracy if possible to ensure consistent texture.
3-Add the yeast mixture to the flour mixture and knead the dough for 7-10 minutes by hand or 5-7 minutes with an electric mixer until it’s smooth and elastic. Then, place the dough in an oiled bowl, cover it, and let it rise for about 1 hour or until nearly doubled in size.
4-Divide the dough into 30 equal portions, each about 58-60 grams, and roll each into a smooth ball using a cupping motion with your hand. Arrange the rolls in a greased 11 x 18 inch baking pan in 6 rows of 5, then spray with baking spray, cover, and let them rise for another hour until doubled in size. Preheat the oven to 375℉ during the last 15-20 minutes of rising.
5-Bake the rolls at 375℉ for 15-16 minutes on the middle or bottom rack until the bottoms are browned. Finally, brush the tops with melted butter while still warm or rub with a softened butter stick for added softness and shine.
Last Step:
Please leave a rating and comment letting us know how you liked this recipe! This helps our business to thrive and continue providing free, high-quality recipes for you.Notes
⚖️ Weigh flour for consistent texture; test scale with a stick of butter (113 grams).
🤲 Use both hands rolling dough balls to speed and even out the shape.
🧈 Brush butter on top after baking for softness and a shiny crust.
- Prep Time: 30 minutes
- Rise time: 2 hours
- Cook Time: 15 minutes
- Category: Bread
- Method: Kneading, rising, baking
- Cuisine: American
- Diet: Vegetarian
Nutrition
- Serving Size: 1 roll
- Calories: 147 kcal
- Sugar: 2 g
- Sodium: 224 mg
- Fat: 4 g
- Saturated Fat: 2 g
- Unsaturated Fat: 1.3 g
- Trans Fat: 0 g
- Carbohydrates: 25 g
- Fiber: 1 g
- Protein: 4 g
- Cholesterol: 19 mg





