

Why You’ll Love This Apple Cobbler
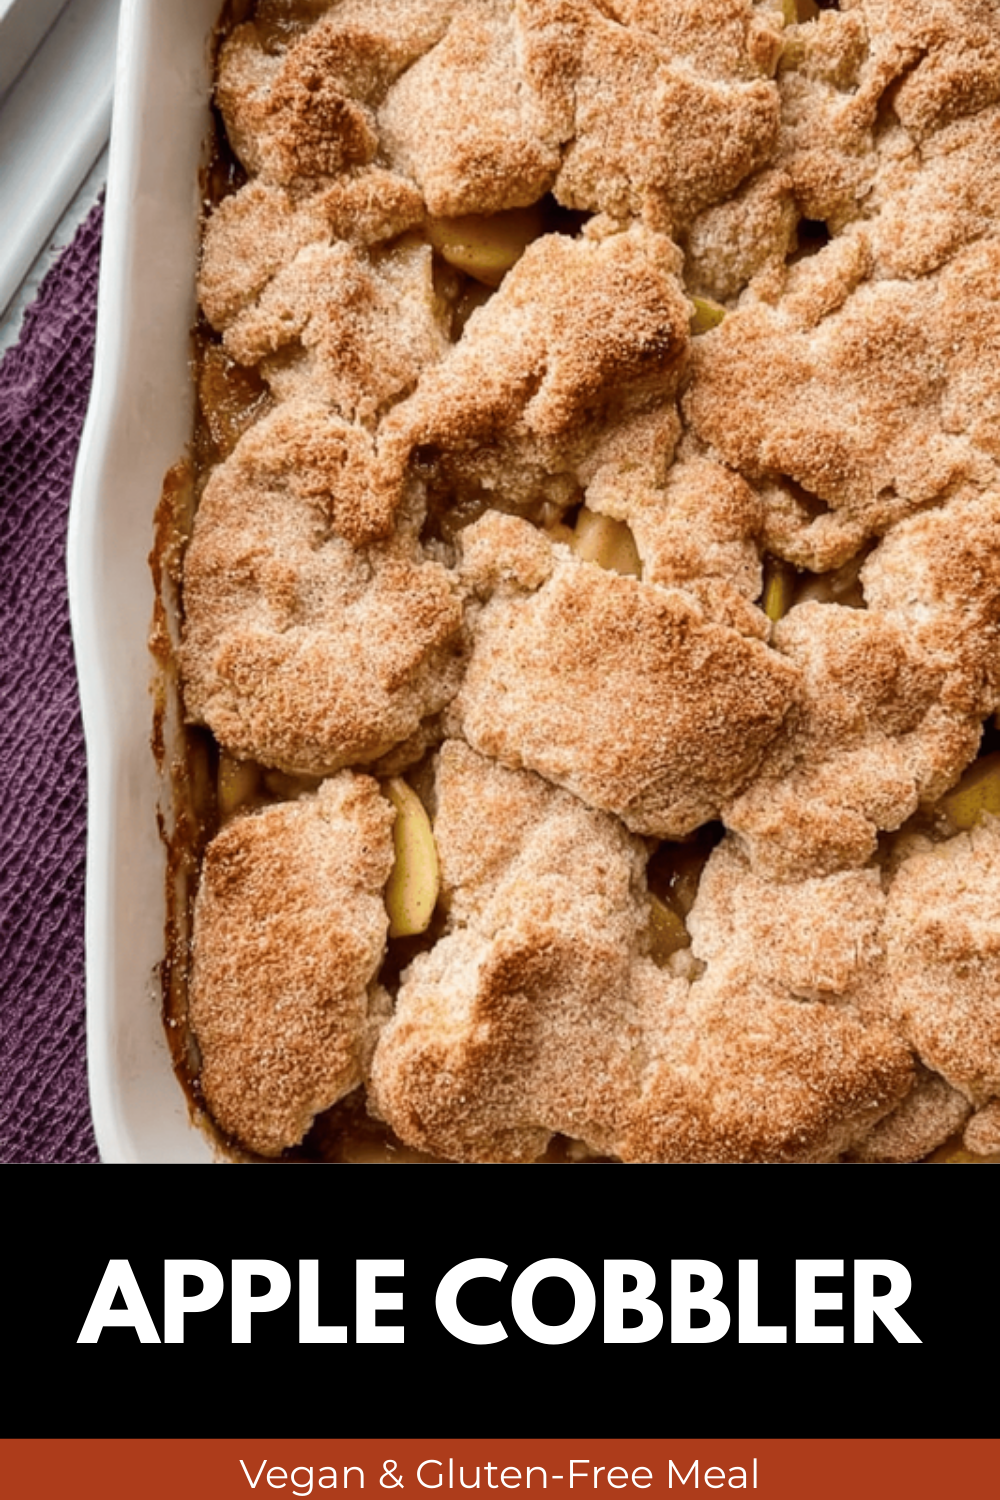
This apple cobbler brings back warm memories of family fall nights, with its inviting aroma and taste that makes everyone smile. It’s super simple to whip up, perfect for nights when you’re juggling homework and dinner, and uses fresh apples straight from the orchard for a healthy twist. You’ll appreciate how it adapts to what you have on hand, making it a go-to dessert for home cooks of all levels.
One of the best parts is how easy it is to prepare, taking just a few steps to get a treat that’s ready for sharing. Beyond that, it packs in nutrients like fiber and antioxidants from the fresh apples, giving you a dessert that feels good too. Whether you’re feeding a crowd or just yourself, this apple cobbler is versatile enough to fit any occasion with its delightful mix of flavors.
Plus, you can tweak it for different diets, keeping the same delicious taste everyone enjoys. Imagine pulling a pan from the oven that everyone raves about it’s that simple and rewarding to make. This apple cobbler has quickly become a favorite in my kitchen for its balance of sweet and spiced notes that make every bite special.
The Simplicity of Making Apple Cobbler
With minimal ingredients and a short baking time, this recipe fits right into busy routines, whether you’re a parent rushing after school or a student prepping a quick meal. You don’t need fancy tools or hours in the kitchen, which keeps things fun and stress-free. It’s one of those recipes that turns out great even if you’re new to baking, adding to its appeal for everyday use.
As a bonus, the wholesome spices and fresh fruits add health perks without skimping on flavor. For families looking for something nutritious yet tasty, this dish delivers. All these features make apple cobbler a standout choice that you’ll want to make again and again.
Jump to:
- Why You’ll Love This Apple Cobbler
- The Simplicity of Making Apple Cobbler
- Essential Ingredients for Apple Cobbler
- Ingredients for the Filling
- Ingredients for the Batter
- How to Prepare the Perfect Apple Cobbler: Step-by-Step Guide
- Prepping and Cooking the Filling
- Mixing and Baking the Batter
- Tips for Success
- Dietary Substitutions to Customize Your Apple Cobbler
- Mastering Apple Cobbler: Advanced Tips and Variations
- Flavor and Presentation Ideas
- How to Store Apple Cobbler: Best Practices
- FAQs: Frequently Asked Questions About Apple Cobbler
- What is the difference between apple cobbler and apple crisp?
- Which types of apples work best for making apple cobbler?
- Should I peel apples before making apple cobbler?
- How do I prevent apple cobbler from becoming too soggy during baking?
- Can I make apple cobbler ahead of time and reheat it?
- Apple Cobbler
- Ingredients
- Instructions
- Last Step:
- Notes
- Nutrition
- Did you make this recipe?
Essential Ingredients for Apple Cobbler
Gathering the right ingredients is key to creating a mouthwatering apple cobbler, and I’ve listed them out below in a clear way so you can see exactly what you need. This recipe focuses on fresh apples and simple pantry staples to keep things approachable for any home cook. Let’s break it down by the filling and the batter, making it easy to follow along.
Ingredients for the Filling
- 6 medium apples, peeled and sliced 1/4 inch thick (such as Granny Smith or Golden Delicious)
- 1 cup water or apple juice
- 1/3 cup packed brown sugar
- 1 tablespoon cornstarch
- 1 tablespoon lemon juice
- 1/2 teaspoon vanilla extract
- 1 teaspoon cinnamon
- 1/2 teaspoon nutmeg
- 1/8 teaspoon salt
Ingredients for the Batter
- 1 cup flour
- 1 cup sugar
- 2 teaspoons baking powder
- 1/4 teaspoon salt
- 3/4 cup milk
- 5 tablespoons melted butter
- Ground cinnamon for topping
If you’re aiming for special diets, you can swap butter with vegan options or use gluten-free flour, as mentioned in the variations section. Using tart apples like Granny Smith really shines here, giving that perfect sweet-tart balance we all love. These ingredients come together to make about 9 servings, perfect for family dinners or gatherings.
For a quick tip, always measure everything out first so your apple cobbler turns out just right. If you’re exploring related recipes, check out our no-bake energy bites for a simple snack option that pairs well with this dessert.
How to Prepare the Perfect Apple Cobbler: Step-by-Step Guide
Getting started with this apple cobbler is as easy as a weekend bake session, and I’ll walk you through it step by step to make sure it turns out amazing. First, preheat your oven to 350°F (175°C) and grease a 9×13 inch baking pan to set the stage for a golden treat. This recipe uses fresh apples to build a filling that’s full of flavor, making it a hit for busy families.
Prepping and Cooking the Filling
Begin by combining the brown sugar, water or apple juice, cornstarch, lemon juice, vanilla, cinnamon, nutmeg, and salt in a saucepan. Add the 6 medium apples that you’ve peeled and sliced 1/4 inch thick, then cook this mixture over medium heat for 3 to 5 minutes while stirring. Once it’s ready, pour it into your prepared pan, creating a base that’s juicy and spiced just right.
This step helps the apples soften up nicely, blending the flavors together. It’s a simple way to enhance the natural sweetness of apples like Granny Smith or Golden Delicious.
Mixing and Baking the Batter
In a separate bowl, mix the flour, sugar, baking powder, and salt until they’re well combined. Stir in the milk and melted butter to form a smooth batter that will top your apple filling. Pour this batter evenly over the apples in the pan and sprinkle ground cinnamon on top for that extra warm touch.
Pop it in the oven and bake for 38 to 40 minutes, or until a toothpick inserted into the batter comes out clean. Let it cool for at least 15 minutes before serving, which gives the flavors time to settle and makes it easier to dish out. The topping ends up with a nice cake-like texture that’s soft and comforting.
Tips for Success
For the best results, use tart apples and peel them for a smoother bite, though you can leave the skin on if you chop them smaller. This recipe yields about 9 servings, and leftovers store well covered in the fridge for up to 4 days. If you want more ideas for fresh fruit dishes, try our mango-peach-strawberry smoothie for a refreshing side.
| Step | Time Estimate | Tips |
|---|---|---|
| Prepping the filling | 5-10 minutes | Stir regularly to avoid sticking |
| Mixing the batter | 5 minutes | Use room temperature milk for even blending |
| Baking | 38-40 minutes | Check with a toothpick for doneness |
This guide makes the process straightforward, even for beginners, turning everyday ingredients into something special.

Dietary Substitutions to Customize Your Apple Cobbler
One of the great things about this apple cobbler is how you can tweak it to fit different needs, like making it vegan or gluten-free without losing that cozy flavor. Let’s look at some simple swaps that keep the recipe fun and adaptable for everyone. Whether you’re watching calories or trying new diets, these changes make it easy to enjoy.
- Substitute traditional butter with vegan butter for dairy-free options, which works perfectly in the batter.
- Use gluten-free flour blends as alternatives to regular flour, helping those with gluten intolerance still indulge.
- Replace sugar with natural sweeteners like agave or stevia for lower calorie versions that taste just as sweet.
For added variety, you can mix in spices like nutmeg or allspice to change up the taste. If you’re into fruit swaps, try pears or peaches in place of apples for a fresh twist. These adjustments let you personalize the recipe while keeping it simple and delicious.
This apple cobbler shows how a few smart changes can make a classic dish work for any lifestyle, proving that good food is for everyone.
Mastering Apple Cobbler: Advanced Tips and Variations
Once you’ve nailed the basics, you can level up your apple cobbler with some pro tips that make it even better. Using chilled butter and working quickly helps create a flaky crust, while letting the apples sit with spices draws out deeper flavors. It’s all about those little extras that turn a simple bake into something memorable.
Flavor and Presentation Ideas
Add chopped nuts or dried fruits into the batter for a fun twist, or throw in ginger and cardamom to give it a unique edge. When it’s time to serve, go for warm presentations with fresh mint or a light dusting of powdered sugar. Pairing it with custom ice cream flavors makes it feel extra special for family nights.
For make-ahead options, prepare the filling ahead and store it in the fridge for up to 3 days, or freeze it for up to 3 months. You can even assemble the whole cobbler and freeze it unbaked, then bake it fresh when you need a quick dessert. These tips make apple cobbler a smart choice for busy weeks.
How to Store Apple Cobbler: Best Practices
Keeping your apple cobbler fresh is easy with the right steps, so let’s cover how to handle leftovers without losing that great taste. First, cool the cobbler to room temperature before you cover and refrigerate it, which helps it stay tasty for 3-4 days. Freezing is another great option for longer storage.
- Wrap portions tightly in plastic wrap and put them in freezer bags for up to 3 months.
- Reheat in the oven at 325°F (165°C) until warm to keep the texture just right.
- Prepare batches ahead for meal prep, making it simple to have dessert ready during busy times.
The baked cobbler can be frozen for up to 3 months and reheated, which is perfect for planning ahead. Following these practices ensures every bite remains enjoyable.
FAQs: Frequently Asked Questions About Apple Cobbler
What is the difference between apple cobbler and apple crisp?
Which types of apples work best for making apple cobbler?
Should I peel apples before making apple cobbler?
How do I prevent apple cobbler from becoming too soggy during baking?
Can I make apple cobbler ahead of time and reheat it?
Apple Cobbler
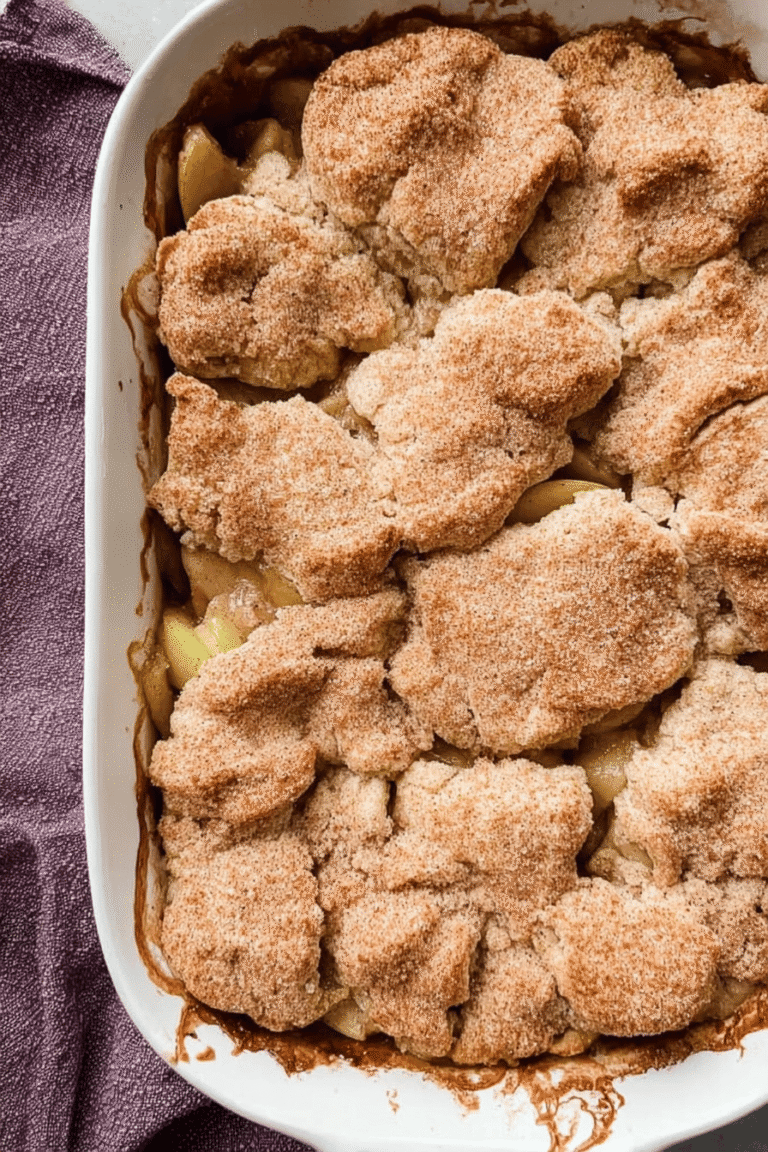
🍏 This Apple Cobbler Recipe offers a comforting dessert made with fresh apples and a cake-like homemade topping.
🍰 The warm blend of spices and juicy apple filling makes it perfect for cozy gatherings and sweet cravings.
- Total Time: 1 hour
- Yield: 9 servings 1x
Ingredients
6 medium apples, peeled and sliced 1/4 inch thick (such as Granny Smith or Golden Delicious)
1 cup water or apple juice
1/3 cup packed brown sugar
1 tablespoon cornstarch
1 tablespoon lemon juice
1/2 teaspoon vanilla extract
1 teaspoon cinnamon
1/2 teaspoon nutmeg
1/8 teaspoon salt
1 cup flour
1 cup sugar
2 teaspoons baking powder
1/4 teaspoon salt
3/4 cup milk
5 tablespoons melted butter
Ground cinnamon for topping
Instructions
1-Prepping and Cooking the Filling: Begin by combining the brown sugar, water or apple juice, cornstarch, lemon juice, vanilla, cinnamon, nutmeg, and salt in a saucepan. Add the 6 medium apples that you’ve peeled and sliced 1/4 inch thick, then cook this mixture over medium heat for 3 to 5 minutes while stirring. Once it’s ready, pour it into your prepared pan, creating a base that’s juicy and spiced just right.
2-Mixing and Baking the Batter: In a separate bowl, mix the flour, sugar, baking powder, and salt until they’re well combined. Stir in the milk and melted butter to form a smooth batter that will top your apple filling. Pour this batter evenly over the apples in the pan and sprinkle ground cinnamon on top for that extra warm touch.
Pop it in the oven and bake for 38 to 40 minutes, or until a toothpick inserted into the batter comes out clean. Let it cool for at least 15 minutes before serving, which gives the flavors time to settle and makes it easier to dish out. The topping ends up with a nice cake-like texture that’s soft and comforting.
Last Step:
Please leave a rating and comment letting us know how you liked this recipe! This helps our business to thrive and continue providing free, high-quality recipes for you.Notes
🍎 Use tart apples like Granny Smith for best flavor and balance.
🥄 Peel apples for a smoother texture, or leave skins on and chop smaller for more rustic feel.
❄️ Prepare the apple filling ahead and refrigerate for up to 3 days or freeze up to 3 months for convenience.
- Prep Time: 20 minutes
- Baking time: 40 minutes
- Cook Time: 40 minutes
- Category: Dessert
- Method: Mixing, baking, stovetop cooking
- Cuisine: American
- Diet: Vegetarian
Nutrition
- Serving Size: 1 serving
- Calories: 280 kcal
- Sugar: 35 g
- Sodium: 120 mg
- Fat: 7 g
- Saturated Fat: 4 g
- Unsaturated Fat: 3 g
- Trans Fat: 0 g
- Carbohydrates: 50 g
- Fiber: 3 g
- Protein: 2 g
- Cholesterol: 20 mg





