

Why You’ll Love This Cherry Garcia Ice Cream
Dive into the world of homemade desserts and discover why Cherry Garcia Ice Cream stands out as a favorite for so many. This recipe brings together the juicy burst of cherries and the rich depth of chocolate in a creamy base that’s easy to whip up at home. Whether you’re a busy parent or a baking enthusiast, its simple steps make it a go-to treat for any occasion.
First off, the ease of preparation is a game-changer. You can mix and churn this Cherry Garcia Ice Cream in no time, fitting perfectly into tight schedules without sacrificing flavor. Then, think about the health benefits, like the antioxidants from cherries that add a nutritious twist to yourindulgence. This recipe uses wholesome ingredients, making it a smart choice for those watching their diet.
Plus, its versatility shines through in various dietary adaptations. You can tweak it for vegan or gluten-free needs, ensuring everyone at the table enjoys a scoop. Finally, the distinctive flavor profile mixes ripe cherries and dark chocolate chunks for that irresistible combination many love about Cherry Garcia Ice Cream.
Exploring the Flavor and Benefits
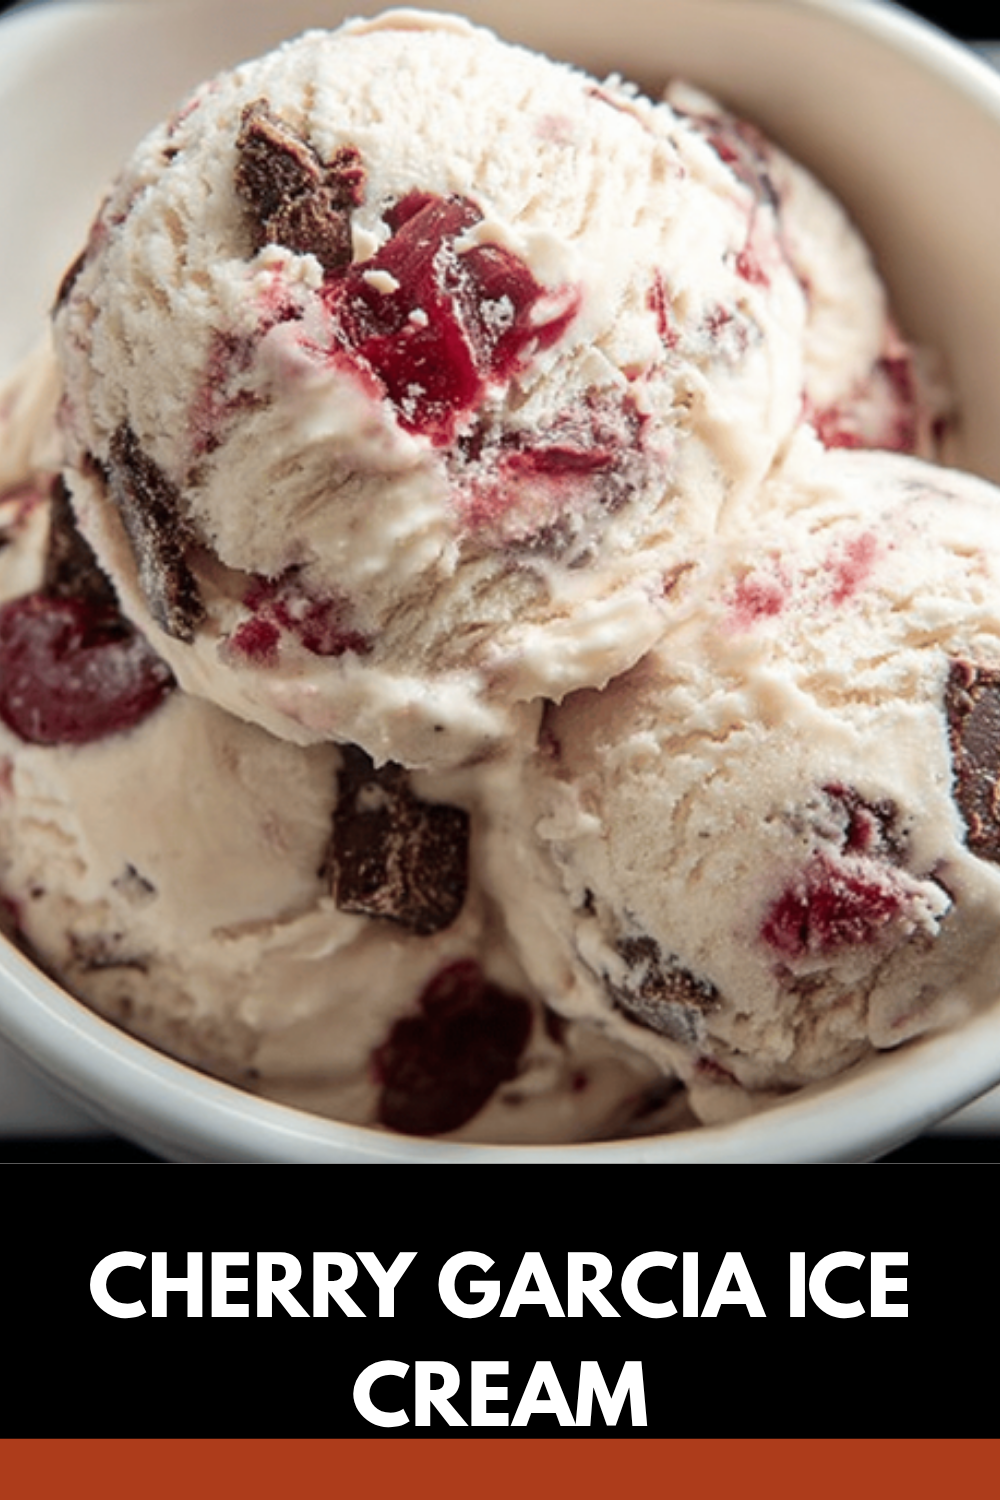
Created back in 1987 and named after the iconic American guitarist Jerry Garcia, this ice cream flavor has a fun history that started from a fan’s idea. It features a smooth, creamy base made from pure cream and plump sweet cherries, blended with dark chocolate chunks for a delightful contrast. Cherry Garcia Ice Cream isn’t just tasty; it’s packed with benefits from ingredients like cherries, which are full of vitamins.
The company behind it focuses on values-led sourcing, using Fairtrade ingredients and responsibly sourced packaging to make a positive impact. They support activism and aim to create prosperity for everyone involved, from farmers to consumers. This commitment makes every bite feel good, aligning with the values of food enthusiasts and busy parents alike.
For instance, the product is certified Kosher Dairy and Gluten Free, which appeals to a wide audience including seniors and working professionals with dietary restrictions. Allergens like egg, milk, and soy are clearly noted, so you can enjoy it safely. Available in pints, mini cups, and even at scoop shops, it’s easy to find and enjoy Cherry Garcia Ice Cream anytime.
Jump to:
- Why You’ll Love This Cherry Garcia Ice Cream
- Exploring the Flavor and Benefits
- Essential Ingredients for Cherry Garcia Ice Cream
- Dietary Considerations
- How to Prepare the Perfect Cherry Garcia Ice Cream: Step-by-Step Guide
- Tips for Best Results
- Dietary Substitutions to Customize Your Cherry Garcia Ice Cream
- Mastering Cherry Garcia Ice Cream: Advanced Tips and Variations
- How to Store Cherry Garcia Ice Cream: Best Practices
- FAQs: Frequently Asked Questions About Cherry Garcia Ice Cream
- What ingredients are in Cherry Garcia Ice Cream?
- Is Cherry Garcia Ice Cream gluten-free?
- Where can I buy Cherry Garcia Ice Cream?
- How many calories are in a serving of Cherry Garcia Ice Cream?
- Can I make a homemade version of Cherry Garcia Ice Cream?
- Cherry Garcia Ice Cream
- Ingredients
- Instructions
- Last Step:
- Notes
- Nutrition
- Did you make this recipe?
Essential Ingredients for Cherry Garcia Ice Cream
Gathering the right ingredients is key to nailing this Cherry Garcia Ice Cream recipe. Each one plays a role in creating that perfect creamy texture and burst of flavors. Let’s break down what you’ll need to get started, ensuring your homemade version matches the original’s appeal.
Based on the classic recipe, here’s a comprehensive list of all the ingredients required. I’ve extracted and formatted them from the provided details for clarity. Each item includes precise measurements where specified, making it simple for you to shop and prepare.
- 2 cups heavy cream – provides the creamy texture and richness.
- 1 cup whole milk – balances creaminess and liquidity.
- 3/4 cup granulated sugar – adds sweetness.
- 1 cup pitted cherries, chopped – brings natural fruity flavor and texture.
- 1/2 cup dark chocolate chunks – offers rich chocolatey bursts.
- 1 tsp vanilla extract – enhances overall flavor profile.
- 1 cup cream – from the base ingredients list.
- 1 cup skim milk – adds to the dairy component.
- 3/4 cup liquid sugar (made from sugar and water) – for additional sweetness.
- 1/2 cup water – used in the mixture.
- 1 cup bordeaux cherries (including cherries, sugar, fruit and vegetable concentrates for color, natural flavor, lemon juice concentrate, guar gum, carrageenan) – for the cherry element.
- 1/2 cup fudge flakes (made from sugar, coconut oil, cocoa processed with alkali, cocoa, butteroil, soy lecithin, natural flavor) – adds chocolatey texture.
- 2 egg yolks – contributes to the creamy base.
- 1/2 cup sugar – extra for sweetness.
- 1/4 cup coconut oil – for richness in the mix.
- 2 tablespoons cocoa powder – enhances chocolate flavor.
- Fruit and vegetable juice for color – as needed for natural coloring.
- 1 teaspoon guar gum – acts as a thickener.
- 1 teaspoon natural flavor – for added taste.
- 1 teaspoon lemon juice concentrate – for acidity balance.
- 1/2 teaspoon carrageenan – another thickener.
- 1 teaspoon soy lecithin – for emulsification.
- 1 teaspoon vanilla extract – more for flavor.
- 1/4 cup milk fat – from the dairy components.
- 1 egg – additional for the base.
For special dietary options, you can make swaps like using plant-based alternatives. This ensures Cherry Garcia Ice Cream fits various needs, from vegan to gluten-free versions.
Dietary Considerations
With certifications like Kosher Dairy and Gluten Free, this recipe is versatile. If you’re diet-conscious, opt for low-calorie versions by swapping sugar with stevia.
How to Prepare the Perfect Cherry Garcia Ice Cream: Step-by-Step Guide
Getting ready to make your own Cherry Garcia Ice Cream is exciting and straightforward. Follow these steps to create a dessert that rivals the original. Start by gathering all your ingredients to keep things smooth and fun.
First, prepare all ingredients by measuring and chopping the cherries and chocolate chunks. This step ensures everything mixes evenly later. Next, in a mixing bowl, whisk together heavy cream, whole milk, sugar, and vanilla extract until the sugar dissolves completely.
Then, pour the mixture into an ice cream maker and churn according to the manufacturer’s instructions, usually around 20-25 minutes for a soft-serve consistency. After that, gently fold in the chopped cherries and chocolate chunks to distribute them evenly. Finally, transfer the ice cream to a freezer-safe container and freeze for at least 4 hours to firm up before serving.
For adaptations, consider vegan options by replacing dairy with almond milk and coconut cream. If you’re gluten-free, double-check your chocolate chunks. This recipe, inspired by the 1987 classic, lets you enjoy Cherry Garcia Ice Cream with its creamy base and sweet cherry swirls.
Tips for Best Results
The company’s emphasis on thoughtfully selected ingredients means you can feel good about what you’re making. Remember to chill the mixture if you want a creamier texture, just like in pro techniques.

Dietary Substitutions to Customize Your Cherry Garcia Ice Cream
Make Cherry Garcia Ice Cream your own with easy swaps that fit different diets. Whether you’re vegan or just looking for lighter options, these changes keep the flavor intact. Start by considering protein alternatives to match your needs.
For protein and main components, use coconut cream or soy milk instead of dairy for a plant-based twist. Almond or cashew milk can add a nutty creaminess that’s just as delicious. When it comes to vegetables and seasonings, substitute cherries with blueberries for a seasonal variation.
Add a splash of cherry liqueur or use agave syrup as a natural sweetener. These modifications ensure Cherry Garcia Ice Cream stays versatile for home cooks and busy parents alike. The original recipe’s Fairtrade ingredients inspire these creative adjustments.
| Substitution Type | Original Ingredient | Alternative |
|---|---|---|
| Dairy | Heavy cream | Coconut cream |
| Sweetener | Granulated sugar | Agave syrup |
| Fruit | Cherries | Blueberries |
Mastering Cherry Garcia Ice Cream: Advanced Tips and Variations
Take your Cherry Garcia Ice Cream to the next level with these expert tips. For a creamier texture, chill the base mixture overnight before churning it’s a simple pro technique that makes a big difference. Experiment with flavor variations like adding toasted almonds for extra crunch.
Presentation is key, so serve in chilled bowls with fresh cherry garnishes. If you’re planning ahead, prepare the base up to two days in advance and store it in the fridge. For more ideas, check out our no-bake energy bites recipe for quick treat inspiration.
The values-led sourcing of ingredients, like Fairtrade cherries, adds depth to your homemade version. This aligns with the company’s mission to support positive change through every scoop of Cherry Garcia Ice Cream.
How to Store Cherry Garcia Ice Cream: Best Practices
Proper storage keeps your Cherry Garcia Ice Cream tasting fresh and creamy. Always use an airtight container in the freezer to avoid ice crystals forming. Freezing is essential, so don’t store it in the fridge by mistake.
When it’s time to serve, let it soften at room temperature for a few minutes. For meal prep, divide into single-serve portions for easy access. The allergens like milk and egg mean proper storage helps maintain quality and safety.
With the company’s focus on responsibly sourced packaging, your homemade version can reflect those values too.
FAQs: Frequently Asked Questions About Cherry Garcia Ice Cream
What ingredients are in Cherry Garcia Ice Cream?
Is Cherry Garcia Ice Cream gluten-free?
Where can I buy Cherry Garcia Ice Cream?
How many calories are in a serving of Cherry Garcia Ice Cream?
Can I make a homemade version of Cherry Garcia Ice Cream?
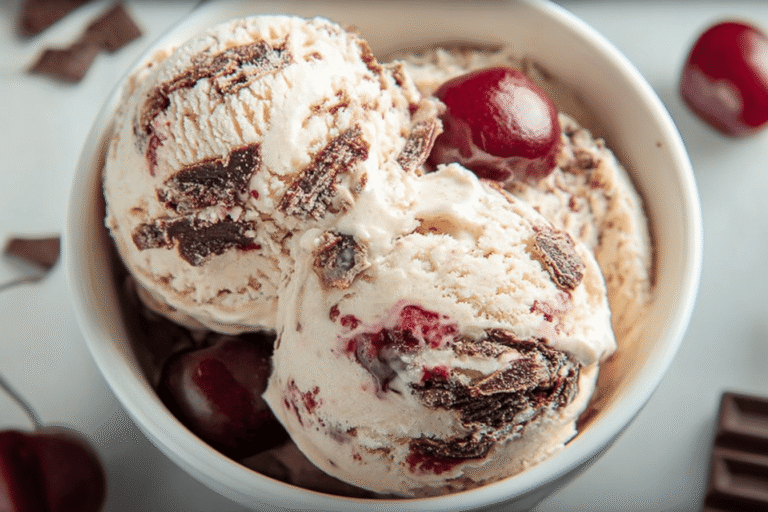
Cherry Garcia Ice Cream
🍒 Experience the classic indulgence of Cherry Garcia Ice Cream with the perfect balance of creamy cherry flavor and rich chocolate chunks.
🍫 This recipe blends luscious cherries and dark chocolate for a decadent dessert that’s sure to satisfy your sweet cravings.
- Total Time: Approximately 5 hours or overnight including chilling and freezing
- Yield: About 1 quart (4 servings) 1x
Ingredients
2 cups heavy cream provides the creamy texture and richness
1 cup whole milk balances creaminess and liquidity
3/4 cup granulated sugar adds sweetness
1 cup pitted cherries, chopped brings natural fruity flavor and texture
1/2 cup dark chocolate chunks offers rich chocolatey bursts
1 tsp vanilla extract enhances overall flavor profile
1 cup cream from the base ingredients list
1 cup skim milk adds to the dairy component
3/4 cup liquid sugar (made from sugar and water) for additional sweetness
1/2 cup water used in the mixture
1 cup bordeaux cherries (including cherries, sugar, fruit and vegetable concentrates for color, natural flavor, lemon juice concentrate, guar gum, carrageenan) for the cherry element
1/2 cup fudge flakes (made from sugar, coconut oil, cocoa processed with alkali, cocoa, butteroil, soy lecithin, natural flavor) adds chocolatey texture
2 egg yolks contributes to the creamy base
1/2 cup sugar extra for sweetness
1/4 cup coconut oil for richness in the mix
2 tablespoons cocoa powder enhances chocolate flavor
Fruit and vegetable juice for color as needed for natural coloring
1 teaspoon guar gum acts as a thickener
1 teaspoon natural flavor for added taste
1 teaspoon lemon juice concentrate for acidity balance
1/2 teaspoon carrageenan another thickener
1 teaspoon soy lecithin for emulsification
1 teaspoon vanilla extract more for flavor
1/4 cup milk fat from the dairy components
1 egg additional for the base
Instructions
1-First, prepare all ingredients by measuring and chopping the cherries and chocolate chunks. This step ensures everything mixes evenly later.
2-Next, in a mixing bowl, whisk together heavy cream, whole milk, sugar, and vanilla extract until the sugar dissolves completely.
3-Then, pour the mixture into an ice cream maker and churn according to the manufacturer’s instructions, usually around 20-25 minutes for a soft-serve consistency.
4-After that, gently fold in the chopped cherries and chocolate chunks to distribute them evenly.
5-Finally, transfer the ice cream to a freezer-safe container and freeze for at least 4 hours to firm up before serving.
Last Step:
Please leave a rating and comment letting us know how you liked this recipe! This helps our business to thrive and continue providing free, high-quality recipes for you.Notes
🍨 Use frozen cherries if fresh are not available; thaw and drain excess liquid before adding.
🍫 For extra richness, use high-quality dark chocolate with at least 60% cocoa.
❄️ To avoid ice crystals, make sure to chill the base thoroughly before churning.
- Prep Time: 15 minutes
- Chill Time: 4 hours or overnight
- Cook Time: 10 minutes
- Category: Dessert
- Method: Churning, Freezing
- Cuisine: American
- Diet: Vegetarian
Nutrition
- Serving Size: 1/2 cup
- Calories: 280 kcal
- Sugar: 28 g
- Sodium: 55 mg
- Fat: 18 g
- Saturated Fat: 12 g
- Unsaturated Fat: 5 g
- Trans Fat: 0 g
- Carbohydrates: 28 g
- Fiber: 2 g
- Protein: 4 g
- Cholesterol: 115 mg





