

Why You’ll Love This Eggnog Ice Cream Recipe
Hey there, fellow food lovers! Imagine whipping up a creamy, festive treat that’s ready in a flash that’s exactly what this eggnog ice cream recipe brings to your kitchen. It’s super simple, blending everyday ingredients into something magical that captures the holiday spirit without any fuss. Whether you’re a busy parent juggling schedules or a baking enthusiast craving something new, this recipe will become your go-to for quick desserts that wow everyone at the table.
One of the best parts is how easy it is to make, perfect for beginners who want to dive into homemade treats without stress. Plus, it’s packed with wholesome goodness from ingredients like eggnog, giving you a nice boost of protein and vitamins in a fun way. And let’s not forget its versatility you can tweak it for different diets, making it a hit for gatherings where everyone’s tastes vary.
This eggnog ice cream stands out with its warm, spicy flavors that evoke memories of holiday traditions. I remember the first time I tried this; it felt like a hug in a bowl, especially when shared with family. So, grab your ingredients and let’s get started you’ll see why it’s a favorite in no time!
Key Benefits at a Glance
- Ease of preparation: Just mix a few items and let your ice cream maker do the work, ideal for quick family nights.
- Health perks: It uses fresh elements that offer protein and essential nutrients, turning dessert into a smart choice.
- Dietary flexibility: Adapt it for vegan, gluten-free, or lighter options to suit all your guests.
- Unique taste: The nutmeg and vanilla create that classic eggnog vibe, making every scoop feel special.
To give you more ideas for fast treats, check out our no-bake energy bites for another easy recipe that fits busy days perfectly.
Jump to:
- Why You’ll Love This Eggnog Ice Cream Recipe
- Key Benefits at a Glance
- Essential Ingredients for Eggnog Ice Cream Recipe
- Sneaky Tips for Ingredient Swaps
- How to Prepare the Perfect Eggnog Ice Cream Recipe: Step-by-Step Guide
- Pro Tips for Smooth Sailing
- Dietary Substitutions to Customize Your Eggnog Ice Cream Recipe
- Easy Custom Ideas
- Mastering Eggnog Ice Cream Recipe: Advanced Tips and Variations
- More Ways to Get Creative
- How to Store Eggnog Ice Cream Recipe: Best Practices
- Storage Hacks
- FAQs: Frequently Asked Questions About Eggnog Ice Cream Recipe
- How do I make eggnog ice cream at home without an ice cream maker?
- What ingredients give eggnog ice cream its signature flavor?
- Can I make eggnog ice cream ahead of time for a holiday party?
- Is homemade eggnog ice cream safe to eat if it contains raw eggs?
- How can I customize eggnog ice cream to suit dietary restrictions like dairy-free or low sugar?
- Eggnog Ice Cream Recipe
- Ingredients
- Instructions
- Last Step:
- Notes
- Nutrition
- Did you make this recipe?
Essential Ingredients for Eggnog Ice Cream Recipe
Alright, friends, let’s talk about what makes this eggnog ice cream recipe so darn simple it’s all about a handful of key ingredients that you probably have on hand. Starting with the basics, I’ll lay them out clearly so you can whip this up without second-guessing. Remember, using fresh, quality items really amps up the flavor, like how a dash of nutmeg can turn ordinary into extraordinary!
Here’s the full list of everything you’ll need. I’ve pulled these straight from the recipe to make sure we’re spot on with measurements. Each one plays a star role, so don’t skip any they’re all essential for that creamy texture and festive taste.
- 2 cups eggnog
- 1 cup half and half
- 1/2 cup sugar
- 1 teaspoon pure vanilla extract
- 1/2 teaspoon freshly grated nutmeg
If you’re looking to mix things up, this recipe is forgiving. For special dietary tweaks, try swapping in coconut milk for a vegan version or using a sugar alternative if you’re watching calories. I once experimented with these swaps during a family get-together, and it turned out great everyone loved the custom flavors!
Sneaky Tips for Ingredient Swaps
- Vegan option: Go for coconut milk in place of eggnog and half and half to keep it creamy.
- Gluten-free: Good news, this recipe is naturally gluten-free as is.
- Low-sugar: Swap sugar for something like erythritol to cut down on sweetness without losing that yummy edge.
For more refreshing ideas, try our mango-peach-strawberry smoothie, which uses similar fresh ingredients for a cool twist.
How to Prepare the Perfect Eggnog Ice Cream Recipe: Step-by-Step Guide
Okay, pals, now for the fun part actually making this eggnog ice cream recipe! It takes just about five minutes to mix everything up, and then it’s mostly waiting for the magic to happen. I love how straightforward it is; even if you’re new to the kitchen, you’ll feel like a pro by the end. Let’s break it down step by step so you can enjoy creamy results every time.
First, gather your ingredients and combine them all in a bowl or pitcher: 2 cups eggnog, 1 cup half and half, 1/2 cup sugar, 1 teaspoon pure vanilla extract, and 1/2 teaspoon freshly grated nutmeg. Whisk everything together until the sugar dissolves completely no fancy tools needed, just a good old hand whisk works wonders!
Next, pour that smooth mixture into your ice cream maker and follow the machine’s instructions to freeze it. If you want it soft and ready to eat right away, serve it up immediately. For something firmer, pop it into a lined container and freeze for at least four hours. Oh, and don’t worry if your eggnog is extra rich; it’ll make the ice cream even dreamier!
Pro Tips for Smooth Sailing
- Use a bowl with a spout if you have one it makes pouring a breeze, but hey, even if you don’t, take your time and you’ll be fine.
- Any ice cream maker that’s at least 1.5 quarts will do the trick, so use what you’ve got.
- Adjust sugar based on your eggnog’s sweetness; it’s all about tailoring to your taste buds.
This method is so quick, it’s like the one in our mini muffin pancake bites recipe perfect for when life’s too hectic for complicated steps.

Dietary Substitutions to Customize Your Eggnog Ice Cream Recipe
You know what’s great about this eggnog ice cream recipe? It’s super adaptable, so everyone at your table can enjoy it, no matter their preferences. Whether you’re dealing with allergies or just wanting something lighter, a few swaps can make all the difference. I once made a vegan batch for a friend, and it was a hit who says you can’t have fun with food tweaks?
For protein and base changes, try flaxseed gel instead of any egg elements if you’re going vegan. Swap dairy for almond milk if lactose is an issue, or add pea protein powder for an extra nutritional kick. On the seasoning side, play with cinnamon or cardamom to mix up the flavors, and use agar agar as a thickener for that perfect consistency.
Easy Custom Ideas
| Dietary Need | Substitution |
|---|---|
| Vegan | Use flaxseed gel for eggs and coconut milk for dairy |
| Low-Sugar | Swap sugar with maple syrup or stevia |
| General Flavor Boost | Add a pinch of cinnamon for extra warmth |
These changes keep the recipe fun and flexible, just like exploring new flavors in everyday cooking.
Mastering Eggnog Ice Cream Recipe: Advanced Tips and Variations
Once you’ve nailed the basics of this eggnog ice cream recipe, let’s amp it up with some pro moves and fun twists. I like to think of this as leveling up your dessert game add a little booze for adults or some peppermint for holidays, and you’re golden. These tips come from my own kitchen experiments, and they’ve never let me down!
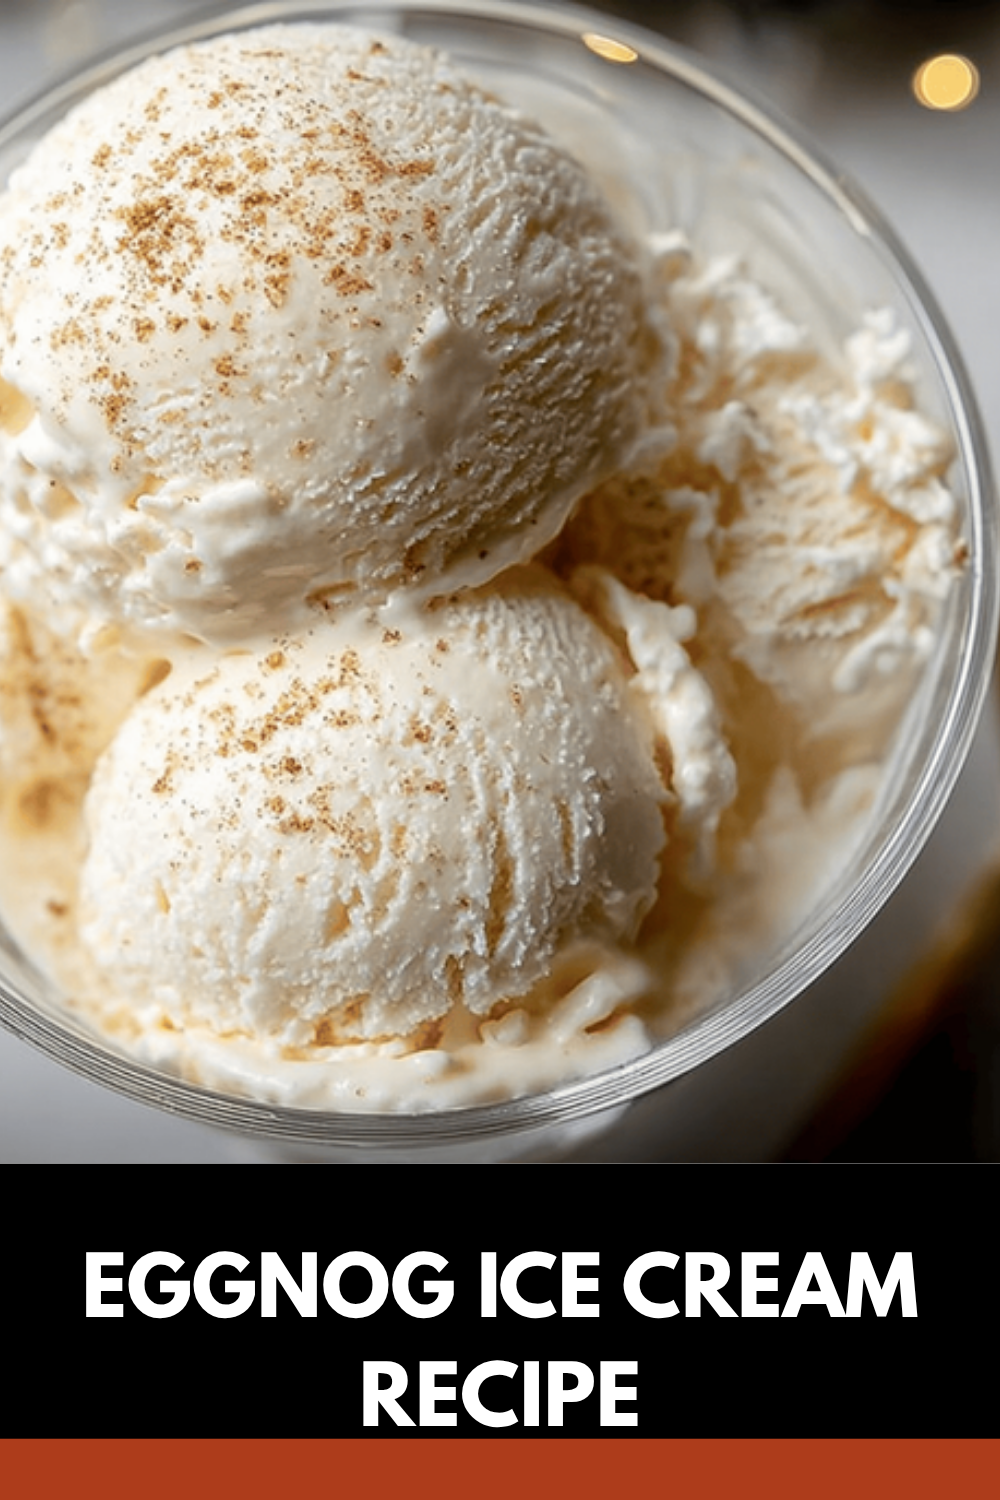
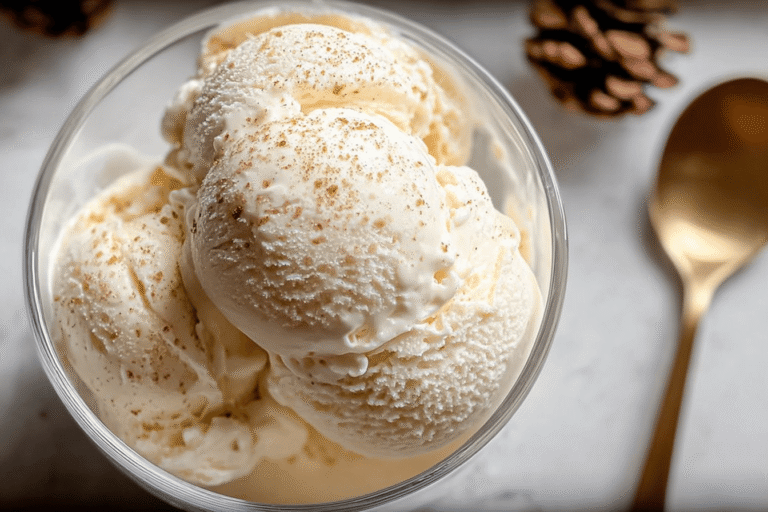
For smoother results, use a double boiler when mixing to avoid any lumps, ensuring your custard is silky. Flavor ideas include dropping in bourbon for a grown-up vibe or stirring in crushed candy for crunch. When it’s time to serve, top with fresh nutmeg and a cinnamon stick it looks as good as it tastes.
Nutritional details are just estimates, so use a nutrition calculator with your exact ingredients for accuracy. And if you want to prep ahead, make the base and chill it; it’ll taste even better later.
More Ways to Get Creative
- Add 1-2 tablespoons of rum for a festive kick without messing up the freeze.
- Try heavy cream instead of half and half for ultra-rich texture.
- If no ice cream maker, check online for simple freezing hacks to keep things easy.
As I always say, the best recipes are the ones you make your own so play around and enjoy the process!
How to Store Eggnog Ice Cream Recipe: Best Practices
After all that mixing and freezing, you want your eggnog ice cream to stay fresh and tasty, right? Storing it properly is key, and it’s simpler than you might think. Keep your custard base in the fridge for up to two days before churning, and once it’s ice cream, seal it tight to avoid freezer burn.
Freeze at around -18°C for the best texture, and if you’re meal prepping, divide it into portions for easy grabs. I love having this ready in the freezer for surprise guests it’s like having a secret weapon in your kitchen arsenal.
Storage Hacks
- Press plastic wrap right on the surface before sealing to keep it from getting icy.
- Avoid reheating; just let it soften at room temp if needed.
- For long-term, it lasts up to two weeks, but trust me, it won’t stick around that long!
FAQs: Frequently Asked Questions About Eggnog Ice Cream Recipe
How do I make eggnog ice cream at home without an ice cream maker?
What ingredients give eggnog ice cream its signature flavor?
Can I make eggnog ice cream ahead of time for a holiday party?
Is homemade eggnog ice cream safe to eat if it contains raw eggs?
How can I customize eggnog ice cream to suit dietary restrictions like dairy-free or low sugar?
Eggnog Ice Cream Recipe
🥚 This Eggnog Ice Cream recipe is quick to prepare, delivering a rich and creamy treat in just five minutes.
❄️ Made with classic holiday flavors like nutmeg and vanilla, it’s the perfect festive dessert to enjoy any time.
- Total Time: 4 hours 5 minutes
- Yield: About 6 servings
Ingredients
– 2 cups eggnog
– 1 cup half and half
– 1/2 cup sugar
– 1 teaspoon pure vanilla extract
– 1/2 teaspoon freshly grated nutmeg
Instructions
1-First, gather your ingredients and combine them all in a bowl or pitcher: 2 cups eggnog, 1 cup half and half, 1/2 cup sugar, 1 teaspoon pure vanilla extract, and 1/2 teaspoon freshly grated nutmeg. Whisk everything together until the sugar dissolves completely no fancy tools needed, just a good old hand whisk works wonders!
2-Next, pour that smooth mixture into your ice cream maker and follow the machine’s instructions to freeze it. If you want it soft and ready to eat right away, serve it up immediately. For something firmer, pop it into a lined container and freeze for at least four hours. Oh, and don’t worry if your eggnog is extra rich; it’ll make the ice cream even dreamier!
Last Step:
Please leave a rating and comment letting us know how you liked this recipe! This helps our business to thrive and continue providing free, high-quality recipes for you.Notes
🍦 Whisk by hand until sugar dissolves – no mixer needed.
🥄 Use freshly grated nutmeg for optimal flavor enhancement.
🥄 Store leftovers in an airtight container with plastic wrap pressed on the surface to prevent freezer burn.
- Prep Time: 5 minutes
- Freezing Time: 4 hours
- Category: Dessert
- Method: Churning and Freezing
- Cuisine: American
- Diet: Vegetarian
Nutrition
- Serving Size: 1/2 cup





