

Why You’ll Love This Graham Cracker Crust
Graham cracker crust is a simple yet delicious base for all sorts of pies and desserts, and this version makes it even easier to whip up at home. You’ll appreciate how it uses just a few basic ingredients like 1 1/2 cups of graham cracker crumbs and some melted butter to create a tasty, crunchy layer that holds together perfectly. This crust comes together in about 5 minutes, making it ideal for busy days when you want a quick start to your baking adventure.
One of the best parts about this graham cracker crust is its ease of preparation, which means even if you’re new to baking, you can mix and press it without any fuss. It offers subtle health benefits too, like fiber from whole graham crackers that help keep things balanced while adding a comforting flavor. Our graham cracker crust recipe shines in its versatility, adapting well to different needs such as vegan or gluten-free options, so everyone at your table can enjoy it.
Plus, the distinctive honey-infused taste of the graham crackers brings a warm, toasty note that elevates everyday desserts into something special. Whether you’re making a classic pie or a creamy cheesecake, this crust cuts neatly without falling apart, thanks to the firm press from a measuring cup. Try this graham cracker crust for your next gathering, and you’ll see how it becomes a go-to favorite for family and friends alike.
Graham cracker crust works wonders for both baked and no-bake recipes, giving you flexibility based on what you’re in the mood for. The preparation is straightforward, combining finely ground crumbs with sugars and butter to form a moist mixture that sets up nicely. With nutritional info per pie at around 1375 kcal, it’s a treat that fits into moderate diets while providing essential nutrients like potassium and calcium.
Key Features That Make It Stand Out
- Minimal prep time of just 5 minutes keeps things simple for busy parents and students.
- Adaptable for dietary preferences, such as using plant-based butter for vegan versions.
- Delivers a satisfying crunch that pairs well with fillings like fruit or cream, enhancing the overall dessert experience.
Remember, a good graham cracker crust isn’t just about the taste it’s about creating those joyful moments in the kitchen that bring people together, just like sharing a homemade pie with loved ones.
This graham cracker crust is not only quick to make but also stores well, letting you prepare ahead for events. It’s perfect for home cooks looking to experiment without overwhelming steps, building confidence one bake at a time. Overall, it’s the kind of recipe that makes baking feel fun and achievable for all skill levels.
Jump to:
- Why You’ll Love This Graham Cracker Crust
- Key Features That Make It Stand Out
- Essential Ingredients for Graham Cracker Crust
- Main Ingredients List
- Special Dietary Options
- How to Prepare the Perfect Graham Cracker Crust: Step-by-Step Guide
- Gathering and Preparing Your Ingredients
- Mixing and Pressing the Crust
- Baking and Cooling Process
- Dietary Substitutions to Customize Your Graham Cracker Crust
- Exploring Protein and Main Alternatives
- Adding Vegetables, Sauces, and Seasonings
- Mastering Graham Cracker Crust: Advanced Tips and Variations
- Flavor Experiments and Make-Ahead Ideas
- How to Store Graham Cracker Crust: Best Practices
- Simple Storage Steps
- FAQs: Frequently Asked Questions About Graham Cracker Crust
- Do you need to bake a graham cracker crust before adding the filling?
- Why does my graham cracker crust fall apart when I cut the pie?
- Can I replace graham crackers with another type of cookie or biscuit for the crust?
- How much butter should I use for a graham cracker crust?
- How long does a graham cracker crust last if stored before using?
- Graham Cracker Crust
- Ingredients
- Instructions
- Last Step:
- Notes
- Nutrition
- Did you make this recipe?
Essential Ingredients for Graham Cracker Crust
Getting the right ingredients is key to a perfect graham cracker crust, and this recipe keeps it straightforward with just four basics that blend together effortlessly. Start by gathering everything you need, including precise measurements to ensure your crust turns out just right every time. Let’s break it down into a structured list so you can easily follow along and measure accurately.
Main Ingredients List
- 1 1/2 cups (170 g) graham cracker crumbs or 11 graham cracker sheets (pulverized until finely ground)
- 2 tablespoons sugar
- 1 tablespoon packed brown sugar
- 7 tablespoons (100 g) melted butter
These ingredients form the base of your graham cracker crust, providing the signature texture and flavor that ties your desserts together. For special dietary options, you can swap things up to fit your needs, like using plant-based butter for a vegan twist or certified gluten-free graham crackers to accommodate sensitivities.
Special Dietary Options
- For vegan diets: Swap the melted butter with an equal amount of coconut oil or vegan margarine to keep the binding intact.
- For gluten-free needs: Opt for certified gluten-free graham crackers, ensuring they measure to 1 1/2 cups when crushed.
- For low-calorie versions: Use a reduced-sugar alternative for the granulated sugar and consider light butter to cut down on fat.
By sticking to this list, you’ll have a comprehensive set of ingredients that make your graham cracker crust adaptable and delicious. Remember, precise measurements help avoid any mishaps, like a crust that’s too dry or crumbly. If you’re exploring other recipes, check out our no-bake energy bites recipe for more simple ideas that use similar techniques.
| Ingredient | Quantity | Notes |
|---|---|---|
| Graham cracker crumbs | 1 1/2 cups (170 g) | Use fresh crumbs for the best texture; alternatives include digestive biscuits |
| Sugar | 2 tablespoons | Helps add sweetness and crispness |
| Brown sugar | 1 tablespoon packed | Provides a deeper flavor profile |
| Melted butter | 7 tablespoons (100 g) | Ensure it’s warm to mix evenly with crumbs |
This table gives you a quick visual reference, making it easier to grab what you need. With these ingredients, your graham cracker crust will be ready in no time, perfect for pairing with various fillings.
How to Prepare the Perfect Graham Cracker Crust: Step-by-Step Guide
Making a graham cracker crust is one of those kitchen tasks that’s as fun as it is rewarding, and with this step-by-step guide, you’ll nail it on your first try. Start by preheating your oven to 350°F (175°C) if you’re baking the crust, which helps it set and develop a golden color. Gather your ingredients 1 1/2 cups of graham cracker crumbs, 2 tablespoons of sugar, 1 tablespoon of packed brown sugar, and 7 tablespoons of melted butter and let’s dive in.
Gathering and Preparing Your Ingredients
First, crush the graham crackers into fine crumbs using a food processor or by placing them in a sealed bag and rolling over them with a pin. This step ensures a smooth texture that holds together well. Once you have your crumbs ready, mix them with the sugars in a bowl to evenly distribute the sweetness.
Mixing and Pressing the Crust
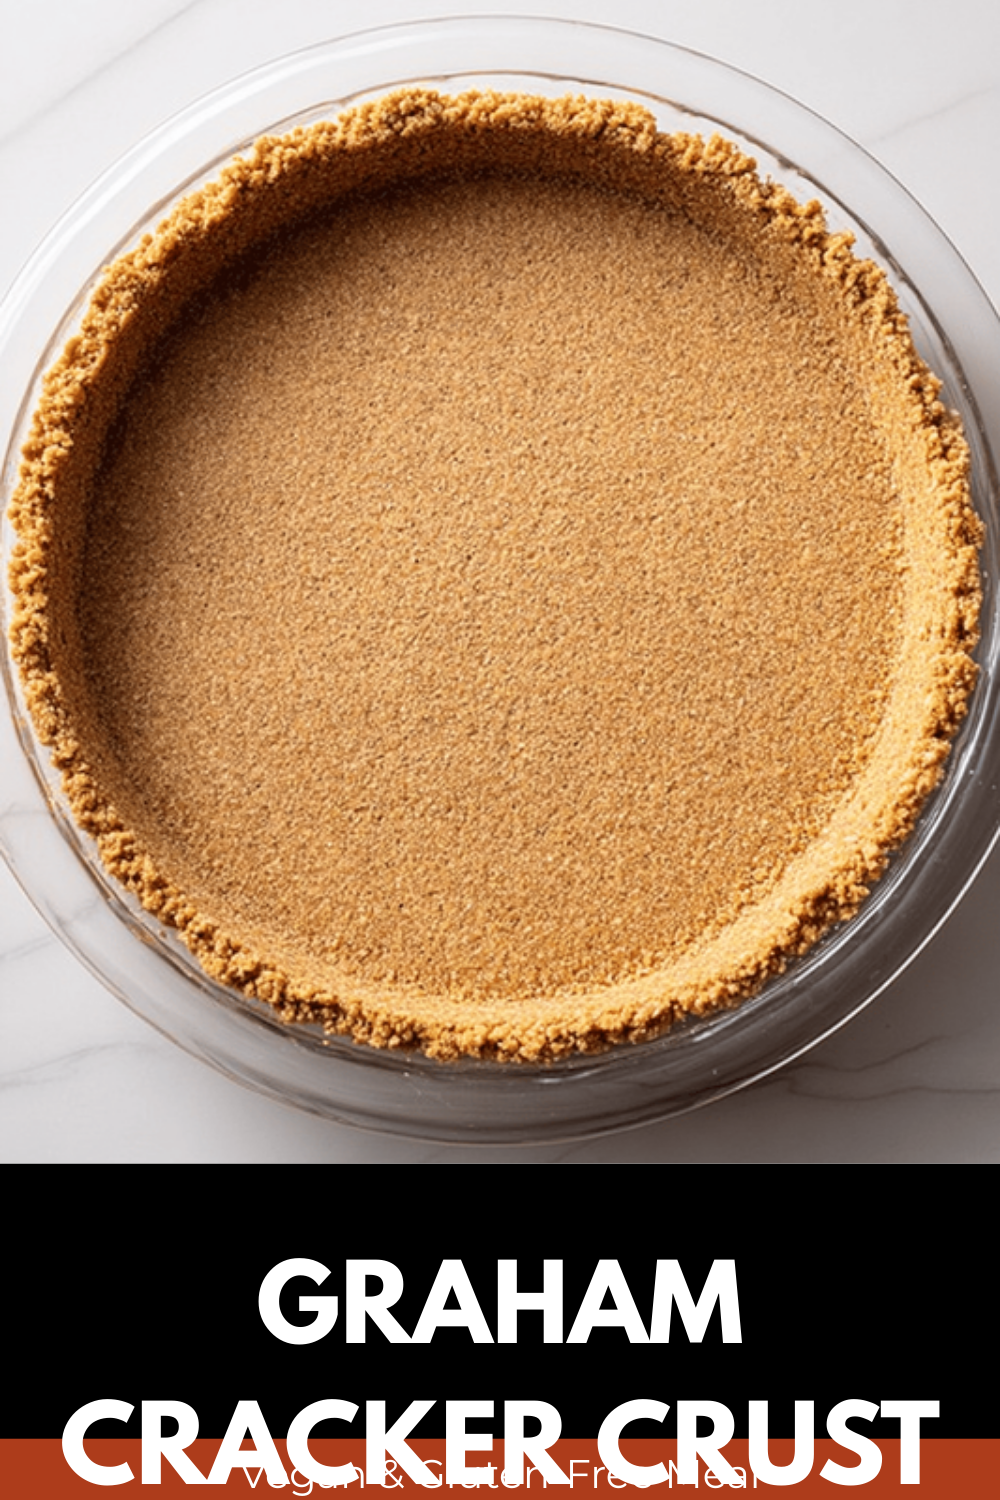
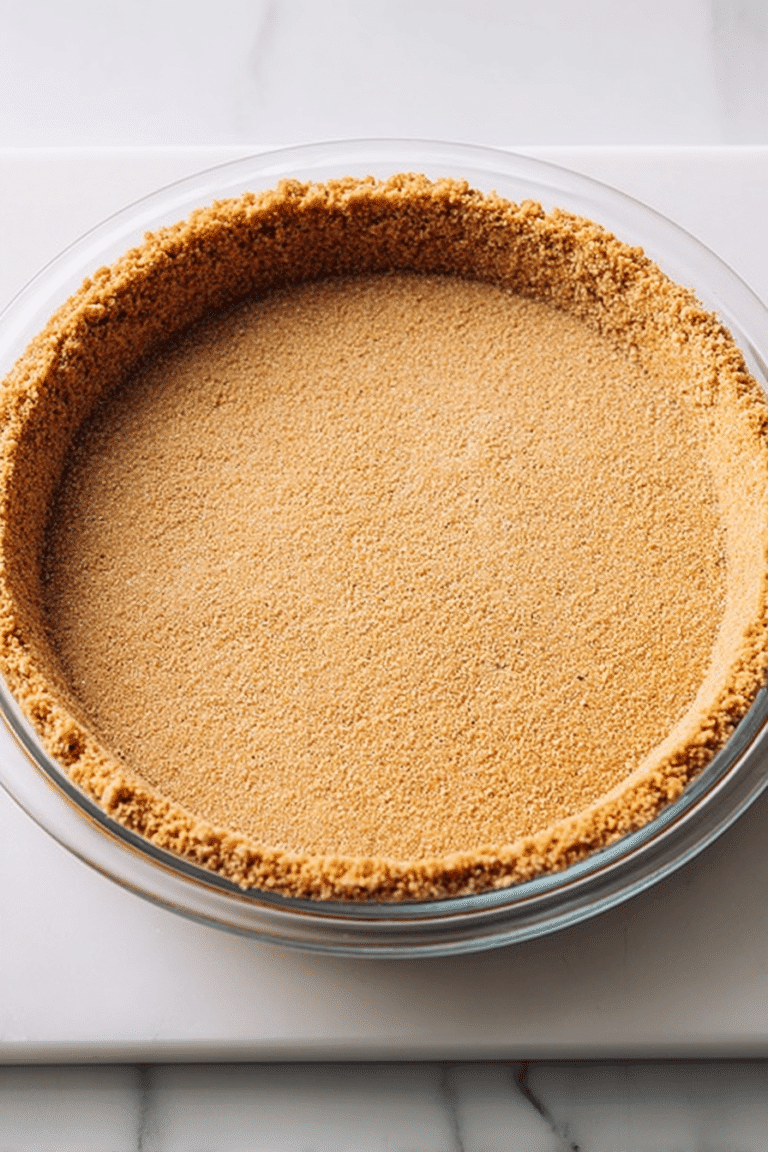
Next, add the melted butter to the crumb mixture and stir thoroughly with a fork until everything is moistened and resembles wet sand. This combination is what makes the crust sturdy. Press the mixture firmly into your pie plate or springform pan, using the bottom of a measuring cup to create an even, smooth surface that won’t crumble when sliced.
Baking and Cooling Process
If you’re going for a baked crust, pop it into the oven at 350°F for 10-13 minutes until it’s fragrant and lightly golden, then let it cool completely. For no-bake options, chill it in the fridge or freezer for 10-20 minutes to firm up. This crust works beautifully for pies and cheesecakes, cutting neatly thanks to the firm packing.
Preparation takes about 5 minutes, making it a quick win for busy professionals and baking enthusiasts. Remember to keep the butter warm when mixing to help everything bind properly. If you’re looking for more no-bake inspiration, our no-bake energy bites offer a similar easy approach.
Once cooled, your graham cracker crust is ready for any filling, providing a solid base that enhances flavors. This method ensures consistency, whether you’re adapting for dietary needs or experimenting with flavors. It’s all about building that confidence in the kitchen for home cooks of all levels.
- Step 1: Preheat oven and prepare your pan for baking.
- Step 2: Crush crackers and mix with sugars.
- Step 3: Add butter and stir until combined.
- Step 4: Press into pan firmly.
- Step 5: Bake or chill as needed.
As you press that mixture into the pan, think about how this simple act turns basic ingredients into something magical for your desserts.

Dietary Substitutions to Customize Your Graham Cracker Crust
Customizing your graham cracker crust for different dietary needs is a breeze, allowing you to enjoy this treat without skipping a beat. Start with the main components like graham crackers and butter, then swap in alternatives to fit your lifestyle. For instance, if dairy is a concern, replacing melted butter with coconut oil keeps the crust together while adding a subtle tropical hint.
Exploring Protein and Main Alternatives
Protein-rich options can include using crushed nuts like almonds or pecans in place of graham crackers for those with gluten sensitivities. This not only adds nutrition but also a nutty flavor that pairs well with desserts. Always measure to match the 1 1/2 cups needed for the recipe to keep the texture just right.
Adding Vegetables, Sauces, and Seasonings
Incorporate extras like a pinch of cinnamon for warmth or ground flaxseeds to boost fiber, making your crust even healthier. Natural sweeteners such as maple syrup can replace sugar, giving a different twist that might appeal to diet-conscious folks. These changes help the crust adapt to various tastes while staying simple to prepare.
With these substitutions, your graham cracker crust becomes versatile for everyone from travelers to seniors. Remember, the key is balancing flavors and textures to ensure it holds up in your final dish.
Mastering Graham Cracker Crust: Advanced Tips and Variations
Taking your graham cracker crust to the next level involves some pro techniques that make a big difference in the end result. For a crisp finish, try blind baking with pie weights to keep the crust from shrinking, ensuring it stays even and firm. Using finely ground crumbs is another tip that creates a smooth base for your pies.
Flavor Experiments and Make-Ahead Ideas
Flavor variations are endless add citrus zest or toasted nuts to the mix for a fresh twist that complements the graham cracker base. Presentation can be fun too, like garnishing with crushed nuts for a polished look. For make-ahead options, prepare the crust ahead and store it at room temperature for up to 3 days or freeze it for a month, saving time on busy days.
These tips help build your baking skills while keeping things approachable.
How to Store Graham Cracker Crust: Best Practices
Proper storage keeps your graham cracker crust fresh and ready for use, extending its life without losing that perfect crunch. Refrigerate it wrapped tightly for up to 3 days to maintain its texture. For longer keeps, freezing works great, letting you thaw it when needed.
Simple Storage Steps
Reheat gently in a low oven if it softens, and always consider meal prep for easy desserts. This approach helps working professionals stay organized in the kitchen.
FAQs: Frequently Asked Questions About Graham Cracker Crust
Do you need to bake a graham cracker crust before adding the filling?
Why does my graham cracker crust fall apart when I cut the pie?
Can I replace graham crackers with another type of cookie or biscuit for the crust?
How much butter should I use for a graham cracker crust?
How long does a graham cracker crust last if stored before using?
Graham Cracker Crust
🥧 Create the perfect base for pies and desserts with this easy graham cracker crust recipe.
⏱️ Quick to make with simple ingredients, it delivers a firm and flavorful foundation for your favorite treats.
- Total Time: 15-18 minutes (with baking)
- Yield: 1 9-inch pie crust
Ingredients
– 1 1/2 cups (170 g) Graham cracker crumbs [Use fresh crumbs for the best texture; alternatives include digestive biscuits]
– 2 tablespoons Sugar [Helps add sweetness and crispness]
– 1 tablespoon packed Brown sugar [Provides a deeper flavor profile]
– 7 tablespoons (100 g) Melted butter [Ensure it’s warm to mix evenly with crumbs]
Instructions
Step 1: Preheat oven and prepare your pan for baking.
Step 2: Crush crackers and mix with sugars.
Step 3: Add butter and stir until combined.
Step 4: Press into pan firmly.
Step 5: Bake or chill as needed.
Last Step:
Please leave a rating and comment letting us know how you liked this recipe! This helps our business to thrive and continue providing free, high-quality recipes for you.Notes
🧈 Use warm melted butter and pack crumbs firmly to ensure the crust holds together well.
❄️ Chill no-bake crusts in the refrigerator or freezer to set before filling.
🍪 Substitute digestive biscuits by using 12 biscuits to equal 170 g if you want a different flavor base.
- Prep Time: 5 minutes
- Cook Time: 10-13 minutes (if baking)
- Category: Dessert
- Method: Baking, refrigeration
- Cuisine: American
- Diet: Vegetarian
Nutrition
- Serving Size: 1 slice (1/8 of crust)
- Calories: 172
- Sugar: 8g
- Sodium: 192mg
- Fat: 12g
- Saturated Fat: 6g
- Carbohydrates: 16g
- Fiber: 1g
- Protein: 1g
- Cholesterol: 30mg





