

Why You’ll Love This Sinangag
Sinangag is not just any fried rice; it’s a staple in Filipino kitchens that brings bold flavors to your table with minimal effort. This recipe is quick and simple, making it perfect for busy mornings or last-minute meals, as it requires just a few ingredients and about 25 minutes of your time. You’ll appreciate how it turns day-old rice into a delicious, savory dish that avoids mushiness for a firmer texture, all while packing in nutrients like fiber and vitamins from garlic.
Beyond its ease, sinangag offers health benefits that make it a smart choice for diet-conscious individuals. Each serving provides around 247 kcal, with 46.82 g of carbohydrates, 4.7 g of protein, and only 3.98 g of fat, plus minimal sodium, supporting overall wellness. Its versatility shines through, as you can adapt it for various dietary needs, like vegan or gluten-free options, ensuring it’s suitable for everyone from busy parents to seniors. The rich, garlic-infused taste creates a standout flavor that elevates everyday meals into something special, encouraging you to experiment and enjoy cooking with joy.
In my own kitchen, I’ve found sinangag to be a go-to for turning leftovers into a hearty breakfast or side dish. Whether you’re a student rushing out the door or a working professional prepping meals ahead, this dish’s adaptability means it fits seamlessly into diverse lifestyles. If you’re new to Filipino cuisine, trying sinangag is a great way to explore flavors that are both comforting and exciting.
Jump to:
- Why You’ll Love This Sinangag
- Essential Ingredients for Sinangag
- Why These Ingredients Matter
- How to Prepare the Perfect Sinangag: Step-by-Step Guide
- Tips for Success
- Dietary Substitutions to Customize Your Sinangag
- Mastering Sinangag: Advanced Tips and Variations
- How to Store Sinangag: Best Practices
- FAQs: Frequently Asked Questions About Sinangag
- What type of rice works best for making sinangag?
- How do I prevent garlic from burning while cooking sinangag?
- What kind of oil should I use for frying sinangag?
- Can I add other ingredients to sinangag besides garlic?
- Is sinangag suitable for meals other than breakfast?
- Sinangag
- Ingredients
- Instructions
- Last Step:
- Notes
- Nutrition
- Did you make this recipe?
Essential Ingredients for Sinangag
Gathering the right ingredients is key to making authentic sinangag, and using cold, cooked rice ensures the best texture. Below is a structured list of all the ingredients needed, based on the traditional recipe. Each item includes precise measurements to make preparation straightforward and accurate.
- 4 cups cold, cooked white rice
- 1/4 cup canola oil
- 1 head garlic, peeled and minced
- Salt to taste
- Pepper to taste
These ingredients form the base of sinangag, providing the perfect balance of texture and flavor. For special dietary options, you can make adjustments like using plant-based oil for vegan versions or ensuring any added seasonings are gluten-free. Remember, day-old rice is ideal to keep the grains separate and prevent clumping during frying.
Why These Ingredients Matter
The combination of garlic and rice creates that signature Filipino taste that’s hard to resist. For more ideas on similar dishes, check out our veggie fried rice recipe for a twist on fried rice variations. Garlic not only adds aroma but also brings health benefits, as highlighted in this resource on garlic health benefits.
How to Prepare the Perfect Sinangag: Step-by-Step Guide
Creating sinangag at home is straightforward and rewarding, especially when you follow these simple steps. Start by breaking up the cold rice to separate the grains, which helps achieve that fluffy texture. Heat the oil in a wide skillet over low heat, then add the minced garlic and cook until it’s golden brown for a rich, aromatic base.
Once the garlic is ready, remove it and drain on paper towels, leaving about 1 to 2 tablespoons of oil in the pan. Increase the heat to high, spread the rice in the pan, and let the grains sizzle before tossing them repeatedly until heated through. Return three-quarters of the garlic to the rice, mix evenly, and season with salt and pepper to taste before transferring to a serving dish and garnishing with the remaining garlic bits.
This method takes roughly 5 minutes for prep and 15 minutes for cooking, totaling about 25 minutes. For best results, use day-old rice to avoid mushiness and ensure a firmer texture. If you’re adapting for dietary needs, such as low-calorie options, consider reducing oil or exploring substitutions like those in our Asian lentil lettuce wraps, which offer similar healthy twists.
Tips for Success
To make your sinangag even better, focus on even toasting of the rice. According to experts, as discussed in nutritional insights, garlic adds not just flavor but also potential health perks. Always stir gently to incorporate flavors without breaking the rice grains.

Dietary Substitutions to Customize Your Sinangag
Sinangag is incredibly flexible, allowing you to tailor it to your dietary preferences without losing its charm. For protein alternatives, swap in tofu or mushrooms for a vegan option, or add shrimp and chicken for those who enjoy omnivorous meals. This adaptability makes it ideal for busy parents, students, or anyone managing specific health goals.
When it comes to vegetables and seasonings, try adding bell peppers, carrots, or green beans to boost nutrition and add crunch. For gluten-free versions, use tamari instead of soy sauce, and experiment with herbs like black pepper or chili flakes to adjust the heat. Diet-conscious individuals will appreciate how these changes keep the dish light while maintaining its savory appeal.
In my experience, these substitutions have helped turn sinangag into a family favorite for newlyweds and seniors alike. Whether you’re a food enthusiast exploring new flavors or a baking enthusiast looking for savory sides, these tweaks ensure sinangag fits into your routine seamlessly.
Mastering Sinangag: Advanced Tips and Variations
Once you’re comfortable with the basics, advanced techniques can take your sinangag to the next level. Use day-old rice for the best texture and toast garlic slowly over low heat to prevent bitterness, ensuring a deep, flavorful result. Incorporating variations like calamansi juice or smoked paprika adds a unique twist that enhances the overall taste.
Presentation is key try serving sinangag in neat molds or garnished with fried eggs and fresh herbs to make it visually appealing. For make-ahead options, prepare the rice and garlic separately and combine just before serving, which is perfect for working professionals or travelers. These tips not only save time but also help you create memorable meals with minimal effort.
Personal anecdote: I once added diced onions to my sinangag for a potluck, and it was a hit among friends who are food enthusiasts. If you’re interested in more creative rice dishes, our site has plenty, like the veggie fried rice for inspiration.
How to Store Sinangag: Best Practices
Proper storage keeps your sinangag fresh and tasty for later enjoyment. Refrigerate it in airtight containers and aim to consume within 2-3 days to maintain quality. For longer preservation, freeze portions in freezer-safe bags for up to one month, making sure to cool the rice quickly before storing.
When reheating, use a pan with a splash of water or oil over medium heat to restore moisture and fluffiness. Meal prep enthusiasts will love cooking the rice ahead and keeping ingredients separate for quick assembly. This approach works well for busy parents and students who need efficient meal solutions.
Remember, avoiding excess moisture during storage prevents sogginess, keeping that firm texture intact. With these practices, sinangag remains a convenient option for various lifestyles, from working professionals to seniors.
FAQs: Frequently Asked Questions About Sinangag
What type of rice works best for making sinangag?
How do I prevent garlic from burning while cooking sinangag?
What kind of oil should I use for frying sinangag?
Can I add other ingredients to sinangag besides garlic?
Is sinangag suitable for meals other than breakfast?
Sinangag
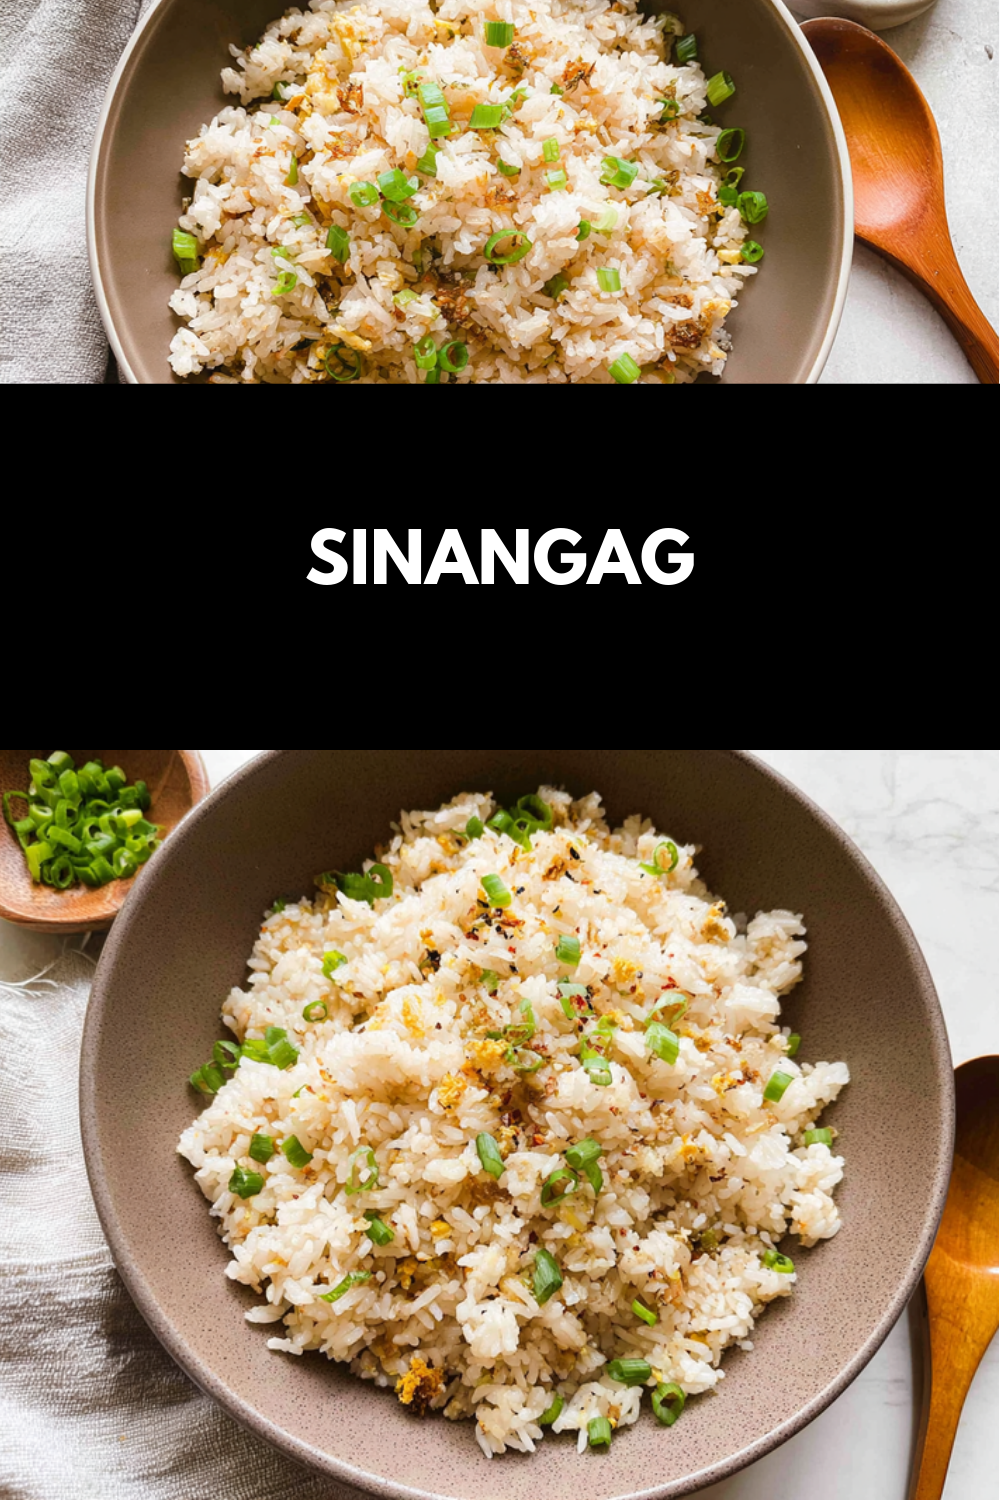
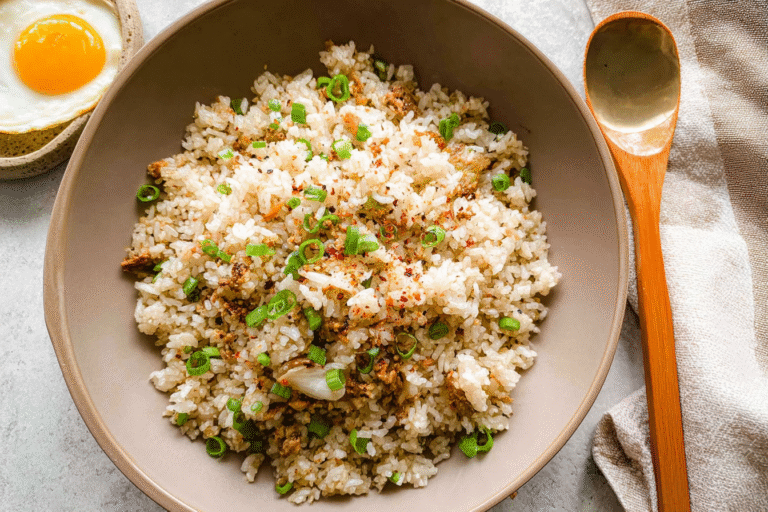
🧄 Enjoy the authentic taste of Filipino cuisine with Sinangag, a simple yet flavorful garlic fried rice.
🍚 This recipe transforms leftover rice into a delicious and aromatic side dish perfect for any meal.
- Total Time: 20 minutes
- Yield: 4 servings 1x
Ingredients
4 cups cold, cooked white rice
1/4 cup canola oil
1 head garlic, peeled and minced
Salt to taste
Pepper to taste
Instructions
1-Creating sinangag at home is straightforward and rewarding, especially when you follow these simple steps. Start by breaking up the cold rice to separate the grains, which helps achieve that fluffy texture.
2-Heat the oil in a wide skillet over low heat, then add the minced garlic and cook until it’s golden brown for a rich, aromatic base.
3-Once the garlic is ready, remove it and drain on paper towels, leaving about 1 to 2 tablespoons of oil in the pan.
4-Increase the heat to high, spread the rice in the pan, and let the grains sizzle before tossing them repeatedly until heated through.
5-Return three-quarters of the garlic to the rice, mix evenly, and season with salt and pepper to taste before transferring to a serving dish and garnishing with the remaining garlic bits.
Last Step:
Please leave a rating and comment letting us know how you liked this recipe! This helps our business to thrive and continue providing free, high-quality recipes for you.Notes
🔥 Use day-old cooked rice for best texture and to avoid mushiness.
🧄 Be careful not to burn the garlic; cook it low and slow until golden.
🍳 Use a wide skillet or wok to allow even cooking and easy tossing of the rice.
- Prep Time: 5 minutes
- Cook Time: 15 minutes
- Category: Side Dish
- Method: Stir-Frying
- Cuisine: Filipino
- Diet: Vegetarian
Nutrition
- Serving Size: 1 cup
- Calories: 247 kcal
- Sugar: 0 g
- Sodium: 10 mg
- Fat: 4 g
- Saturated Fat: 0.5 g
- Unsaturated Fat: 3.5 g
- Trans Fat: 0 g
- Carbohydrates: 47 g
- Fiber: 1 g
- Protein: 4.7 g
- Cholesterol: 0 mg





